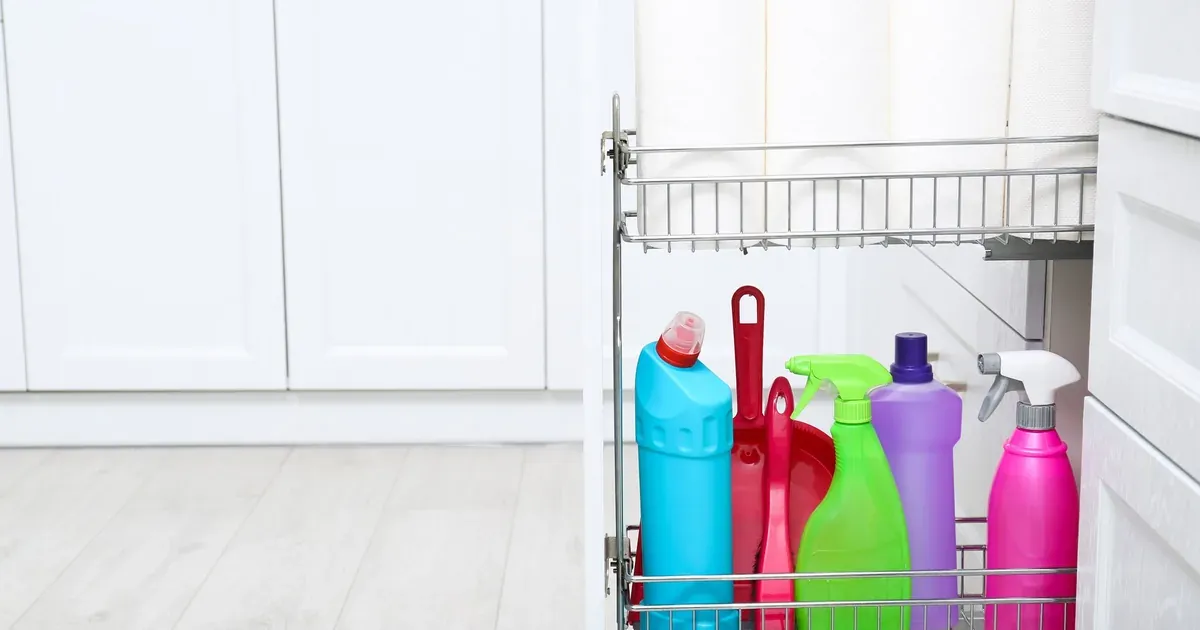
Every time you crack open that cabinet, something rolls out. A spray bottle, a crumpled trash bag box, maybe a sponge you forgot you owned. It’s not that you’re messy — it’s that nobody designed this space to hold anything in the first place.
Under-sink cabinets are basically an obstacle course: pipes down the middle, a garbage disposal hogging one corner, sometimes a water filter or shut-off valve wedged in for good measure. Regular shelf systems don’t work because they assume a flat, open box. This one isn’t that.
Here are 13 ways to actually organize around the mess, using tiered racks, hanging storage, and a few habits that keep it from sliding back into chaos. Pick a few, not all thirteen — more on that at the end.
Why Under-Sink Cabinets Are So Hard to Organize (And Why It’s Not Your Fault)
Open a base cabinet under a sink and you’ll usually find a drainpipe running down the center, a P-trap curving off to one side, and maybe a garbage disposal unit taking a chunk out of the back corner. That’s before you’ve put a single bottle in there.
Most storage products are built for clean rectangular spaces. Drawer organizers, shelf bins, stacking cubes — they all assume nothing is in the way. Under your sink, something is always in the way. So people give up on systems entirely and just shove things in wherever they fit, which is exactly how you end up digging through three expired cleaners to find the one you actually need.
The fix isn’t fighting the pipes. It’s choosing storage designed to flex around them — adjustable racks, rotating trays, hanging systems that use the cabinet walls and door instead of the crowded floor. Once you stop trying to force a rigid shelf into an irregular space, the whole cabinet gets easier to use.
That’s what this list is built around: working with the obstacles, not against them.
1. Add a Tiered Sliding Organizer for Instant Visibility
A sliding two-tier rack is probably the single highest-impact change you can make under your sink. It lifts your front-row items up and lets you slide the back tier out like a drawer, so nothing gets lost behind a wall of bottles.
The reason this works so well: most under-sink clutter isn’t about having too much stuff, it’s about not being able to see or reach what’s already there. A tiered slider solves both problems at once.
Look for adjustable-width models specifically — the kind that expand or split into two separate sliding pieces. That flexibility lets you position each side around a center pipe instead of trying to cram one solid unit over it. These work best for the bottles you reach for constantly, like all-purpose spray and glass cleaner, since they keep everyday items front and center instead of buried.
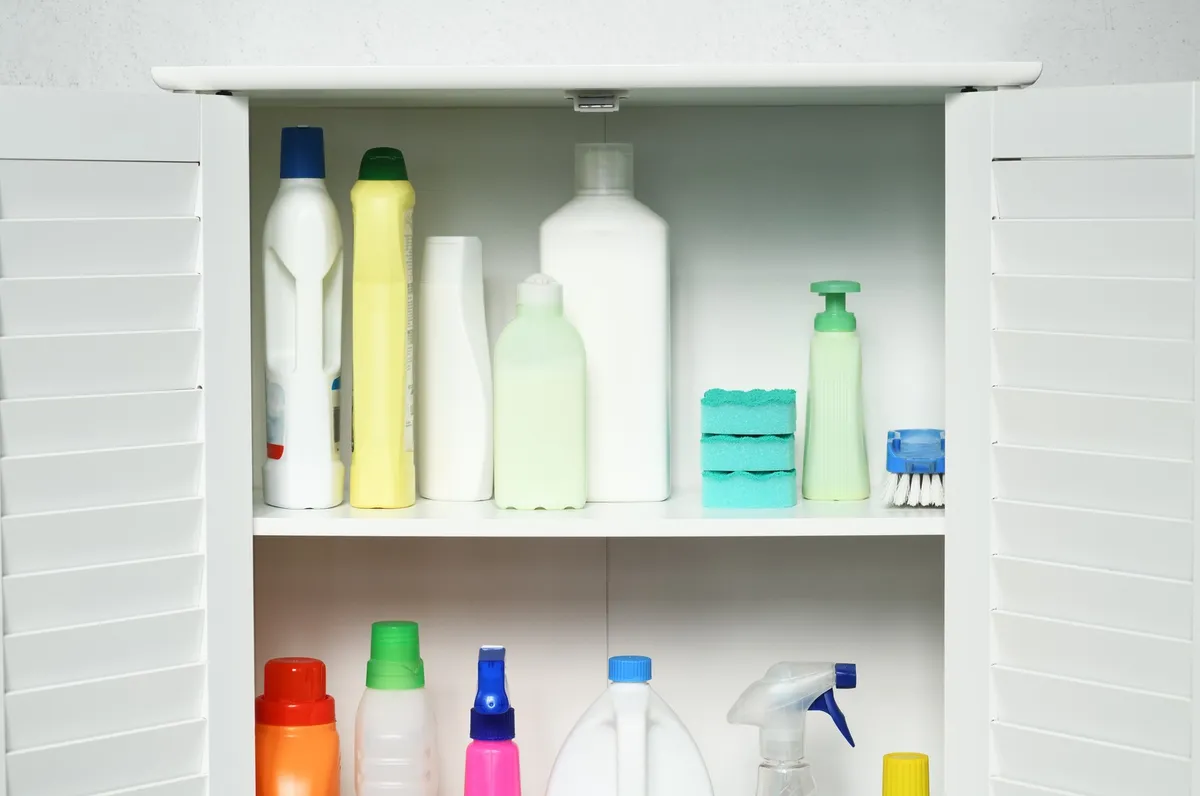
2. Use a Lazy Susan for Awkward Corners
If your cabinet has a pipe positioned off to one side, you’ve probably got a dead zone in the back corner where stuff gets pushed and forgotten. A rotating turntable fixes that instantly — spin it and everything comes to you instead of you reaching blindly into the back.
This is a great option for smaller, lighter items: travel-size bottles, sponges, rubber gloves, drain cleaner. Anything that tends to tip over or roll away on a flat shelf does better contained on a turntable.
Lazy Susans also handle off-center plumbing better than rigid shelving because you can nudge the whole tray to one side of the pipe rather than needing it centered. Two smaller turntables side by side, one on each side of the pipe, often work better than one large one.
3. Hang a Door-Mounted Organizer for Small Items
Here’s the thing about under-sink cabinets — the floor space is the most fought-over real estate, but the door is almost always empty. An over-the-door rack claims that space for free.
These work great for anything you’d otherwise stack loosely: rubber gloves, scrub brushes, trash bag rolls, small spray bottles. Getting those off the cabinet floor alone can free up a surprising amount of room for bins and taller items.
Most over-the-door organizers just hook over the top of a standard cabinet door — no drilling, no adhesive, no commitment. That makes this one of the easiest wins on this list if you’re renting or just don’t want to install anything permanent.
4. Install a Tension Rod to Hang Spray Bottles
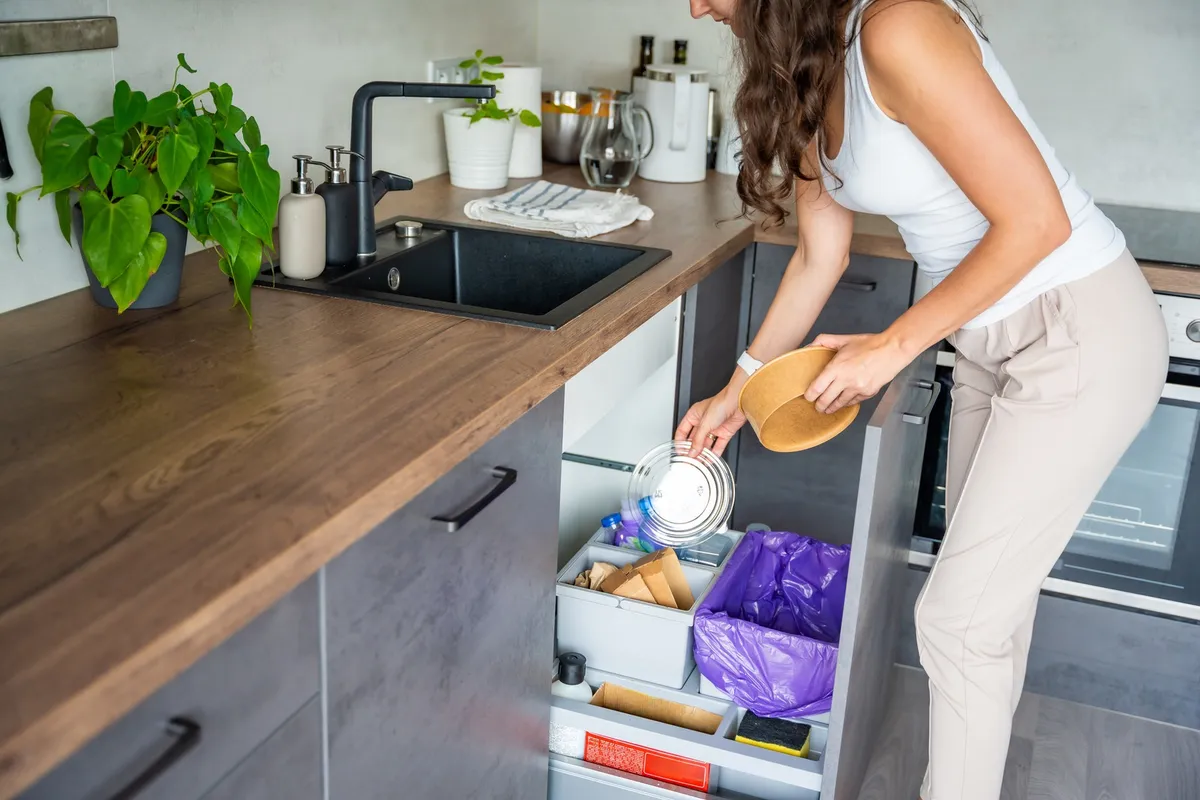
This one sounds too simple to actually work, but it’s one of the best cheap fixes for under-sink chaos. A basic curtain tension rod, wedged across the cabinet an inch or two below the top, creates an instant hanging bar for spray bottles by their trigger handles.
Hanging bottles by their necks does two things: it keeps them upright so they don’t leak or tip, and it clears the entire cabinet floor underneath for bins or bulkier supplies.
Tension rods adjust to fit basically any cabinet width, so you don’t need exact measurements — just wedge it in place and test that it holds weight before hanging your heaviest bottles. If you want more grip, add a few small S-hooks along the rod for bottles without built-in trigger loops.
5. Corral Trash Bags in a Labeled Bin
Loose boxes of trash bags are a special kind of annoying — they get squashed under other stuff, the box falls apart, and you end up with bags spilling everywhere. A small labeled bin solves this in about five minutes.
Separate bins for kitchen-size and bathroom-size bags mean you’re not accidentally grabbing the wrong size mid-task. Label each one so it’s obvious at a glance, especially if other people in your house are the ones restocking or grabbing bags.
Stackable bins are worth the small extra effort here — you can put trash bags in one and put a second bin of extras right on top instead of letting them sprawl across the shelf.
6. Use Stackable Clear Bins to Group by Category
Grouping supplies by category — dish stuff in one bin, chemical cleaners in another, extras in a third — turns a jumbled cabinet into something you can actually navigate. Clear bins make this even better because you can see what’s inside without pulling every single one out to check.
This matters more under a sink than almost anywhere else in your house, because you’re usually reaching in one-handed while holding a sponge or wiping up a spill with the other. Being able to glance and grab saves real time.
Use shorter bins to hold small stuff on top of taller standing bottles, effectively creating a second layer without needing a shelf riser. It’s a simple way to use vertical space you’re otherwise wasting above your tallest bottles.

7. Add an Under-Sink Shelf Riser to Double Your Space
If your tallest bottles only use the bottom third of your cabinet’s height, you’re wasting a lot of vertical space. An expandable shelf riser sits above those tall bottles and gives you a flat second level for lighter items.
Bamboo and metal risers both work fine — the key feature to look for is an expandable or split design so it can straddle a center pipe instead of needing a totally flat, obstacle-free footprint.
Keep the top level for lightweight stuff: sponges, extra rags, small refill bottles, dish brush heads. Risers usually aren’t rated for heavy weight, so don’t stack your bulkiest cleaning jugs up there.
8. Use a Caddy for Grab-and-Go Cleaning Supplies
Not everything under your sink needs to live under your sink permanently. Your most-used cleaners — the ones you carry to the bathroom, the counters, wherever needs attention that day — do better in a portable caddy that lives just inside the cabinet door.
This keeps your “grab and go” items separate from your backstock, so you’re not digging through refill bottles and rarely-used specialty cleaners every time you just want the all-purpose spray.
Look for a caddy with an actual handle and a few open compartments rather than a solid tote — open compartments mean you can see and grab a specific bottle without unloading the whole thing first.
9. Line the Cabinet Floor to Protect Against Leaks
This is the one people skip and regret. A cheap shelf liner or a shallow plastic tray on the cabinet floor catches drips — from a leaky pipe, a cleaning bottle that wasn’t screwed on tight, condensation, whatever — before it soaks into the wood and causes real damage.
It also just makes cleanup easier. Instead of scrubbing a stained cabinet floor, you wipe the liner or pull it out and rinse it off.
Go for a waterproof, non-adhesive liner so you can swap it out easily as it gets grimy. Adhesive liners look tidy at first but become a pain once you need to replace one.
10. Mount a Small Command Hook Strip for Gloves and Brushes
If you’re renting — or just don’t want more holes in your cabinet — adhesive hooks are the move. A couple of Command-style hooks mounted on the cabinet wall give you a spot to hang dish gloves to actually dry out, instead of shoving them in damp on top of everything else.
They also work for scrub brushes, small spray bottles by their trigger loop, or a dust rag you use daily. Getting these items up off the cabinet floor keeps them from ending up in whatever’s pooled at the bottom.
The best part is you can reposition these anytime your setup changes — no patching, no commitment, just peel and stick somewhere else.
11. Store Extra Sponges and Refills in a Pull-Out Drawer
If your cabinet is unusually deep, you’ve probably got a chunk of totally dead space at the very back that you never actually use, because reaching it means practically climbing inside. A pull-out drawer insert turns that dead zone into something you’ll actually access.
This is worth the extra effort mainly for households that keep a lot of backstock — bulk sponges, extra dish soap refills, spare scrub brush heads. If you don’t stockpile much, this might be overkill.
Look specifically for slim, narrow pull-out models. Full-width drawer inserts often can’t slide freely past a center pipe, so a slimmer profile designed to run along one side works much better here.
12. Label Everything So Family Members Put Things Back
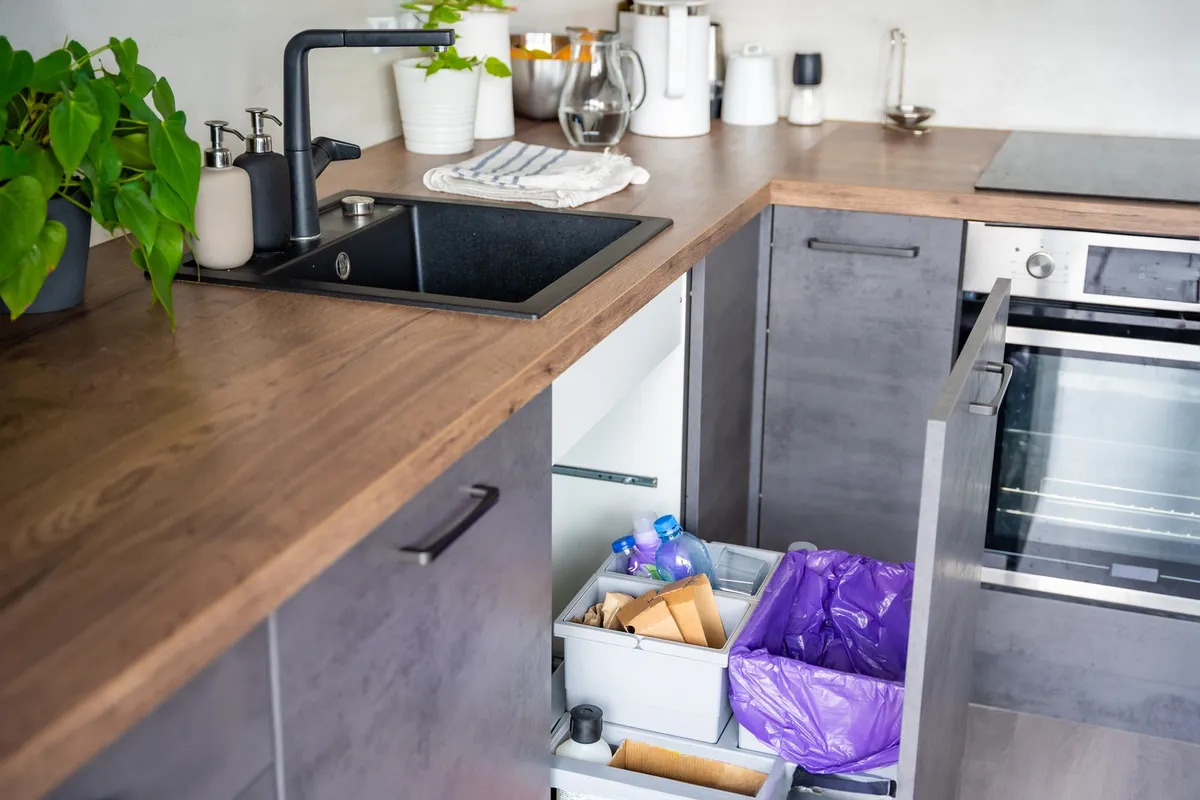
You can build the most beautiful under-sink system in the world, and it will fall apart in two weeks if the rest of your household doesn’t know where things go. Labels are the cheapest insurance against that.
A label maker gives you a clean, consistent look, but masking tape and a marker work just as well if you’re not fussy about aesthetics. The goal is just clear zones — “dish soap refills,” “bathroom bags,” “sprays” — so putting things back is as easy as taking them out.
Pair labels directly with bins rather than just labeling shelves. A labeled bin is a container people will actually return items to; a labeled shelf is easier to ignore.
13. Do a Quarterly Under-Sink Reset
Even a perfectly organized cabinet drifts over time. Bottles run out and don’t get tossed, liners get grimy, and half-used cleaners you don’t like anymore just sit there taking up space. A quarterly reset keeps the system from quietly falling apart.
Set a recurring reminder — a specific day each season works well — to pull everything out, check expiration dates, and toss anything that’s empty, nearly empty, or something you never actually use.
While it’s all out, wipe down your shelves and liner. This is also the moment to catch small leaks or pipe drips before they turn into a bigger, wetter problem. Fifteen minutes, four times a year, and you avoid ever facing the fully chaotic version of this cabinet again.
Where to Start: Your Under-Sink Organization Game Plan
Before you buy anything, empty the cabinet completely. You genuinely cannot judge what fits around your pipes with half your cleaning supplies still sitting in there — pull it all out, wipe down the inside, and actually measure the width, depth, and pipe placement.
From there, don’t try to do all 13 of these at once. Pick 2-3 based on your specific pain point:
- If your biggest problem is visibility — start with tiered sliding organizer or the lazy Susan.
- If you’re short on floor space — go with the tension rod and a door-mounted rack.
- If you’re worried about leaks or grime — the protective liner should be non-negotiable, regardless of what else you add.
A simple starter combo that covers most households well: one tiered rack, a couple of clear stackable bins, and a liner underneath. That trio alone handles visibility, grouping, and protection — the three things that make the biggest difference under any sink.
Whatever you pick, remember the three ideas that tie this whole list together: get things visible, use vertical space instead of just the floor, and label so the system survives contact with the rest of your household. Products help, but those three habits are what actually keep the cabinet organized six months from now.
For more ways to tackle the rest of your kitchen, check out 10 Small Kitchen Organization Ideas for Renters or How to Deep Clean Your Kitchen Cabinets Inside and Out if this project has you looking at the whole cabinet with new suspicion.
FAQ
How do I organize under my sink around pipes?
Measure the space around your pipes first, then choose adjustable or split-design organizers like sliding racks or lazy Susans that flex around obstacles. Tension rods and door-mounted racks also avoid the floor space pipes take up entirely.
What is the best way to store cleaning supplies under the sink?
Group supplies by category in clear bins, use a tiered organizer for visibility, and hang spray bottles on a tension rod to save floor space. A protective liner underneath also guards against leaks and drips.
How often should I clean out my under-sink cabinet?
Aim for a quarterly reset to check for expired products, leaks, or grime buildup. A quick monthly glance can also help catch small messes before they pile up.
If you only do one thing tonight, empty the cabinet and put in a tension rod for your spray bottles — it takes ten minutes and instantly frees up the floor space everything else on this list depends on.