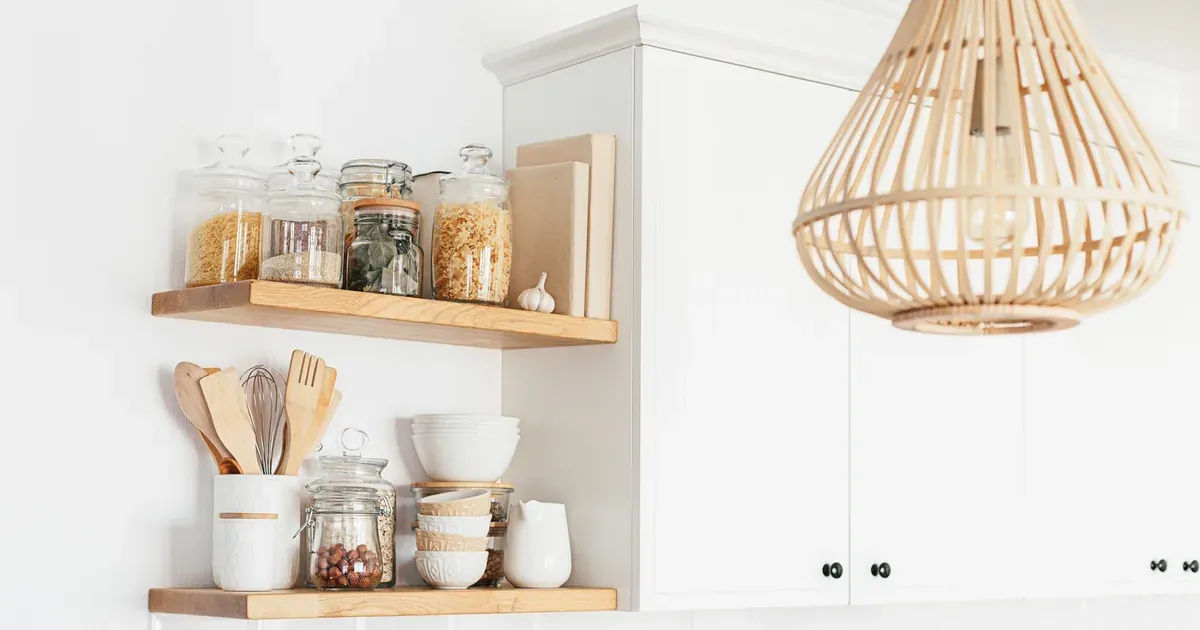
If your kitchen has a pantry cabinet and it still feels like there’s never enough room, the cabinet probably isn’t the problem. The setup inside it is.
Most kitchens waste more storage than they lack. A standard cabinet has tons of unused vertical space, dead corners, and a “black hole” zone at the back where things disappear until they expire. This list covers 9 ways to fix that — whether you’ve got one deep cabinet, an awkward corner, or literally no built-in pantry at all.
Quick heads up: if you only try one thing, make it the stackable bins in item 1. It’s the fastest fix with the biggest payoff.
Why Your Kitchen Feels Cramped Even With a Pantry Cabinet
Here’s the thing nobody tells you when you’re apartment hunting or renovating: pantry frustration is rarely about square footage. It’s about how the space is divided up.
A cabinet that’s 24 inches deep sounds generous until you realize the back third is basically unreachable without unloading everything in front of it. That’s how you end up with three half-used bags of the same pasta and a spice jar that expired two moves ago.
Vertical space gets wasted too. Most cabinets have one shelf placement, which means tall gaps above short items like canned beans or spice jars. That’s air you’re paying rent or a mortgage on, sitting empty.
The fix isn’t a bigger kitchen. It’s smarter dividing — bins, risers, pull-outs, and turntables that turn one standard cabinet into something that actually holds what you need, visibly and reachably. Let’s get into the specifics.
1. Turn a Single Cabinet Into a Mini Pantry With Stackable Bins
If you’ve got exactly one spare cabinet and nothing else, this is your starting point. Clear stackable bins let you divide that single cabinet into mini zones — snacks in one, baking supplies in another, canned goods in a third — instead of everything jumbled into one pile.
The clear part matters more than people expect. When you can see what’s inside without lifting a lid, you stop buying duplicate boxes of stock you already have.
Label each bin, even if you think you’ll remember. Labels are what let a partner, kid, or houseguest put things back in the right spot, which is really the whole point of an organizing system — it has to survive other people using it.
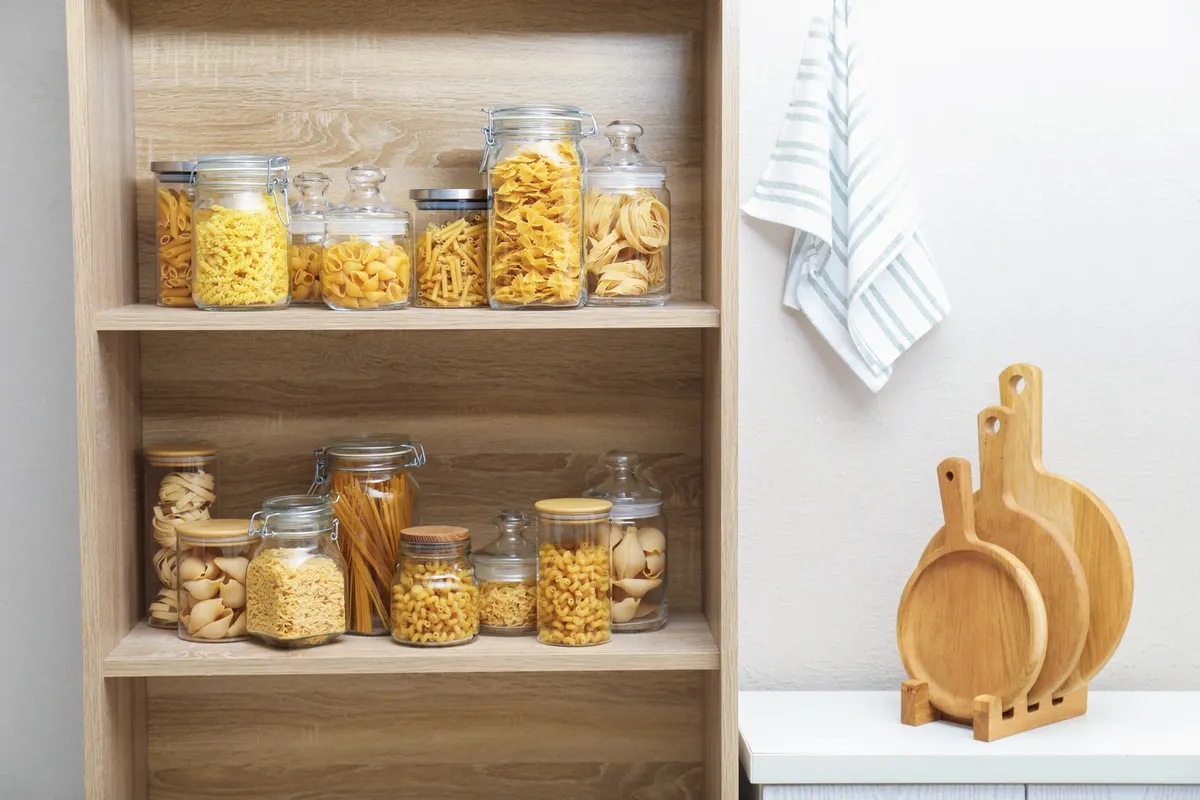
This setup is ideal for renters and small kitchens because it requires zero installation. Everything sits on the existing shelf and can move with you.
2. Add Pull-Out Shelves to a Deep Cabinet
Deep cabinets are notorious for the “lost in the back” problem — you buy tomato sauce, forget you have two cans already, and find them a year later. Pull-out shelf inserts fix this by bringing the entire shelf toward you instead of making you reach and dig.
A lot of these are slide-in models that rest on your existing shelf, so there’s no drilling involved. That makes them a solid choice for rental kitchens where you can’t modify cabinetry.
Once installed, organize by frequency of use. Put daily staples — cereal, snack bags, coffee — on the front-most slide, and reserve the back for backstock items you restock only occasionally, like extra flour or bulk spices.
3. Install a Door-Mounted Rack for Spices and Small Jars
The inside of a pantry cabinet door is one of the most consistently wasted spots in a kitchen. It’s flat, accessible, and almost always empty.
An over-the-door rack claims that space for small, lightweight items — think spice jars, seasoning packets, or small condiment bottles. Look for adhesive-mount versions if you don’t want to drill into cabinet doors, especially in a rental.
Keep the weight modest here. Door racks aren’t built for heavy cans or glass jars of pasta sauce — stick to spices, packets, and anything under a pound or two, or the mount can loosen over time.
4. Use a Lazy Susan for Corner Pantry Cabinets
Corner cabinets are the biggest storage offenders in most kitchens. The layout traps a huge chunk of usable space behind the door hinge, and reaching it usually means pulling out everything in front just to grab one jar.
A two-tier lazy Susan solves this by rotating the whole shelf toward you. Instead of unloading half the cabinet, you just spin the turntable until what you need is in front.
This is especially useful for oils, vinegars, and sauce jars — the stuff that tends to get shoved to the back of a corner cabinet and forgotten. Measure your cabinet’s interior diameter before buying, since corner cabinets vary more in size than standard ones.
5. Stack Wire Shelving to Double Your Cabinet’s Capacity
If you open a cabinet and see a tall empty gap above a shelf of short cans or cereal boxes, that’s wasted vertical space you can reclaim in minutes. A stackable wire shelf riser sits right on top of your existing items and creates a second, usable level above them.
This works best in cabinets where item heights vary — short canned goods on the bottom, taller boxes or jars stacked separately on the riser above.
Look for adjustable-width shelves rather than fixed ones. Cabinet interiors aren’t standardized, and an adjustable model will actually fit more of your cabinets than a single fixed size, which means you can reuse it if you move.
6. Repurpose a Bookcase as a Freestanding Pantry Cabinet
No built-in pantry? You’re not stuck. A narrow freestanding shelf unit — even a basic bookcase — can function as a stand-in pantry almost anywhere: a kitchen corner, a hallway nook, or even inside a coat closet.
Load it with the same bin-and-basket system you’d use in a real cabinet. The shelving itself doesn’t need to be fancy; it just needs to hold weight and fit the space you’ve got.
If you want it to look more like a closed cabinet than open shelving, hang a tension rod across the front and add a fabric curtain panel. It hides the contents and softens the look without the cost of furniture with actual doors.
This is one of the better options if you’re renting a place with no pantry at all — it moves with you, and it doesn’t require any commitment to the space.
7. Use Under-Shelf Baskets to Add a Free Layer of Storage
This one sounds too simple to matter, but it adds real storage without removing or replacing anything. Under-shelf baskets hook onto the lip of an existing shelf and hang below it, creating a whole new storage layer out of thin air.
They’re best for lightweight items — seasoning packets, foil and plastic wrap rolls, small snack bags, that kind of thing. Don’t load them with anything heavy, since they’re only gripping the shelf edge.
No tools, no drilling, nothing permanent. That makes this one of the easiest wins on this whole list, especially if you’re renting and can’t modify cabinets at all.
8. Sort a Cabinet by Zones, Not by Category
Here’s a mistake almost everyone makes: organizing “all canned goods together” or “all baking supplies together” instead of organizing by how you actually cook.
The problem is that grouping by category doesn’t match how you grab things during meal prep. You don’t reach for “canned goods” — you reach for “breakfast stuff” or “snack stuff,” pulling from multiple categories at once.
Try sorting into zones instead: a breakfast zone (oatmeal, cereal, pancake mix), a baking zone (flour, sugar, baking soda), a snack zone (chips, granola bars, crackers). This mirrors your actual routine, so things get put back correctly because the system matches your habits — not an abstract category list.
You don’t need fancy bins to do this. Clear boundaries with existing shelf space, or simple dividers, work fine. The zone logic is what matters, not the container.
9. Add a Fold-Out or Slide-Out Cabinet Insert for Cans
Canned goods are the classic victim of deep-cabinet chaos. They roll to the back, get forgotten, and eventually you’re tossing something well past its date because you genuinely didn’t know it was there.
A slanted slide-out can dispenser fixes this by keeping cans visible and rotating stock automatically — you load new cans from the top, and they roll forward as older ones get used. It’s a small mechanical fix, but it solves a very specific, very common problem.
These fit inside most standard base or upper cabinets, and installation is usually as simple as setting the rack on the shelf. If your family goes through a lot of canned soup, beans, or vegetables, this is worth prioritizing over some of the more general fixes on this list.
Where to Start With Your Own Pantry Cabinet
Don’t try to overhaul your entire kitchen in one weekend. Pick the cabinet that annoys you the most — the one you avoid opening, or the one where you keep buying duplicates — and start there.
- Measure the interior before buying anything. Width, depth, and shelf height all matter, and sizing mistakes are the single most common regret with cabinet inserts. A basic tape measure is worth keeping in a kitchen drawer just for this.
- Match the fix to the cabinet type. Deep cabinet? Try pull-out shelves. Corner cabinet? Go with the lazy Susan. No pantry at all? Look at the freestanding bookcase option.
- Add zone sorting no matter what insert you choose. Bins and shelves only stay organized if the sorting logic makes sense — see item 8 for how to set that up.
- Layer in small wins after the big fix. Door racks and under-shelf baskets are cheap add-ons once your main system is in place.
Between bins, pull-outs, door racks, turntables, and zone sorting, these 9 ideas cover almost every cabinet shape and rental restriction you’ll run into. For more on tackling the whole space at once, check out How to Organize a Small Kitchen Pantry on a Budget or How to Declutter Your Pantry Before Organizing It if you need to clear things out before you start adding systems.
FAQ
What is the best way to organize a small pantry cabinet?
Start with clear stackable bins to divide the space into zones, then add a pull-out shelf if the cabinet is deep. Labeling each zone makes it easier for the whole household to keep it organized long-term.
How do I add pantry storage if I don’t have a pantry cabinet at all?
A narrow freestanding shelf unit or repurposed bookcase can work as a stand-in pantry. Add bins and a curtain panel or fabric cover if you want it to look more like a closed cabinet.
Do pantry organizers work in rental kitchens?
Yes — look for options like adhesive-mount door racks, slide-in shelves, and under-shelf baskets that don’t require drilling. Most stackable bins and lazy Susans also need no installation at all.
Tonight, just do one thing: open the cabinet that annoys you most, pull everything out, and sort it into a few clear stackable bins before it all goes back in. That’s the whole system, and it’s the fastest change on this list.