
If your closet looks like a fabric avalanche waiting to happen, you’re not alone. Small closets are one of the most complained-about features in American homes — and yet most of the advice out there assumes you have a walk-in the size of a spare bedroom.
This list is for the rest of us. The ones with a single rod, questionable shelf placement, and a floor that’s basically a shoe graveyard.
Here are 10 strategies that actually work in small closets — no renovation required, no giant budget needed. If you’re short on time, start with slim velvet hangers (#6) and a declutter pass (#1). Those two alone can transform how the space feels.
Why Small Closets Feel Impossible to Organise (And How to Fix That)
Most small closets don’t fail because they’re small. They fail because the system inside them is wrong.
The three biggest culprits: wasted vertical space (that dead zone below the hanging rod, and the air above the shelves), no zones (so everything just… ends up everywhere), and too much stuff for the space to realistically hold.
Here’s the mindset shift that actually helps: a small closet forces you to be more intentional about what you keep. That’s not a punishment — it’s a feature. Once you stop trying to stuff everything in and start editing down to what you actually wear, the space gets a lot more manageable.
The 10 ideas below cover all three problem areas. Some take 10 minutes. Some take an afternoon. None of them require a contractor.
1. Audit Your Closet Before Adding a Single Organiser
This is the step everyone wants to skip, and it’s the reason most closet organisation attempts fail within two weeks.
Buying storage bins and hangers before you declutter is like trying to organise a pile of junk mail by getting a nicer filing cabinet. The stuff is still the problem.
Empty the entire closet first — yes, everything — so you can see the actual dimensions of the space you’re working with. It’s almost always bigger than it felt when it was crammed full.
Then sort everything into four categories:
- Keep — items you’ve worn in the last 12 months and actually like
- Donate — good condition, just not right for you anymore
- Toss — worn out, stained, broken
- Relocate — seasonal items that don’t need to live in this closet year-round (think: winter coats in July, or swimwear in January)
The 12-month rule is a solid benchmark. If it’s been sitting unworn for a full year, it’s occupying space that could serve you better. Be honest — most of us own at least a third more than we actually use.
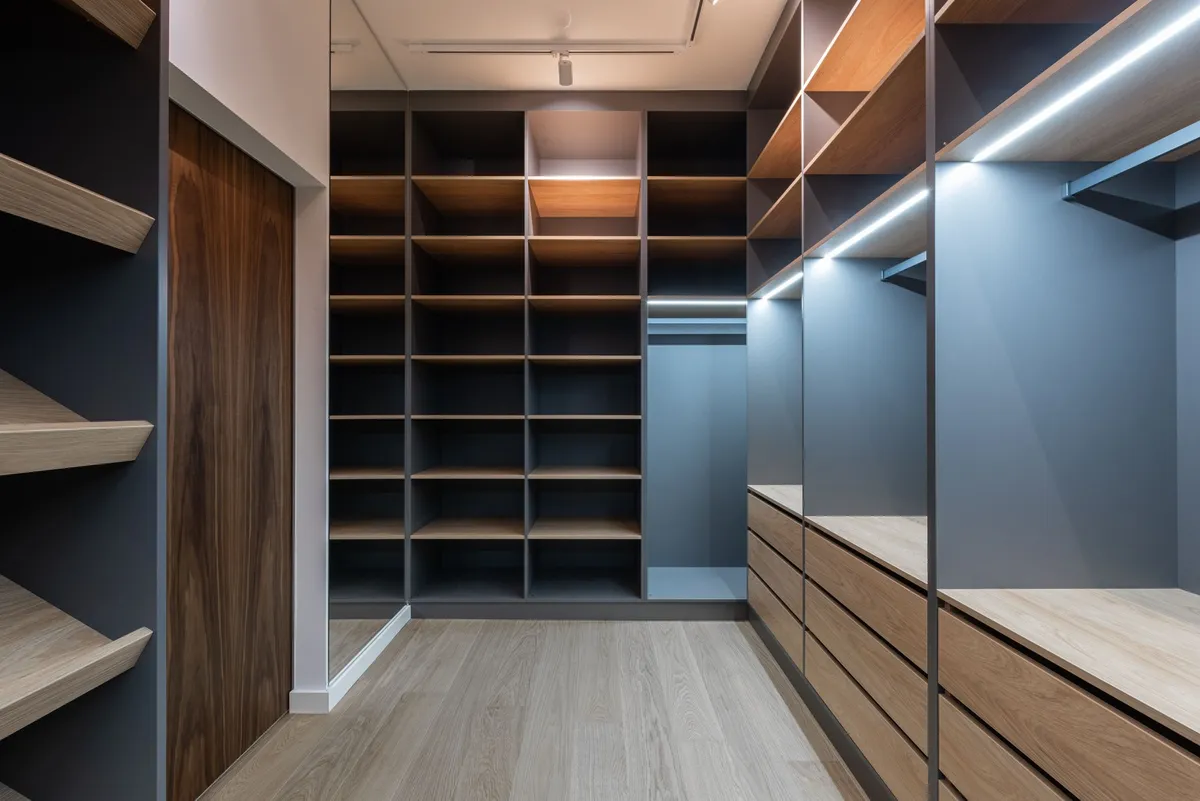
This step costs nothing and has the highest return of anything on this list. Do not skip it.
2. Double Your Hanging Space With a Second Rod
Most standard closets have one hanging rod — and below it, 2 to 3 feet of completely unused vertical space. That’s prime real estate going to waste.
A hanging closet rod doubler drops down from your existing rod to create a second hanging level underneath. No tools, no drilling, no landlord permission needed. You hang it in minutes and immediately have room for significantly more clothing.
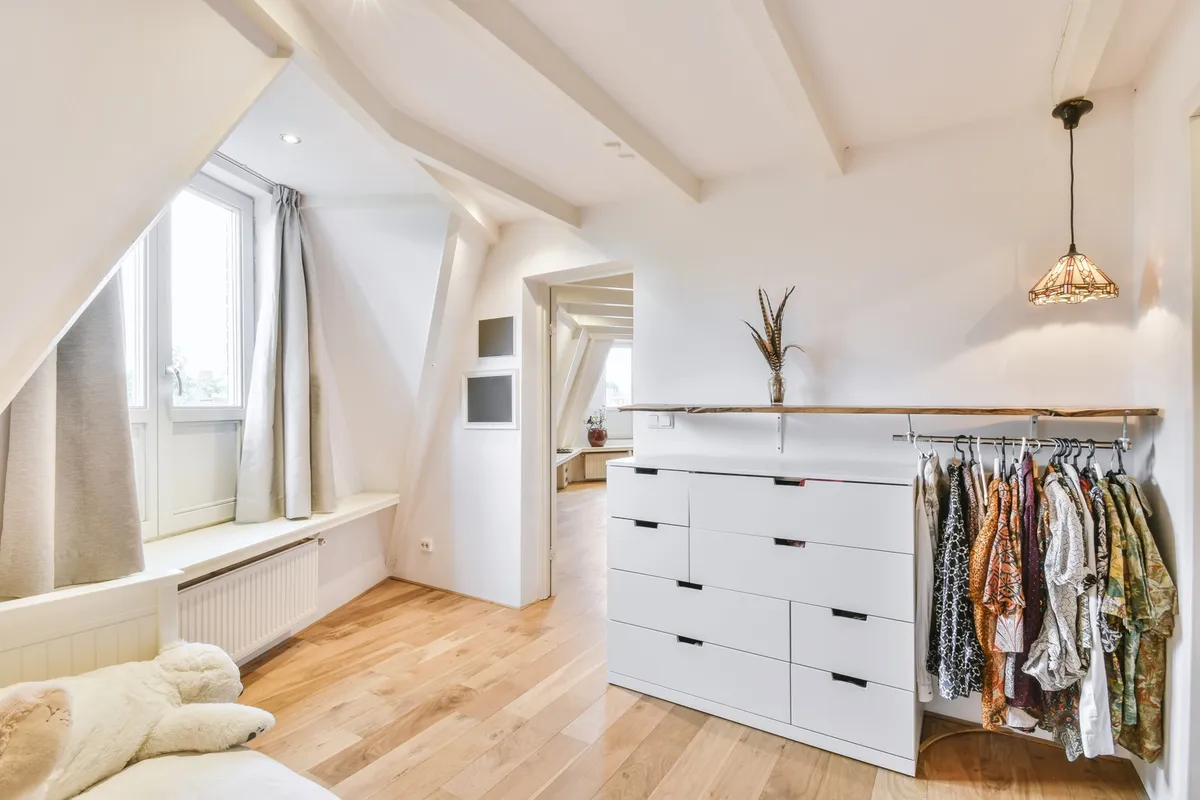
It works best for shorter items: folded dress shirts, blazers, jackets, skirts, and cardigans. Reserve the top rod for longer items — dresses, pants hung full-length, anything that needs the full drop. Shorter items go below.
A few tips for making it work:
- Group by length so nothing bunches at the bottom
- Don’t overstuff the lower rod — leave a little breathing room or it defeats the purpose
- Adjustable-width doublers fit more closets than fixed-size versions, so look for that feature
These are widely available at Target, Walmart, and Amazon and are one of the most affordable upgrades on this list. It’s one of those changes that makes you wonder why it took you this long.
3. Use the Floor Space Strategically
The closet floor is not a dumping zone. I know it feels like one, but it doesn’t have to be.
Treated intentionally, the floor can hold a surprising amount — without making the closet feel like a garage sale. The key is corralling things into designated spots rather than letting them pile randomly.
A stackable shoe rack is the most efficient floor use for most people. It lifts shoes off the floor, keeps pairs together, and frees visual space that makes the whole closet feel bigger. If floor space is very tight, an over-the-door option (see #7) might serve you better.
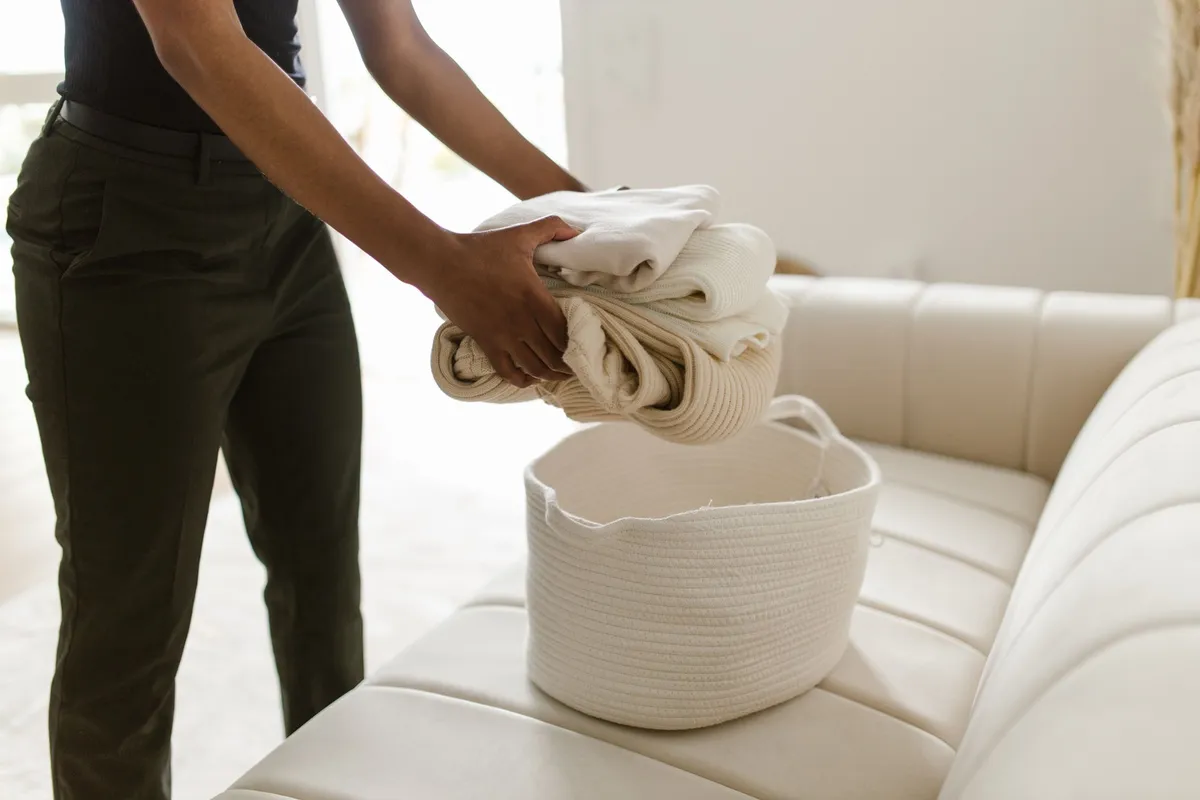
For gym bags, purses, or bulky items that don’t stack well, a small rolling cart or a large woven basket works better than a shelf. Rolling carts are especially useful because you can pull them out to access what’s behind them.
One non-negotiable: leave at least one clear lane from the door inward. A closet you can step into (even slightly) always feels less claustrophobic than one you have to reach into blindly.
4. Add Shelf Dividers to Stop Sweater Stacks From Toppling
You fold a perfect stack of sweaters. Two days later, it’s a collapsed pile leaning into everything else. We’ve all been there.
Shelf dividers are a simple fix for this. They slide onto the shelf and create vertical partitions that keep stacks upright and separated, so one messy grab doesn’t take down the whole section.

They’re especially useful for:
- Thick sweaters and knits that can’t hang without stretching out
- Bulky jeans and denim
- Clutches, structured bags, and purses that need a dedicated slot
The trick is not overcrowding each section. Aim for 4 to 6 items per partition maximum — beyond that, the stack gets unstable and the divider stops doing its job.
Acrylic dividers look cleaner, metal ones are more durable. Both work. You can find them at The Container Store, Target, and Amazon, and they’re an affordable addition that saves a surprising amount of daily frustration.
5. Maximise Vertical Space With Stackable Bins and Shelf Risers
Look up. There’s probably 12 to 18 inches of dead air above your top shelf right now. That space can hold a lot.
Shelf risers sit on top of an existing shelf and create a second mini-level — basically giving you two surfaces where you previously had one. Use the lower level for things you reach for more often (folded tees, everyday accessories), and the riser level for items you need less frequently.
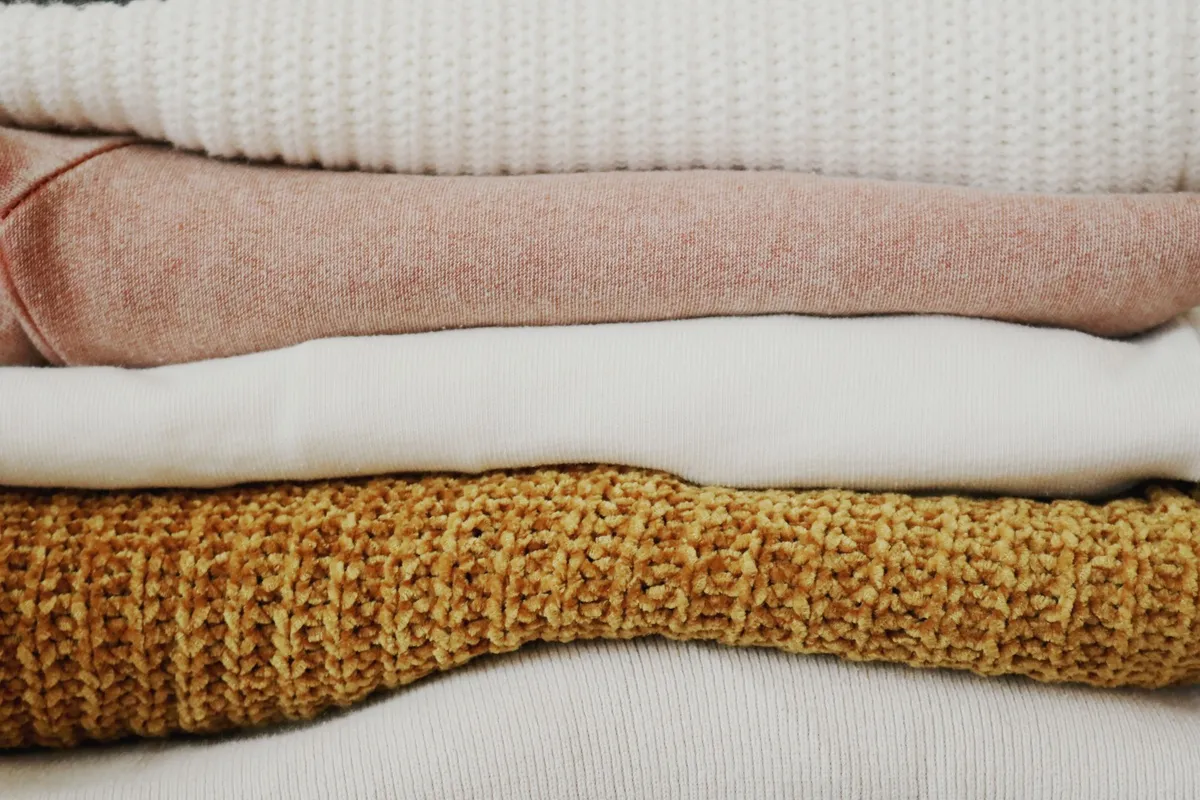
For the very top of the closet (the area above eye level), clear stackable bins are your best option. Clear matters — if you can’t see what’s in a bin, you’ll forget it exists. Label them anyway, even just with masking tape and a marker, because “seasonal accessories” and “beach stuff” start to blur together after six months.
Good candidates for top-shelf bins:
- Scarves, hats, and gloves in the off-season
- Swimwear and cover-ups in winter
- Extra bedding or throw blankets
- Sentimental items you rarely need but want to keep
Stackable bins from brands like mDesign or Sterilite are widely available and come in sizes that fit most standard closet shelves. This is a mid-range investment that pays for itself quickly in reclaimed space.
If you’re skimming, slow down for the next one. It’s one of the simplest swaps on this list — and probably the one with the fastest visible payoff.
6. Swap Bulky Hangers for Slim Velvet Ones Immediately
Standard plastic hangers are space hogs. They’re thick, they clack together, and clothes slip off them constantly.
Slim velvet hangers take up a fraction of the rod space. Switching out your entire closet can recover 30 to 40 percent more hanging room — without changing a single thing about the closet itself. That’s not a small difference. That’s potentially a dozen or more extra items you can now hang.
The velvet surface also grips fabric so clothes stay put. This matters especially for silky blouses, strappy tank tops, and anything with an off-shoulder neckline that normally slides to the floor at 2 a.m.
Get a 50-pack and do the whole closet in one Saturday afternoon. Toss (or donate) all the old plastic ones the same day so they don’t creep back in. This is the swap that makes your closet look immediately more intentional, even before you’ve organised a single thing.
For a deeper look at folding techniques that pair well with a freshly organised hang zone, check out How to Fold Clothes to Save Space: The Method That Actually Sticks.
7. Hang a Shoe Organiser on the Door for Extra Storage
The back of the closet door is one of the most overlooked storage surfaces in a home. Most people walk past it for years without thinking about it.
An over-the-door clear pocket organiser turns that blank space into usable storage — no drilling, no damage to walls, and no landlord conversations required. Most designs hook directly over the door panel, which means it works in rentals.
The clear pockets are key. You can see everything at a glance: which pocket holds your belts, where the scarves are, which slot has the sunglasses. No digging.
Beyond shoes, these work for:
- Belts, scarves, and hair accessories
- Folded clutches or small bags
- Jewelry, sunglasses, and everyday accessories
- Phone chargers, earbuds, and small tech (yes, really)
Before you buy, check your door clearance — meaning, make sure the door can still close fully with the organiser on it. Some styles hang deeper than others. This is one of those “measure twice” situations.
This is also a great starting point if you’re looking at the list and feeling overwhelmed. It’s low effort, renter-friendly, and frees up closet space immediately. Pair it with the second hanging rod and you’ve already made a serious dent.
8. Create Zones So Every Item Has a Designated Spot
Here’s the thing about closet organisation: the products are the easy part. The habit is harder.
Zoning is what makes a system stick beyond the first two weeks. When every category of item has a home — a specific, designated area — putting things away takes less mental energy. And when it takes less mental energy, you actually do it.
Divide your closet into four logical zones:
- Hang zone — everything that lives on a rod (clothes, bags on hooks)
- Fold zone — shelved items like sweaters, jeans, and tees
- Shoe zone — floor rack, cubbies, or door pockets
- Accessories zone — a shelf section, drawer, or door organiser for belts, scarves, and jewelry
Within those zones, prioritise by frequency of use. Things you reach for every day — work clothes, everyday shoes, go-to accessories — should be at eye level and arm’s reach. Seasonal or occasional items go up high or down low.
Before you put things back after your declutter (see #1), sketch your zones on paper. Literally draw it. It takes 5 minutes and saves hours of rearranging later when you realize the shoes should have gone on the left side.
For more ideas on keeping the rest of your bedroom in line with this approach, 10 Bedroom Organisation Ideas for a Calmer, Clutter-Free Space is worth a read.
9. Use Drawer Organisers or Dividers Inside Built-In Drawers
If your closet has built-in drawers, odds are they’re functioning as “everything that didn’t have a better place to go” storage. Which means they’re full of chaos you’d rather not think about.
Expandable drawer dividers change this. They’re adjustable, which means they fit almost any drawer width, and they let you customize sections based on what you’re storing.
A setup that works well: small sections for socks and underwear in one drawer, wider sections for folded workout clothes or pajamas in another. If you have jewelry or accessories in a drawer, smaller inserts with multiple compartments keep things from tangling and disappearing into the corners.
Pair dividers with the file-fold method (folding clothes vertically so they stand upright like files in a drawer) and you can see every single item without moving anything. It sounds fussy but it’s actually faster to use daily because you can spot what you need immediately.
Bamboo organiser sets are a popular option — they look clean and hold up well. Plastic expandable versions are often more affordable and just as functional. Pick based on your drawer depth and how much you want to spend.
10. Add Lighting So You Can Actually See What’s in There
A dark closet is a cluttered closet. Not because darkness creates mess, but because when you can’t clearly see what’s in there, things end up in the wrong spots — and the disorganization creeps back faster than you’d expect.
Battery-powered LED stick lights or motion sensor puck lights are a renter-friendly fix that requires zero electrical work. Stick one under the top shelf so it illuminates the hanging area. Add a second inside a deep shelf if you have one.
The difference is immediate and a little surprising. A well-lit closet not only looks bigger — it makes the organisational system easier to maintain, because you can actually see when things are starting to slide back into chaos before it gets out of hand.
Look for motion-activated options so you’re not reaching around to find a switch in the dark. Brands like Mr. Beams and Brilliant Evolution make affordable options that run for months on standard batteries. This is a small, budget-friendly addition that punches well above its weight.
Where to Start When Your Small Closet Feels Overwhelming
Looking at a list of 10 things when your closet is already driving you up the wall is its own kind of overwhelming. So here’s a simpler way to approach it.
Don’t try to do everything at once. Pick the one change that addresses your biggest pain point right now.
If you’re not sure where that is, here’s a recommended starting sequence that works for most small closets:
- Declutter first (Step 1) — nothing else works without this
- Switch to slim velvet hangers (Step 6) — immediate visual improvement, low effort
- Add a double rod (Step 2) — doubles your hanging capacity in 10 minutes
- Hang a door organiser (Step 7) — adds storage without touching the closet interior
After those four, you’ve addressed the most common small-closet problems: too much stuff, too little rod space, and no door storage. From there, add the remaining steps gradually as you notice what the closet still needs.
Maintenance is simpler than most people make it: a 5-minute reset on Sunday prevents the whole system from unraveling. Check that items are in their zones, rehang anything that ended up on the floor, and you’re done.
You don’t need a perfect closet. You need one that works for your actual life — on a Tuesday morning when you’re already running late. That’s the whole goal here.
For a deeper dive into the decluttering side of this process, How to Declutter Your Closet in One Weekend (Without the Overwhelm) walks through it step by step.
FAQ
What is the best way to organise a very small closet with no shelves?
Start with a double hanging rod to create two levels of hanging space from a single rod, and add an over-the-door shoe organiser for extra storage without needing built-in shelving. If you want actual shelf space, freestanding shelf units or a compact wardrobe organiser create structure from scratch without any installation required.
How do I keep a small closet organised long-term?
The key is having a designated spot for every category of item, so putting things away requires no decisions. A quick 5-minute weekly reset — usually just returning items to their zones — prevents the slow slide back into chaos. Make it easier to hang or fold something than to drop it on the floor.
Can I organise a small closet without spending a lot of money?
Yes. Decluttering — which costs nothing — often has the biggest impact of all, because it addresses the root problem rather than adding more products to manage existing clutter. Slim velvet hangers and an over-the-door organiser are both budget-friendly purchases that can double your usable space. Start there before buying anything else.
If you only do one thing tonight, make it this: pull out every single item from your closet and put back only what you’ve worn in the last year. That single edit — before buying a single bin or hanger — is what actually changes how the space functions. Everything else builds from there.