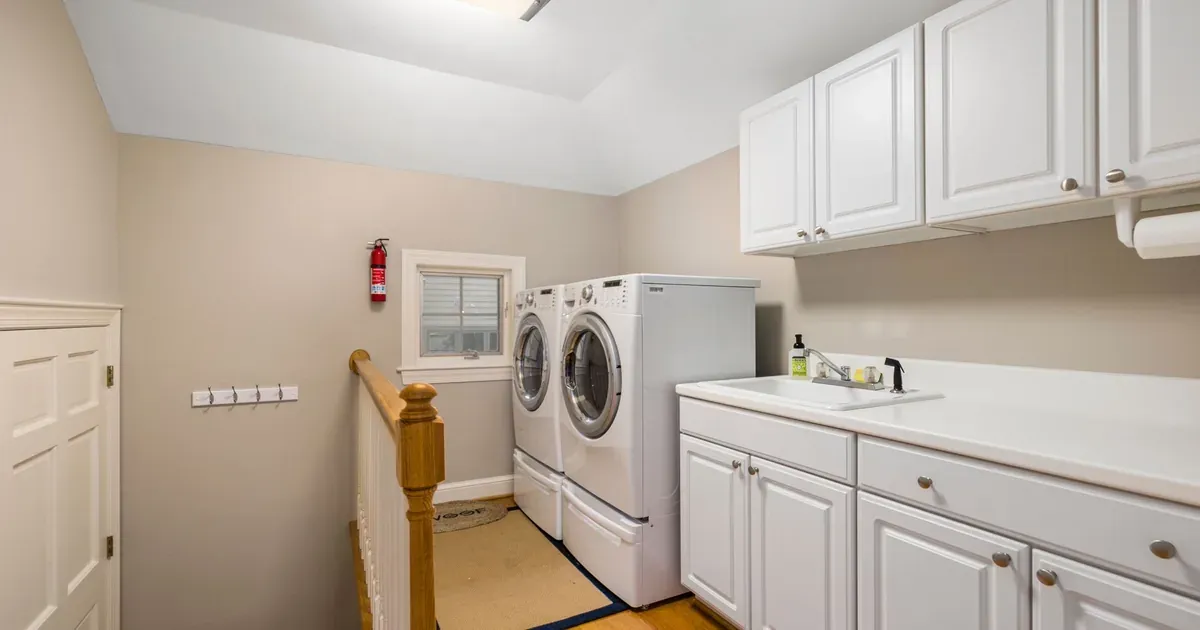
If your laundry room makes you want to close the door and pretend it doesn’t exist, you’re not alone. Most laundry rooms — and especially laundry closets — are designed to fit the machines, full stop. Storage? Folding space? A surface that isn’t covered in dryer sheets and mystery stain remover from 2019? That’s apparently your problem.
The good news: the formula for fixing a small laundry room is surprisingly consistent. It’s almost always some version of go vertical + hide the clutter + use the doors. The 15 ideas below apply whether you have a full room with side-by-side machines, a stacked closet setup, or something in between.
You don’t need to do all 15. Even picking 2 or 3 that match your biggest frustrations will make a real difference — the kind where you actually notice it every time you do laundry.
Why Small Laundry Rooms Are So Hard to Organize (And How to Fix That)
The machines take up the floor. The walls are weirdly narrow or full of plumbing. There’s no counter space, nowhere to hang things, and somehow still a pile of stuff on top of the dryer.
The core issue isn’t that your laundry room is small. It’s that most laundry rooms are designed around the machines, not around the person using them. That leaves zero intentional storage — so everything defaults to “wherever it fits.”
The fix follows a simple principle: vertical space + hidden storage. Every idea on this list pulls from one or both of those. Some cost almost nothing (a tension rod, a jar for pods). A few are bigger investments (a utility sink, a fold-down ironing board). Most fall somewhere in between and can be knocked out in an afternoon.
These tips work for full laundry rooms, laundry closets, stacked machines, and side-by-side setups. Where a tip only applies to one configuration, I’ll say so.
1. Install Floating Shelves Above the Washer and Dryer
The wall above your machines is almost always wasted — and it’s prime real estate. A set of floating shelves up there can hold your detergent, dryer sheets, stain removers, a small basket for pods, and anything else that’s currently crowding your dryer lid.
For homeowners, find the studs and mount directly into the wall — weight capacity matters here if you plan to store full bottles or multiple baskets. For renters, there are adhesive shelf brackets rated for lighter loads, though they work better for baskets and display items than heavy jugs of detergent.
Style tip: stick to matching baskets or labeled bins. Floating shelves with random mismatched bottles look chaotic. The same products in coordinated containers look intentional. Same stuff, totally different feel.
2. Add an Over-the-Door Organizer for Supplies
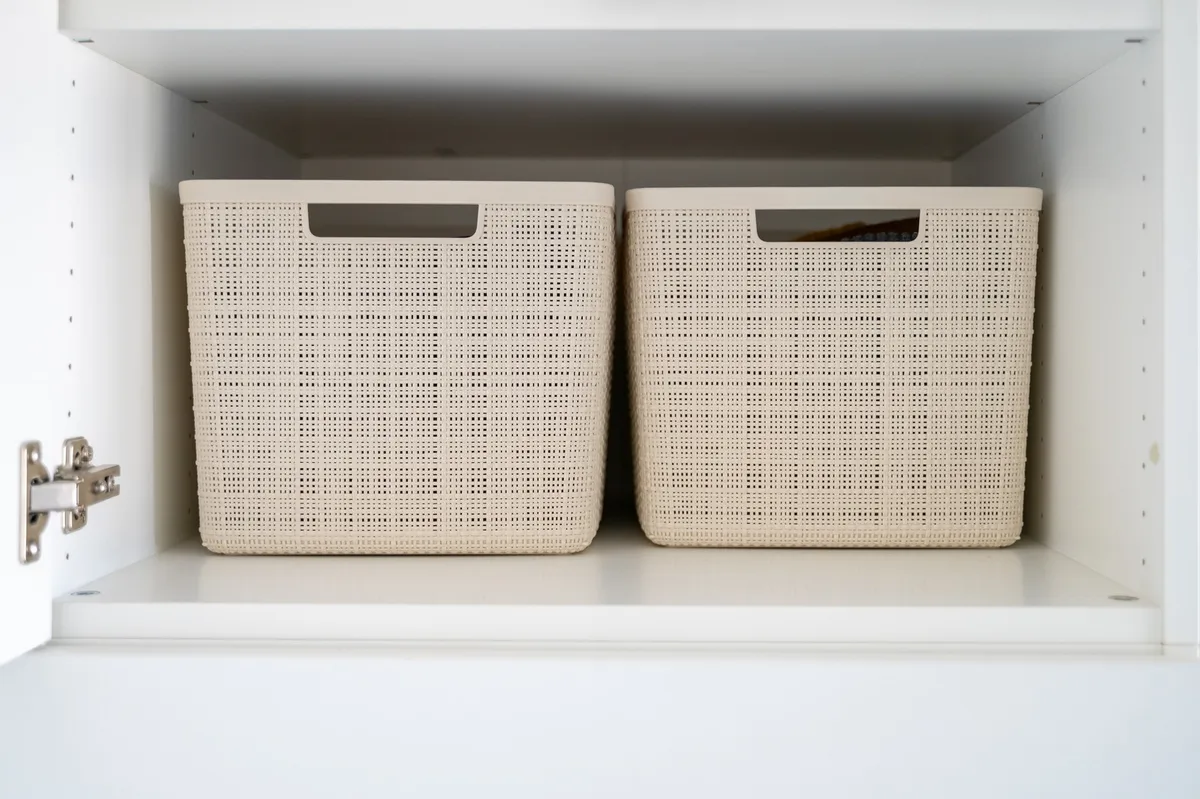
If your laundry room has a door, you have storage you’re not using. An over-the-door organizer — either a pocket-style organizer or a hook rack — takes zero floor space and zero wall space and holds a surprising amount.
Use it for the small stuff that clutters counters: dryer balls, lint rollers, stain sticks, small bottles of specialty detergent, even a notepad for the “wash separately” items you always forget. Over-door pocket organizers also work beautifully for a laundry closet where every square inch of wall is already spoken for.
Renter bonus: nothing to mount, nothing to patch. Hang it over the door and you’re done in under 2 minutes.

3. Use a Rolling Laundry Cart to Sort as You Go
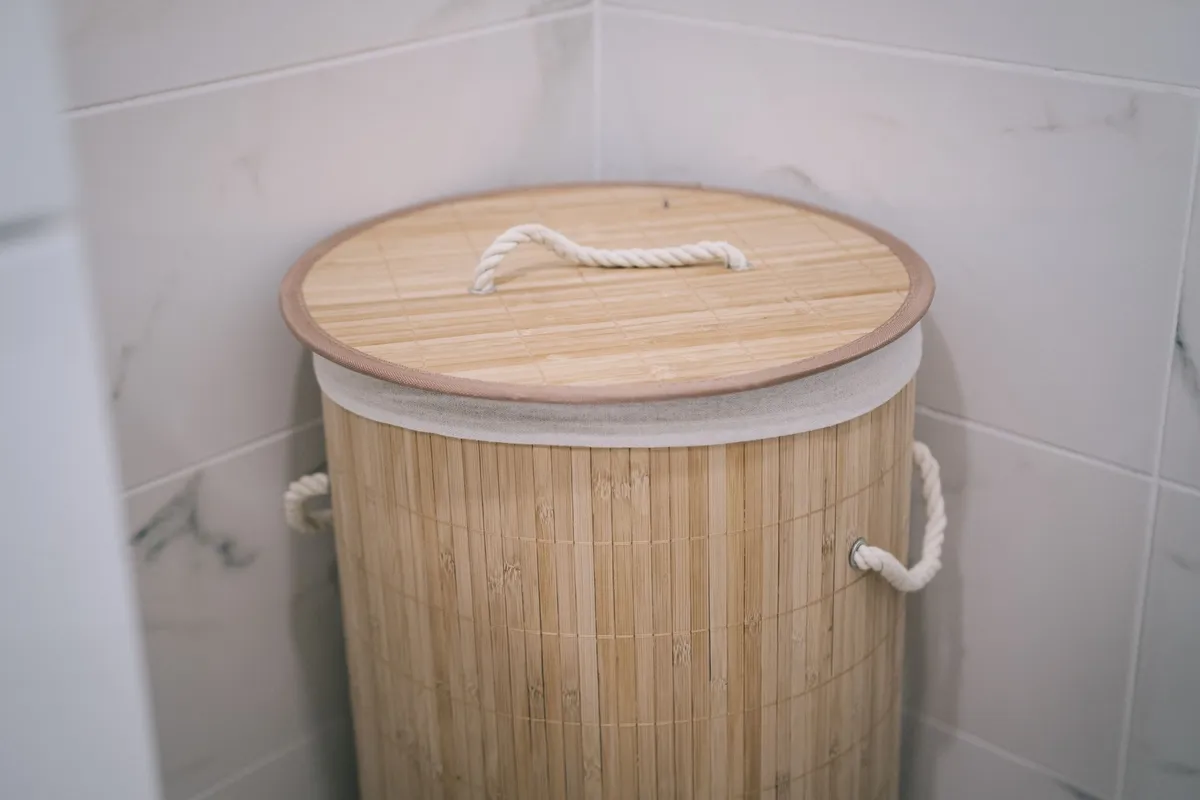
The multi-hamper problem is real. You either have one hamper (everything goes in together, laundry day is a sorting nightmare) or three separate hampers (they don’t fit anywhere). A 3-section rolling cart solves both.
Sort darks, lights, and delicates as you undress — which takes exactly zero extra time — and by laundry day you can pull out a section and start a load immediately. No sorting pile on the floor, no guessing whether that gray shirt goes with lights or darks.
The real win for small spaces: rolling carts tuck under counters or into corners when not in use. Slim-profile designs exist specifically for closet-sized laundry spaces, so measure your corner before you shop.
4. Mount a Fold-Down Ironing Board to the Wall
A full-size ironing board stored in the laundry room eats roughly 6 square feet of floor space you definitely don’t have. A wall-mounted fold-down version solves this elegantly — it folds flat against the wall when you’re done, like a picture frame.
Some models include a small built-in shelf for the iron itself, which is a nice bonus. When folded, the whole unit sticks out only a few inches from the wall. When open, you have a full-size ironing surface — no dragging a board out of a closet and knocking things over.
This is especially worth it in narrow laundry rooms where the ironing board has been quietly stealing 2 feet of walking space for years.
5. Stack Your Washer and Dryer to Free Up Floor Space
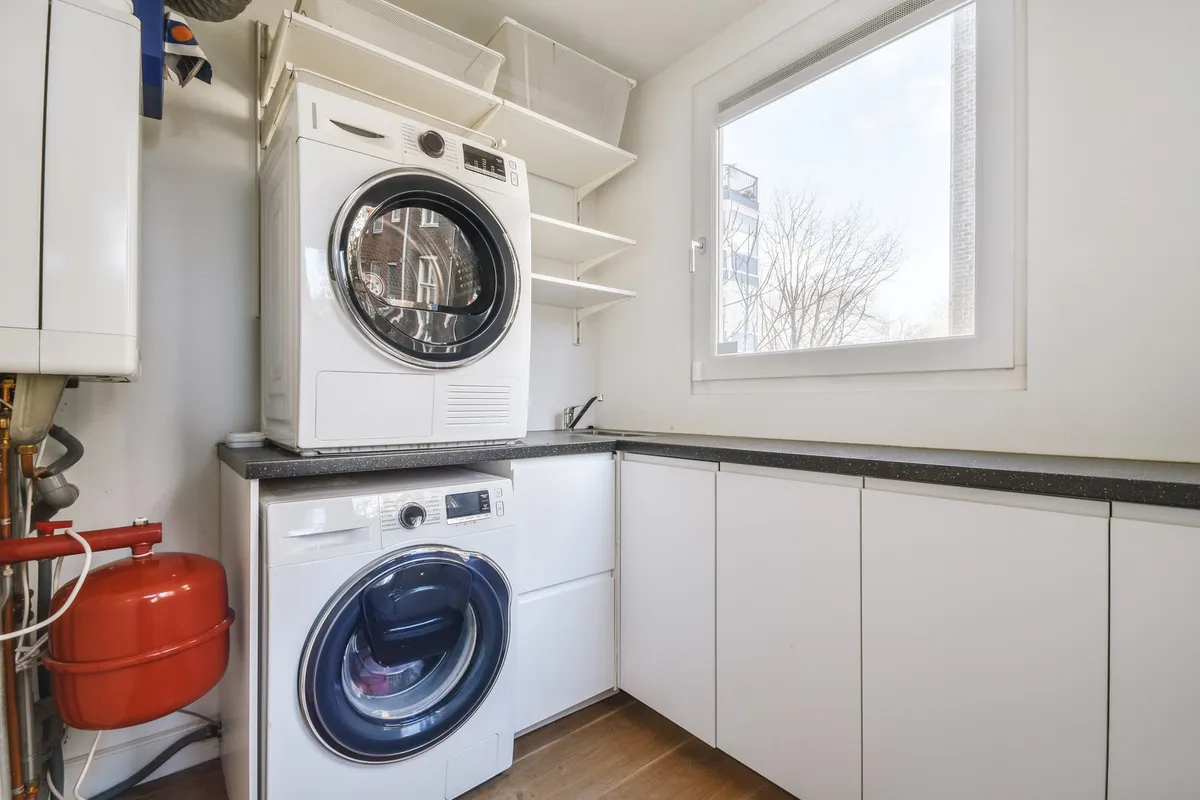
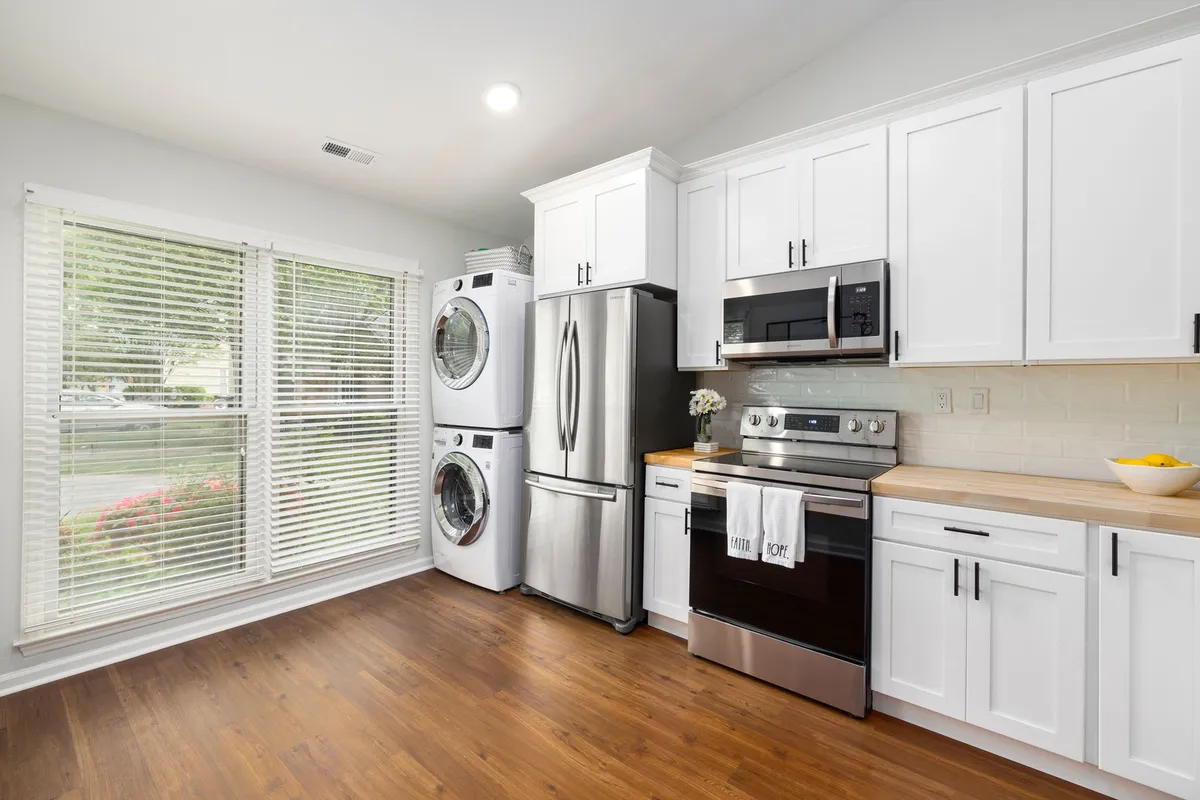
If you have front-loading machines, this is the single highest-impact change you can make. Stacking two front-loaders transforms a side-by-side footprint into a single column — which typically frees up 3 to 4 feet of floor space you can use for storage, a rolling cart, or an actual folding surface.
One important note: stacking kits are brand-specific. Check compatibility before you buy anything. Some kits also require machines to be the same brand, sometimes even the same model series. A quick search of your model numbers will tell you what works.
If you have a top-loading washer, stacking isn’t an option — but laundry pedestal drawers that install under each machine are a good alternative. They’re a small investment and add a drawer of real storage under each unit without taking up any extra floor space.
6. Hang a Tension Rod for Drip-Dry Items
A tension rod installed between two walls — or inside a cabinet above the machines — creates an instant hanging bar for drip-dry and delicates. No holes, no tools, no landlord conversation required.
Use it for blouses that can’t go in the dryer, freshly ironed shirts you’re about to put away, activewear that needs to air out, or anything you’re pulling from the wash and hanging immediately. For a small laundry closet, a tension rod across the upper opening can also hold a hanging pocket organizer repurposed for laundry supplies.
Make sure you use a heavy-duty tension rod rated for the span — the flimsy ones buckle under the weight of wet clothes.
7. Build a Countertop Over a Top-Loading Washer for Folding Space
This one sounds harder than it is. If you have a top-loading washer, you can’t stack — but you can create a folding surface by setting a cut-to-size panel across both machines (or just the washer, if the dryer height doesn’t match).
A butcher block panel from a home improvement store or a prefab laminate countertop slab works well here. Many stores will cut to size for a small fee, or you can do it yourself with a circular saw. The result is a proper countertop that lets you fold laundry in the same room where you wash it — which sounds basic, but if you’ve been schlepping laundry to the couch and leaving it there for four days, it’s a genuine life improvement.
Pair it with a small pegboard above for hanging brushes, bags, or a notepad — more on pegboard in the next idea.
If you’ve been skimming, slow down for the next three — they’re the most underrated ideas on this list.
8. Use Pegboard to Organize the Wall Like a Pro
Pegboard is one of those things that seems like a craft room solution until you actually use it in a laundry room. It’s inexpensive, available at any home improvement store, and completely customizable — you can rearrange the hooks, baskets, and shelves whenever your needs change.
Mount it on a single wall section (it doesn’t need to cover the whole room) and hang whatever you reach for most: clothespins, a lint brush, a small basket for stain sticks, a hook for reusable shopping bags you’re waiting to put away. Paint it to match your wall color and it looks intentional, not tacked-on.
This works especially well above a makeshift countertop (like the one in idea #7) to create a functional, wall-mounted work zone.
9. Switch to Concentrated or Pod Detergent to Reclaim Shelf Space
This is the least glamorous idea on the list and one of the most effective. Jumbo jugs of liquid detergent are bulky, prone to dripping, and take up a shocking amount of shelf real estate. Switching to pods, tablets, or concentrated detergent strips immediately frees up that space without buying a single organizer.
If you want it to look nice — and you do — decant your pods into a glass jar or small canister with a lid. It takes 30 seconds, it looks tidy, and it’s easier to grab a pod than to wrestle with a giant jug at 7am.
This is also a good opportunity to audit what’s actually on your laundry shelf. How many half-empty specialty detergents do you have? Consolidate or toss, and you’ll free up a shelf without doing anything else.
10. Add a Slim Cabinet in the Gap Between Machines and the Wall
Most washers and dryers leave a 4 to 8 inch gap on one or both sides where they meet the wall or a cabinet. That gap is wasted vertical storage — and there are slim pull-out storage towers designed exactly for this.
Sometimes called gap organizers or slide-out pantries, these units are tall and narrow and typically come in 6-inch, 9-inch, and 12-inch widths. They’re perfect for detergent bottles, fabric softener, dryer balls, and anything else that’s currently crowding your shelf.
Critical step: measure the gap width before you buy anything. These towers are sized specifically, and there’s nothing more frustrating than assembling something that doesn’t fit. Measure at least twice at different heights, since machines aren’t always perfectly level and the gap can vary.
11. Label Everything So the System Stays Intact
Here’s the thing about organizing: any system that relies on everyone “just knowing” where things go will collapse within two weeks. Labels are what keeps it working.
Label your baskets, bins, and shelves — even the obvious ones. When someone else does the laundry (a partner, a teenager, a helpful houseguest who somehow makes things worse), labels mean they don’t have to guess and you don’t have to redo everything.
A label maker is a small one-time investment that pays off across your entire house, not just the laundry room. But chalkboard labels, printed tags, or even masking tape and a Sharpie work fine. The medium matters less than the habit. For more on labeling systems that stick, see How to Organize a Small Closet With No Built-Ins.
12. Install a Retractable Clothesline for Air-Drying Without the Bulk
A retractable clothesline mounts to two walls with small brackets and pulls out when you need it, then retracts back when you don’t. Unlike a tension rod (which is fixed once installed), a retractable line disappears completely when not in use.
This is sturdier than a tension rod for heavier wet items — think soaked jeans or dripping swimwear — and more discreet than a permanent drying rack. It’s especially useful in laundry rooms without easy outdoor access, where air-drying would otherwise mean dragging a drying rack through the house.
If you air-dry regularly, this is worth the small investment over a standalone rack that takes up floor space every time you use it.
13. Use the Back of the Door for a Lost-Socks Station
Every laundry room needs some version of this. Designate a small hanging basket or clip strip on the back of the laundry room door specifically for orphan socks — the ones that come out of the dryer without a match.
Instead of the single-sock drawer of doom where socks go to retire unmatched, orphans go on the door. On the next laundry day, you pair them up before folding. It takes an extra 90 seconds and eliminates the pile.
As a bonus, this spot doubles as a catch-all for items found in pockets: coins, receipts, lip balm, that hair tie that’s been missing since March. Kids actually enjoy using it, which is a minor miracle.
14. Add a Small Utility Sink If You Have Plumbing Access
This one is a bigger project, but if your laundry room has existing plumbing hookups, a compact utility sink is worth considering. It enables hand-washing delicates, pre-treating stains at the source, rinsing mop heads, and soaking items without trekking to the kitchen.
Compact freestanding and drop-in utility sinks are widely available at home improvement stores — some include a small cabinet underneath for cleaning supplies. This is not a DIY project if you don’t have existing plumbing access, and even with hookups, you may want a plumber to make the connection properly.
If you do have the plumbing for it, this upgrade makes the laundry room a true utility hub — not just the place the washer lives. For more on maximizing utility spaces, check out 10 Under-Sink Organization Ideas That Maximize Cabinet Space.
15. Bring in a Decorative Element to Make the Space Feel Intentional
This is the step almost everyone skips — and it’s often why a laundry room never quite feels “done” even after you’ve organized everything.
A laundry room you actually like being in gets maintained. One that feels like a utility closet you tolerate tends to backslide within weeks. The fix doesn’t have to be elaborate: one framed print on the wall, a small plant on the shelf, a washable mat that defines the space, or a coordinated color for all your bins and baskets.
Match your containers, choose a simple color palette, or paint one accent wall a shade that makes you smile. It takes minimal effort and zero functional value — but the functional value comes from the fact that you’ll actually keep the room organized because it feels worth the effort.
Where to Start When Your Laundry Room Feels Overwhelming
You don’t need to do all 15. In fact, trying to tackle everything at once is usually how “laundry room organization weekend” turns into a bigger mess than you started with.
Here’s a more manageable approach:
Quick wins (under 1 hour, no tools):
- Swap to pods or concentrated detergent and free up a shelf immediately (idea #9)
- Hang an over-the-door organizer on your laundry room door (idea #2)
- Add a tension rod between two walls for hang-dry items (idea #6)
- Set up a lost-socks station on the door (idea #13)
- Label everything that already has a home (idea #11)
Weekend projects (1–3 hours, minimal tools):
- Install floating shelves above the machines (idea #1)
- Mount a fold-down ironing board to the wall (idea #4)
- Add a slim pull-out tower in the gap beside your machines (idea #10)
- Build a countertop over a top-loading washer (idea #7)
Bigger projects (planning + budget required):
- Stack front-loading machines (idea #5)
- Install a retractable clothesline (idea #12)
- Add a utility sink if plumbing allows (idea #14)
If you have no folding space, start with idea #7 (countertop over a top-loader) or idea #1 (floating shelves). If clutter is the main problem, start with idea #9 or #11. And if everything is in complete chaos, just pick the one thing that annoys you the most every laundry day and start there.
For more help organizing the spaces around your laundry room, see How to Declutter Your Linen Closet in One Afternoon.
FAQ
How do I organize a laundry room with no counter space?
The fastest fix is a floating shelf above your machines or a butcher block panel on top of a top-loading washer — either one gives you a functional surface without any renovation. Over-the-door organizers also help by freeing up whatever surface has become the default dumping ground for supplies.
What can I do with a tiny laundry closet instead of a full room?
Closet laundry setups benefit most from vertical thinking. Floating shelves above the machines, an over-door organizer on the closet door, and a tension rod for hang-dry items all work without taking up any floor space. If you have front-loading machines, stacking them is the single biggest win — it can turn a cramped closet into one with actual breathing room.
How do I organize a laundry room on a tight budget?
Start with tension rods (usually $5–10), an over-door pocket organizer ($15–25), and a roll of labels — all easy to find at Target or Dollar Tree. Repurposing what you already own, like a glass jar for detergent pods or an old shower caddy for supplies, costs almost nothing and still makes a noticeable difference.
Do these ideas work if I’m renting and can’t drill into the walls?
Yes — several of these ideas are built specifically with renters in mind. Tension rods, over-the-door organizers, rolling carts, and adhesive shelf brackets all avoid permanent damage, and most can come down with you when you move. If you’re not sure whether an adhesive product will hold, test it on a small section first and check the weight rating before loading it up.
How often should I reorganize my laundry room to keep it from getting cluttered again?
You don’t need a full overhaul more than once or twice a year, but a quick 10-minute reset every laundry day — putting stray items back where they belong, tossing empty bottles, pairing up orphan socks — keeps the system from sliding back into chaos. Labels help the most here, since they remove the guesswork for everyone using the space.