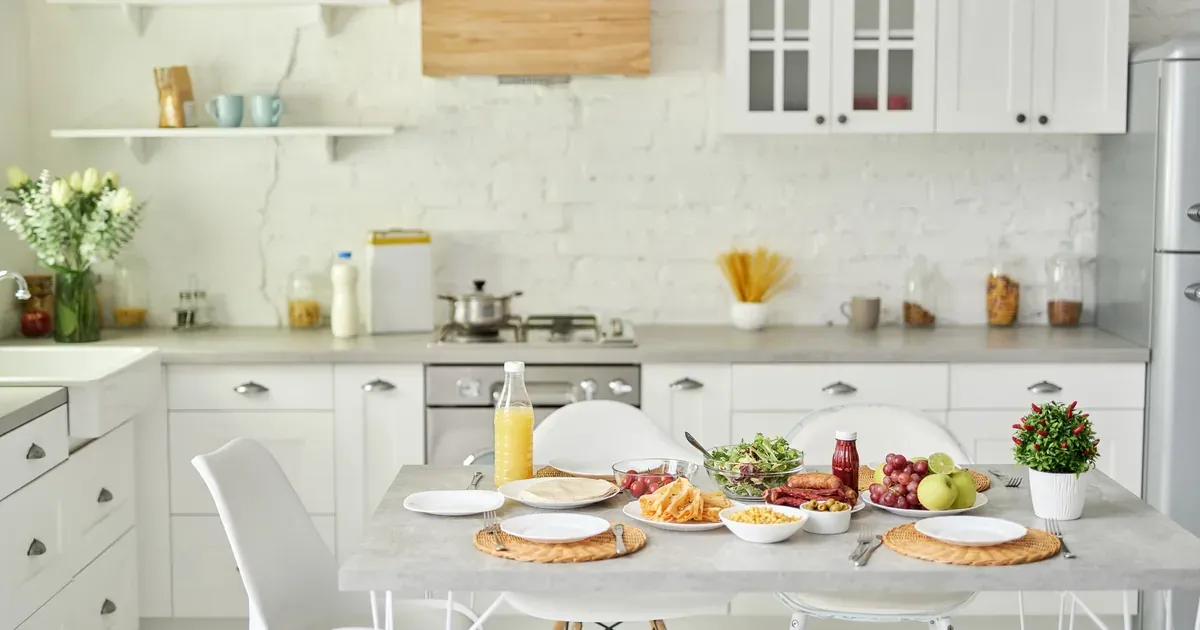
If your kitchen is roughly the size of a walk-in closet and you’re tired of playing Tetris every time you need a mixing bowl, this list is for you.
Most kitchen organization advice assumes you have the luxury of square footage. You don’t — and that’s fine. The 15 ideas below are specifically designed for small kitchens: no renovation, no contractor, and no wholesale life overhaul required. A few of them you can knock out tonight.
Quick note before we dive in: for renters worried about drilling, several of these are completely damage-free. I’ll flag them as we go.
Why Small Kitchens Are Actually Easier to Organize Than You Think
Here’s the mindset shift that makes all 15 ideas click: fewer square feet means fewer places for clutter to hide. That’s actually a gift.
The real problem in most small kitchens isn’t lack of space — it’s that the vertical and hidden areas are completely underused. Most people stack things on the counter when a wall could hold them. They pile items inside a cabinet when the door itself could do the work. They shove things under the sink when a simple rod could create a second level of storage for free.
You don’t need more room. You need to use the room you have differently.
None of these 15 ideas require a renovation. Most require less than an hour to implement. A handful require almost no money at all. We’ll start with the ones that give you the biggest payoff fastest — and build from there. For more cabinet-specific strategies, check out How to Organize Kitchen Cabinets Once and For All.
1. Use a Tension Rod Under the Sink to Double Your Storage
The area under the kitchen sink is one of the most wasted zones in any small kitchen. Spray bottles tip over, sponges live in a soggy pile, and everything gets shoved to the back never to be seen again.
A tension rod changes that instantly. Install one horizontally across the cabinet interior and hang your spray bottles upside down by their trigger handles. They’re off the floor, easy to grab, and suddenly you’ve got a full shelf’s worth of floor space back.
Tension rods are widely available, inexpensive, and require zero drilling — making this the single most renter-friendly hack on this list. Pair it with a small adhesive shelf mounted to the side wall for sponges and scrubbers, and you’ve just tripled the functional storage under that sink in about 10 minutes.
To do it:
- Measure the interior width of your under-sink cabinet.
- Buy a tension rod that fits (shower curtain tension rods work perfectly).
- Position it at a height that lets spray bottle triggers hook over the rod with the bottles hanging down.
- Add an adhesive hook or shelf on the side panel for sponge storage.
This one costs almost nothing and takes about 10 minutes. Do it tonight.
2. Mount a Magnetic Knife Strip to Free Up Counter Space
A knife block sitting on your counter is eating somewhere between 6 and 10 inches of prep space. That doesn’t sound like much until you’re trying to chop vegetables in a kitchen where every inch counts.
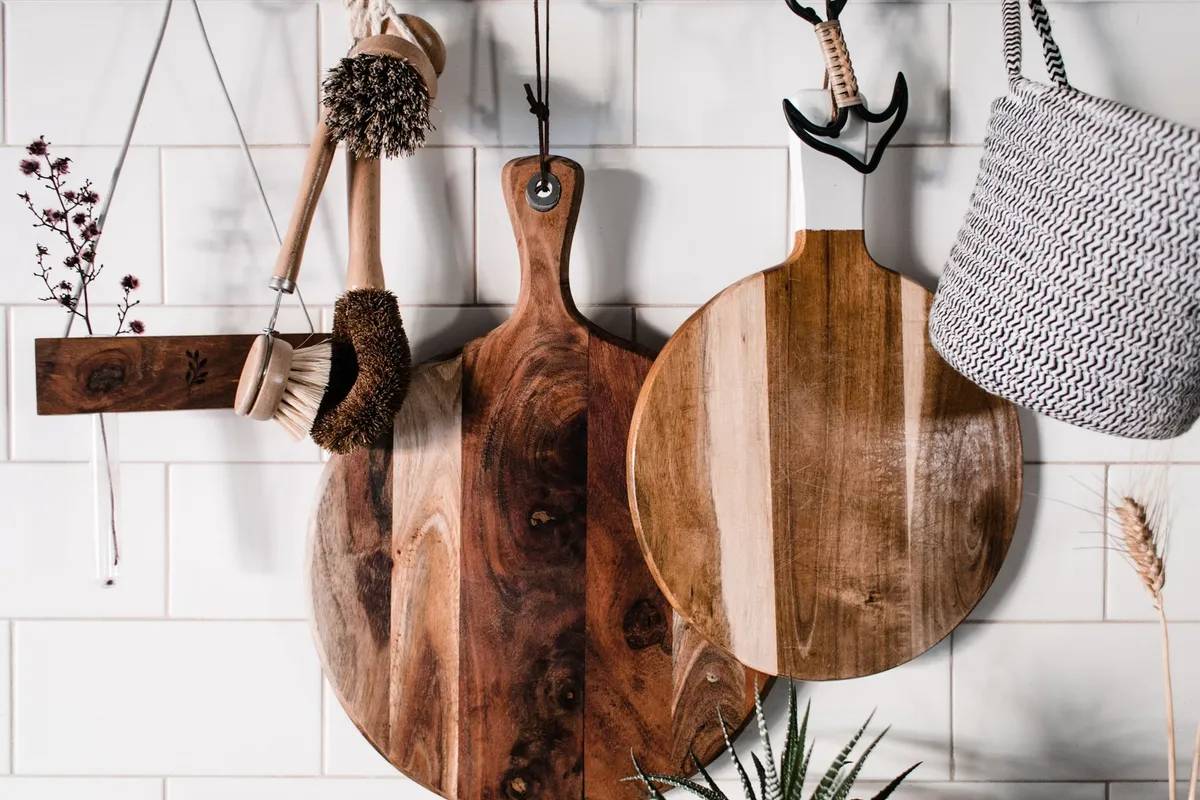
A wall-mounted magnetic knife strip holds the same knives, uses zero counter space, and keeps blades accessible without digging through a drawer. If you rent or can’t drill, look for Command strip-compatible versions — they exist and they hold surprisingly well.
The bonus feature most people don’t think about: magnetic strips also hold small metal spice tins, kitchen scissors, a peeler, even small metal measuring spoons. If you organize your small kitchen around vertical surfaces, this is one of the highest-utility items you can add to a wall.
Mount it near your primary cutting board, at a height that’s easy to reach without stretching. Keep it to the knives you actually use weekly — not the ones you own “just in case.”
3. Stack Vertically With Open Shelving Above the Counter
Look at the wall space between your upper cabinets and your countertop. That gap is probably 18 to 24 inches of completely unused real estate.
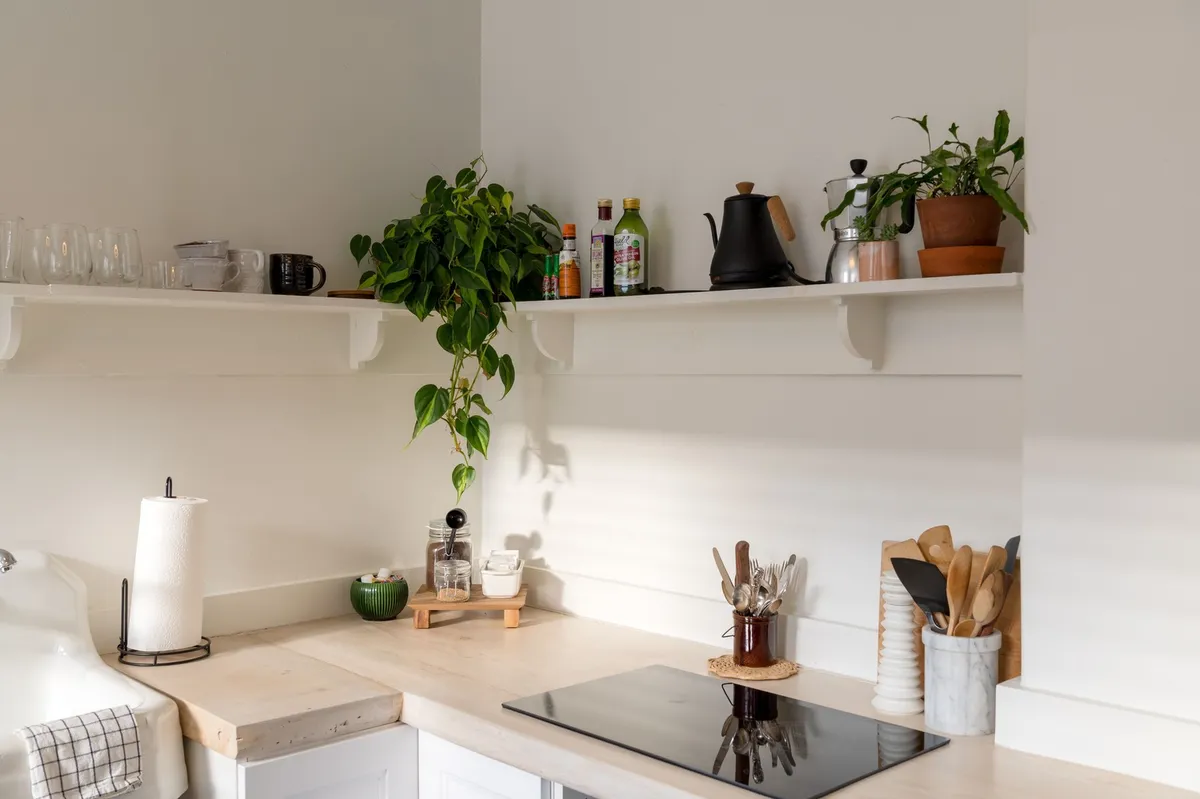
A floating shelf or two in that zone — even a single narrow shelf — gives you a spot for daily-use items that currently live on the counter: coffee mugs, everyday bowls, a small plant if you’re into that sort of thing. Moving even three or four items off the counter creates breathing room that makes the whole kitchen feel less chaotic.
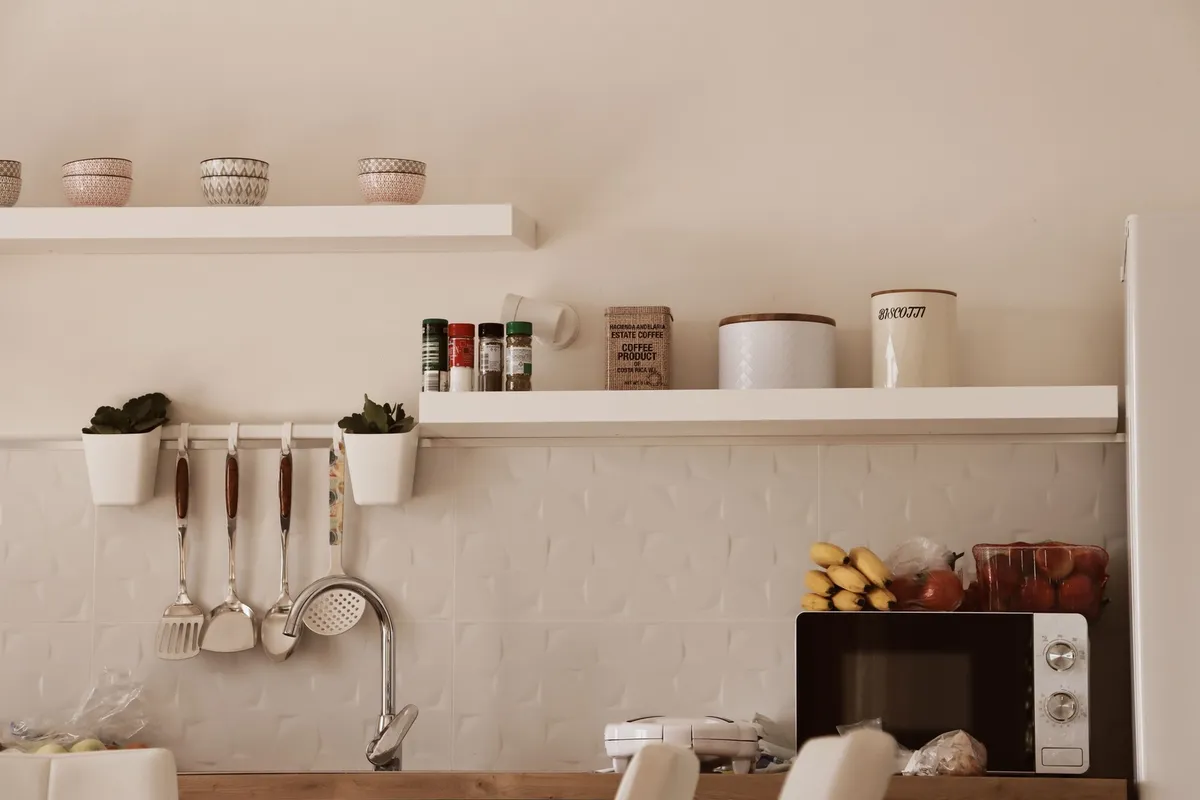
Keep this shelf to items you reach for every single day. If something sits up there untouched for two weeks, it doesn’t belong there. The goal is a “grab and go” zone, not a display shelf for things you’re not sure where to put.
Floating shelf brackets are available at Target, IKEA, and most hardware stores. Look for ones rated for kitchen use — kitchens have humidity and you don’t want a shelf sagging over your coffee maker.
4. Add a Rolling Cart for Flexible Counter and Storage Space
A small rolling kitchen cart is the Swiss Army knife of small kitchen solutions. It adds prep surface when you’re cooking and disappears when you’re done. It holds a shelf or two of pantry overflow. Some have side hooks for utensils, towels, or a bag of onions.
The key is “rolling” — stationary carts just become permanent obstacles. You want something you can pull out, use, and tuck back against a wall or into a corner without effort.
Look for a cart with a butcher block or solid wood top (durable, doubles as a cutting surface), a shelf or drawer below, and hooks on at least one side. If your kitchen has a pocket of dead floor space — a corner, a gap between the fridge and the wall — a cart can transform that zone into functional storage almost immediately.
This is also a good solution for people who want a designated coffee or tea station without permanently sacrificing counter space to it.
5. Organize Cabinets With Stackable Shelf Risers
Standard kitchen cabinets have fixed shelves that don’t account for the actual height of what you’re storing. The result is wasted air space — stacks of plates with 8 inches of empty space above them, or a shelf so full of overlapping bowls that getting to the bottom one is a full excavation.
Stackable shelf risers solve this by creating a second level inside the cabinet itself. You set one riser on the shelf and suddenly you have two usable surfaces where there was one.
They work especially well for:
- Plates and bowls (stack by size, use the riser for smaller or less-used pieces)
- Canned goods (riser in the back row, cans in front — no more can avalanche)
- Tupperware lids (store upright on the riser, containers stacked flat below)
- Spice jars on a pantry shelf
Stackable risers are an affordable category — widely available at Target, Amazon, and The Container Store. Look for ones with adjustable heights so you can customize to your cabinet’s shelves.
6. Hang a Pegboard on One Wall for Total Customization
If you have one wall in your kitchen that isn’t doing anything particularly useful, a pegboard panel might be the highest-ROI change you can make in a small kitchen.
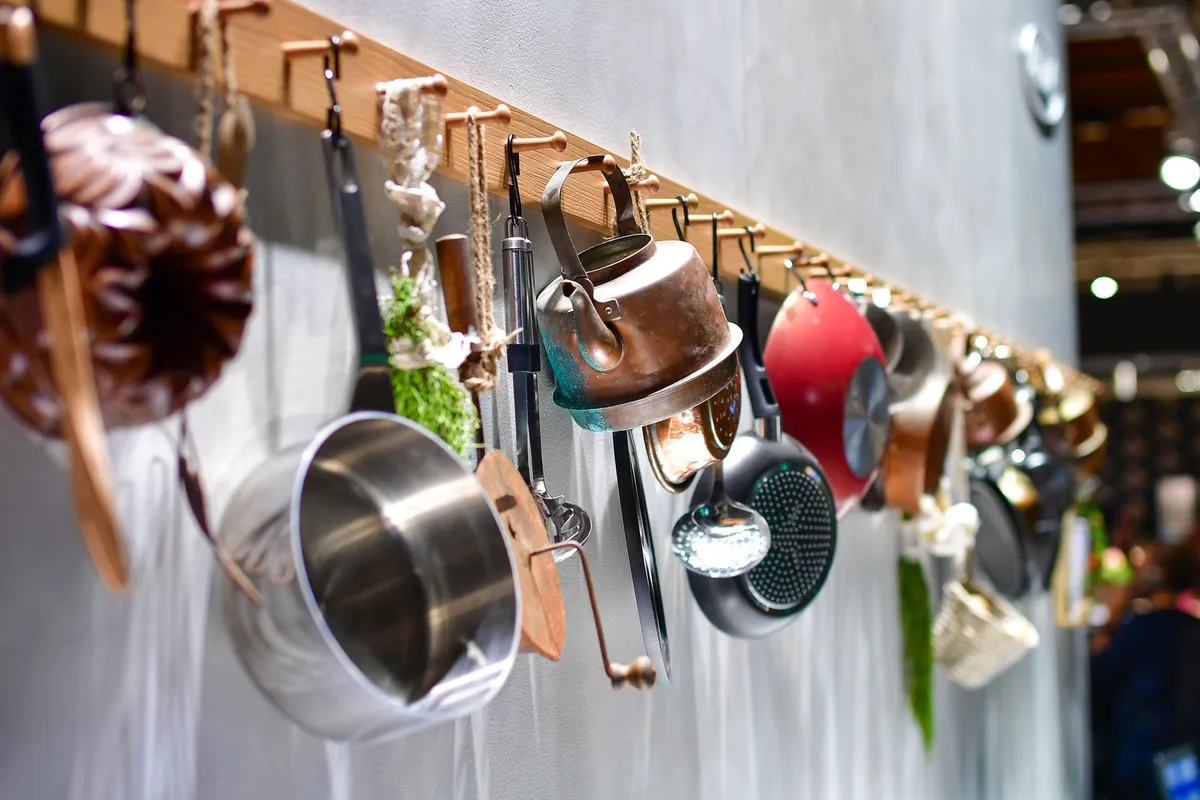
A single 2x4 foot pegboard can hold your most-used pots and pans, a row of utensil hooks, a few small baskets for garlic and potatoes, and whatever else you want to get off the counter and out of the cabinets. The hook layout is completely adjustable — no commitment, no permanent arrangement, just move things around as your needs change.
For renters: pegboards can be mounted with furring strips and heavy-duty wall anchors that do minimal wall damage when removed, especially with patching. Or look for freestanding pegboard frames that lean against the wall — they’re increasingly available and surprisingly stable.
Paint the board to match your kitchen for an intentional, finished look rather than a “I nailed a board to the wall” look. White pegboard in a white kitchen basically disappears — you just see the items hanging on it.
7. Switch to Nesting Bowls and Stackable Cookware
Pause here if you’re skimming. This one is the most overlooked fix on the list — and it frees up more cabinet space than almost anything else.
Non-stackable pots, non-nesting bowls, and mismatched pan sets are the primary reason lower cabinets turn into chaotic avalanche zones. You open the door, something falls out, you shove it back in and close the door fast.
Nesting mixing bowl sets stack into roughly the footprint of the largest bowl. A stackable pot-and-pan set stores in a fraction of the space of random individual pans accumulated over years. Nesting measuring cups hang on a ring rather than rattling around loose in a drawer.
You don’t have to replace everything at once. Start by pulling everything out of your lower cabinets and setting aside what doesn’t nest with anything else. Those are your replacement candidates. As pieces wear out, replace them with nesting versions.
8. Use the Inside of Cabinet Doors for Extra Storage
The inside of your cabinet doors is free storage space that most people walk past every single day without using.
Adhesive organizers mounted inside upper cabinet doors hold spice packets, foil boxes, plastic wrap, and parchment paper — items that currently take up a full shelf because there’s nowhere else to put them. Over-door organizers for lower cabinets hold cutting boards vertically (no more wrestling a stack of boards out of a lower cabinet), pot lids, or cleaning supplies.
Most of these options require zero tools — they clip over the door edge or use strong adhesive strips. That makes this a solid renter-friendly choice.
One tip: measure your cabinet’s interior depth before buying over-door organizers. Some cabinets don’t have quite enough clearance between the door organizer and the shelf edge, and you’ll find out the hard way when you close the door for the first time. Measure first.
9. Dedicate One Drawer to a Proper Utensil Divider System
The kitchen junk drawer isn’t inevitable. It’s a symptom of not having a designated home for things.
An expandable drawer divider — the bamboo or plastic kind that adjusts to fit different drawer widths — turns a chaotic utensil drawer into something you can actually navigate in under two seconds. That matters more than it sounds on a Tuesday morning when you’re running late.
The key step most people skip: before you set up the divider, do a 5-minute cull. Pull everything out and keep only what you actually use in a given week. That random takeout chopstick collection, the six nearly identical spatulas, the corn cob holders you’ve used once — those can go. Expandable drawer dividers are an affordable category, widely available, and hold up well with everyday use.
Once the divider is in, every slot has a job. Nothing floats loose. Check out How to Declutter Your Kitchen in One Afternoon if you want a more thorough approach to this process.
10. Store Pot Lids Vertically With a File Organizer or Lid Rack
Pot lids are genuinely one of the worst storage problems in a small kitchen. Stack them flat and they’re impossible to sort through without making a clatter and a mess. Prop them randomly inside a cabinet and they slide around and crash every time you open the door.
The fix is vertical storage. A metal file organizer from the office supply section — the kind meant for document folders — works perfectly as an improvised lid rack. Set it on its side in a lower cabinet and slot lids in upright, organized by size.
If you’d rather have a purpose-built solution, dedicated pot lid racks are widely available and some mount inside cabinet doors for completely hidden storage. Either way, the principle is the same: lids stored vertically are easy to flip through and grab the right one in seconds, with no clatter and no avalanche.
11. Maximize the Pantry (or Pantry Cabinet) With Clear Bins and Labels
If your pantry situation is “shove things in and hope for the best,” you’re spending more time than you realize searching for things you already own and accidentally buying duplicates of things you can’t find.
Clear bins with labels fix this by creating instant visual categories. You’re not scanning label-by-label trying to find the cornstarch — you go to the “baking” bin and it’s right there.
A few rules for doing this well:
- Use shallow bins at eye level — these give you maximum visibility for your most-used items (snacks, coffee, frequently used canned goods).
- Reserve deeper bins for upper shelves — less-frequent items like baking supplies, specialty ingredients, or backup stock.
- Label the bins, not the individual items — you want to know where things live at a glance, not read every container.
- Add a turntable lazy Susan to deep shelves — more on this in the next section.
You don’t need to spend a lot on bins. Clear bins from the dollar section at Target or TKMAXX work just as well as the expensive kind for dry goods storage. The label maker is worth the one-time investment — a labeled system is one you can actually maintain.
For more on building a pantry system that sticks, see 10 Pantry Organization Ideas That Make Meal Prep So Much Easier.
12. Put a Lazy Susan in Corner Cabinets and the Fridge
Corner cabinets are the Bermuda Triangle of kitchen storage. Things go in, they never come back out. If you’ve been reaching past three things to get to one thing every single day, a two-tier lazy Susan will change your life in a surprisingly disproportionate way.
The logic is simple: everything rotates to you instead of you digging for it. Items that used to live permanently at the back because they never got fully retrieved are suddenly just a spin away.
This same principle applies to the refrigerator. A small turntable on the fridge shelf — particularly the door shelf or a middle shelf full of condiments — means you can find the soy sauce or the salad dressing in two seconds without pulling out six things first.
Lazy Susans are one of the most affordable, highest-impact storage solutions in this entire list. Two-tier versions maximize vertical space in cabinets. Single-level turntables are compact enough for a single fridge shelf.
13. Trade Bulky Appliances for Multi-Use Compact Versions
This one requires a little bit of tough love with yourself — but it pays off in counter space.
First, do a honest audit: which appliances do you actually use at least once a week? For most households, that’s the coffee maker, maybe a toaster, and one or two others. Everything else is taking up counter or cabinet space for rare occasions.
Once you know what you actually use, consider whether any of those appliances could be replaced with a compact, multi-function version. For example:
- An air fryer-toaster oven combo replaces both a standalone air fryer and a toaster — that’s often 6-8 inches of counter space reclaimed.
- A compact blender with a single-serve cup replaces a full-size blender for most everyday uses.
- A slim single-cup coffee maker takes up a fraction of a full 12-cup drip machine if you only make one cup at a time anyway.
Appliances you use fewer than once a week don’t need to live on the counter at all. Store them in a cabinet, a pantry shelf, or up high. If you haven’t used something in six months, donate it — that’s just real estate you’re paying in counter space.
14. Hang Mugs and Free Up an Entire Cabinet Shelf
This is one of those ideas that sounds almost too simple until you count your mugs and realize they’re taking up an entire cabinet shelf by themselves.
Under-shelf mug hooks clip directly onto a cabinet shelf — no drilling, no hardware, no measuring. Each hook holds one mug. A set of 6 hooks clears your mug shelf completely and uses the underside of the shelf instead, which was doing nothing before.
Wall-mounted mug racks are another option if you have a stretch of backsplash or wall near your coffee station. They take the mugs completely out of a cabinet and turn them into a small display feature.
Either approach is renter-friendly and quick to install. If you have matching or coordinating mugs, this also happens to look genuinely nice — not every organization solution turns into visual clutter when it’s out in the open.
15. Decant Dry Goods Into Uniform Canisters to Save Space and Sanity
Bags of flour, boxes of pasta, bags of rice, bags of oats — they’re all different sizes, they tip over, they take up more space than their contents warrant, and they’re impossible to stack.
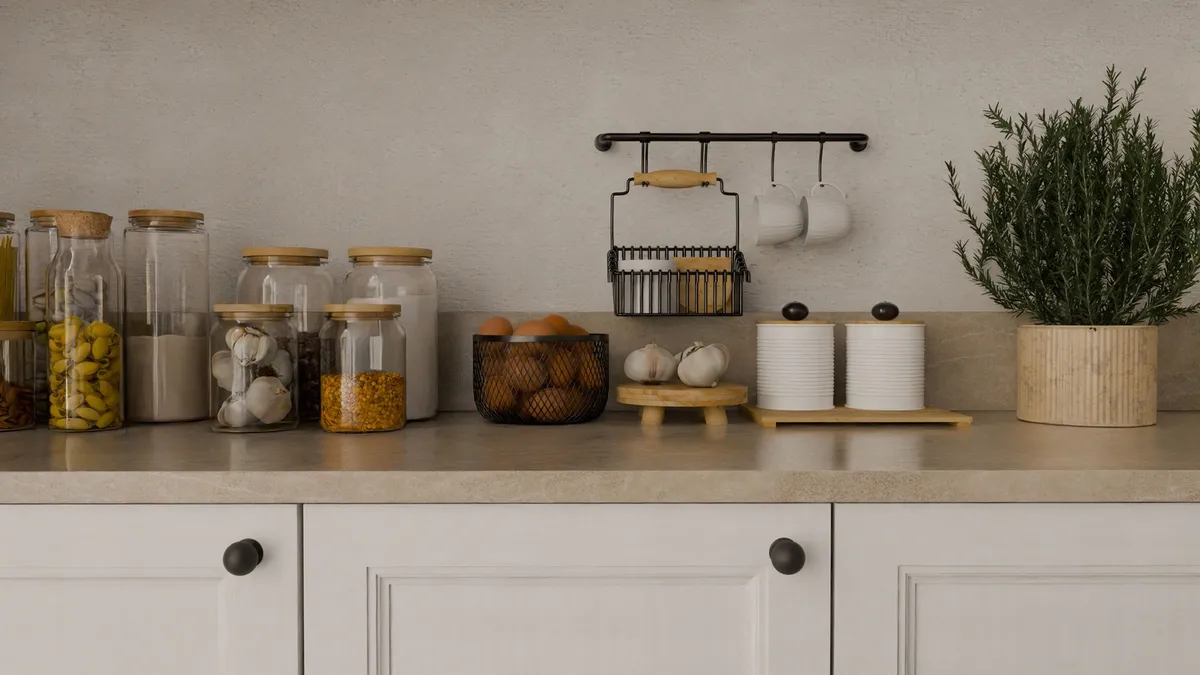
Decanting into uniform canisters — especially square or rectangular ones — lets you stack, line them up on a shelf, and actually see what you have at a glance. Square canisters are meaningfully more space-efficient than round ones because they leave no wasted gap between containers.
A set of airtight canisters with a label system (even just masking tape and a Sharpie works) on a pantryshelf, in a cabinet, or on a small tray on the counter turns a jumble of half-empty bags into something that actually looks intentional. It also keeps things fresher longer and makes it obvious when you’re running low, so you’re not discovering an empty flour canister mid-recipe.
Start with the items you go through fastest: flour, sugar, rice, pasta, oats, coffee, and cereal are the usual suspects. You don’t need to decant everything on day one — pick the five items causing you the most daily frustration and go from there.
Where to Start When Your Small Kitchen Feels Overwhelming
Fifteen ideas is a lot to look at in one sitting, and if your kitchen already feels chaotic, the instinct to tackle everything at once usually backfires. Pick one zone instead — the counter, under the sink, or a single overstuffed cabinet — and finish it completely before moving to the next.
Prioritize based on your actual daily frustration, not what looks the most satisfying in a photo. If you dread opening the lower cabinet every morning because pots avalanche out, start there. If your counter is so covered in appliances you can’t find prep space, start with the appliance audit.
If you want a genuinely quick win to build momentum, here’s a starter combo that costs under $30 total and takes less than an hour:
- Tension rod under the sink (~$5) — instant floor space and a place for spray bottles.
- Stackable shelf risers in one cabinet (~$12) — doubles storage in the cabinet that bothers you most.
- An expandable drawer divider (~$12) — turns one drawer from chaos into calm.
Do those three things this weekend and you’ll already feel the difference. The rest of the list is there whenever you’re ready to keep going — there’s no deadline, and a small kitchen that’s 60% organized still functions a lot better than one that’s 0% organized.
Frequently Asked Questions
How do I organize a small kitchen with no pantry?
Focus on vertical space — open shelving, pegboards, and stacking risers inside cabinets can dramatically expand your usable storage. Use a rolling cart as a portable pantry substitute, and decant dry goods into uniform canisters that stack neatly on any shelf.
What are the best small kitchen organization products under $20?
Tension rods (under $5), stackable shelf risers ($10-15), expandable drawer dividers ($10-15), under-shelf mug hooks (under $10), and a basic lazy Susan ($10-15) are all high-impact buys under $20. Most are available at Target, Walmart, or Amazon.
How do I keep a small kitchen organized long-term?
The key is giving every single item a designated home so it’s easy to put back in place. Avoid letting new items in without removing something old, and do a quick 10-minute reset at the end of each week to catch clutter before it builds up.