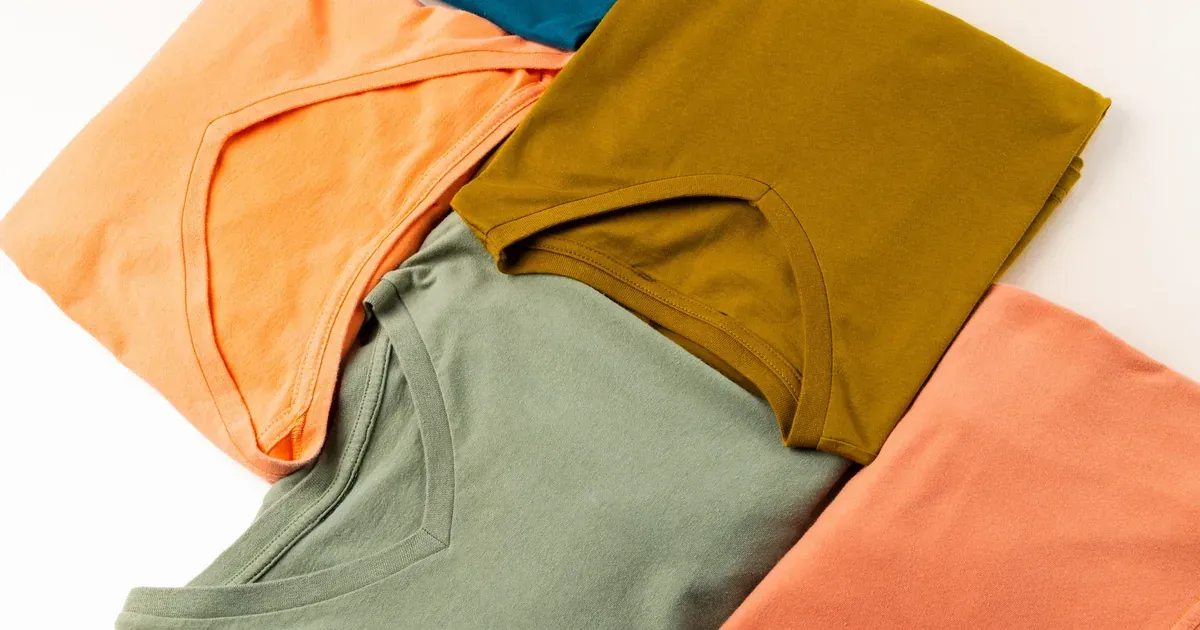
You open the drawer Monday morning and everything’s crisp — neat little stacks, all lined up. By Wednesday it’s a wrinkled heap and you’re digging through it like a lost-and-found bin. Sound familiar?
The problem isn’t that you’re messy. It’s that most of us fold t-shirts the way we learned as kids — flat, stacked, and stuffed into a drawer where gravity and daily digging destroy the pile within days.
This guide walks you through a folding method that actually holds up: shirts that stand upright, stay creased, and let you see every single one without unpacking the whole drawer. It takes about 15-20 minutes for an average t-shirt collection, and you don’t need anything fancy — just a flat surface and a few minutes of patience.
Why Your T-Shirt Folding Method Is Failing You
Here’s the cycle: you fold a stack of shirts flat, set them in the drawer, and it looks great for exactly one day. Then you pull a shirt from the middle of the stack, the whole thing shifts, and now you’ve got a leaning tower of tees that topples the moment you close the drawer.
That’s the pile-and-topple problem, and it’s not your fault. Flat folding — the fold you probably learned from a parent — was designed for shelves and closets with deep, wide space. It was never meant to survive the daily disruption of a shallow drawer where you’re constantly pulling from the stack.
A good fold should do three things: keep the shirt standing on its own, hold its shape without a mountain of wrinkles, and let you see the design or color without unfolding it. If your current method can’t do all three, it’s not really working — it just looks like it’s working on laundry day.
Before You Start: Set Up Your Space
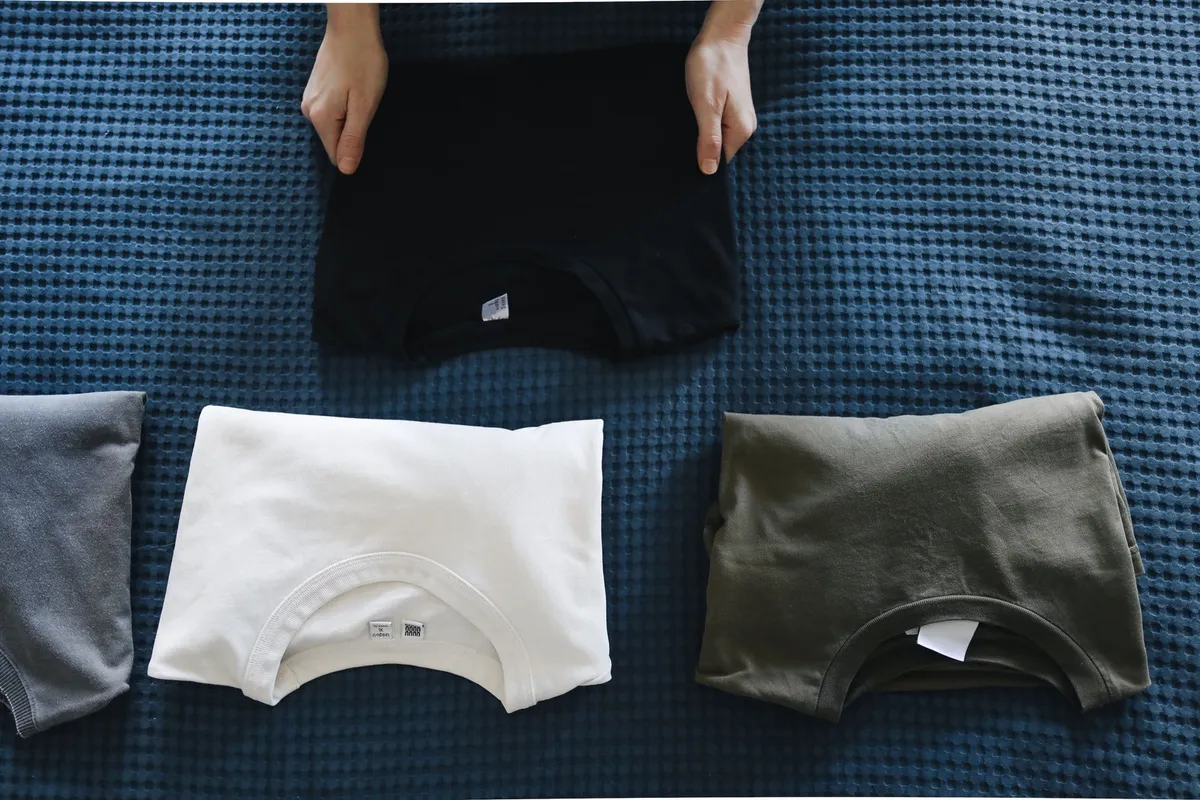
Folding on the floor might feel efficient, but you’ll end up hunched over and rushing. A bed or table gives you a flat, waist-height surface where you can actually see what you’re doing and smooth out wrinkles properly.
Before you fold a single shirt, sort. Pull everything out of the drawer or shelf and separate into keep and donate piles. There’s no point spending 20 minutes perfecting a fold on a shirt you haven’t worn in two years — that one’s headed to the donation bag, not back in the drawer.
Once you’ve sorted, decide how you’re storing these shirts. That decision changes your fold:
- Drawer storage calls for a vertical fold (the file-fold you’ll learn below), so shirts stand on their edge and stay visible.
- Shelf storage works better with a flat stack, since shelves don’t get disturbed the same way drawers do.
If you’re working with a shallow or narrow drawer, foldable drawer dividers can help keep vertical folds from sliding sideways — though they’re optional, not required. You can get the same effect from things you already own, which we’ll cover later.
The Basic Flat Fold, Step by Step
This is your foundation fold — the building block for both flat stacking and the file-fold. Master this first.
- Lay the shirt face-down on your flat surface and smooth out wrinkles with your hand, working from the collar down to the hem.
- Fold one side in toward the center, tucking the sleeve back so it lies flat against the body of the shirt.
- Repeat on the other side, so you’ve got a narrow rectangle with both sleeves tucked in.
- Fold the bottom hem up toward the collar, creating a smaller, compact rectangle.
That’s it — four steps, maybe 15 seconds once you get the rhythm down. This fold works fine on its own for shelf stacking. For drawers, you’re going to take it one step further.
The File-Fold (Vertical Fold) for Drawers
This is the fold that actually solves the toppling problem, and it’s worth the extra 30 seconds per shirt.
Start with the basic flat fold above, but instead of stopping at step 4, fold the rectangle in half again (or in thirds, depending on shirt length) so you end up with a smaller, thicker rectangle — roughly the height of your drawer.
Here’s the key difference: instead of laying that rectangle flat in a stack, you stand it up on its edge, like a folder in a filing cabinet. Line the next shirt up right next to it, standing the same way. Keep going until the whole drawer is filled with shirts standing in a row.
The reason this works where flat stacking fails: you’re not disturbing the shirts around it when you pull one out. Grab a shirt from the middle of the row, and everything else stays put — no avalanche, no digging.
- Fold each shirt to roughly the same height so the row looks even and nothing peeks above the rest.
- Face the folded edge toward the front of the drawer so you see a clean line, not a jumble of loose hems.
- If shirts are floppy and won’t stand on their own, they’re folded too thin — fold in thirds instead of half for extra structure.
Drawer dividers or small bins are useful here if your shirts keep leaning sideways, but a snug row of shirts often supports itself without any extra hardware.
The 5-Second Military Fold (For Speed)
Some days you don’t have 20 minutes. You’ve got a mountain of clean laundry and a toddler yelling from the next room. That’s when the speed fold earns its keep.
Lay the shirt face-down, and use your forearm as a guide: place it diagonally across the shirt from shoulder to hip, fold one side over your arm, then the other side over that, then slide your arm out and fold the shirt in half. It sounds more complicated written out than it is in practice — after two or three tries, your hands remember it.
This fold is best for laundry-day batches when you’re plowing through a full basket and just need shirts folded, not museum-quality creased. The trade-off is real: edges are less crisp than a proper file-fold, and it doesn’t hold its shape quite as long. But when speed matters more than precision, it gets the job done.
Folding for Shelves vs. Drawers vs. Suitcases
Not every storage spot needs the same fold. Matching the fold to the space saves you frustration later.
- Shelves: Stick to flat stacks, but cap each pile at 4-6 shirts. Stack higher than that and the bottom shirts get crushed, while the whole tower risks toppling when you pull from the middle.
- Drawers: Always file-fold. Standing shirts upright is the single biggest change you can make to stop the collapse-and-dig cycle for good.
- Suitcases and travel bags: Switch to a tighter roll-fold instead. Rolling saves space compared to any flat fold and tends to reduce deep wrinkles from being packed tightly for days.
If you travel often, packing cubes make rolled shirts even more compact and keep them from unrolling loose in your suitcase. Not essential, but a nice upgrade if you’re a frequent packer.
How to Keep Folded Shirts From Falling Over
Even a perfect file-fold can lean over time if the row isn’t supported. A few small habits fix this.
- Group shirts by category or color. When you know exactly where a shirt lives, you pull it out and put it back in the same spot — less digging means less disruption to the row.
- Add upright supports. Drawer dividers, small bins, or repurposed shoeboxes all work as bookends that keep a row of file-folded shirts from slumping sideways.
- Don’t overfill the drawer. Shirts need a little breathing room. Packed too tight, and they get squished sideways instead of standing straight; too loose, and they flop over with nothing to lean on.
The sweet spot is a drawer that’s full enough to keep shirts standing, but not so stuffed you’re wrestling it shut. If you’re eyeing storage upgrades, How to Organize a Dresser Drawer That Actually Stays Neat goes deeper into dividers and layout for drawers specifically.
Common Mistakes to Avoid
- Folding shirts while damp. It locks in wrinkles and a musty smell that no amount of good folding technique can undo — always fold completely dry shirts.
- Stacking too many flat-folded shirts in one pile. Beyond 5-6 shirts, the stack gets unstable and the bottom shirts basically disappear from view (and get crushed).
- Ignoring fabric weight. A heavy hoodie folded the same size as a thin cotton tee will bulge and throw off your whole row — fold thicker items a size larger.
- Skipping the sort step. Folding donate-worthy shirts just wastes your time now and your closet space later. Sort first, fold second.
- Folding sleeves too loosely. If the sleeve tuck is sloppy, the whole fold loses its shape within a day, even in a drawer.
FAQ
What is the best way to fold t-shirts for a drawer?
Use the file-fold method: fold the shirt into a flat rectangle, then store it standing on its edge like a file folder. This keeps every shirt visible and prevents the toppling pile effect flat stacking causes.
How do you fold t-shirts so they don’t wrinkle?
Make sure shirts are completely dry before folding, smooth out wrinkles with your hand before each fold, and avoid overstuffing drawers so shirts aren’t compressed too tightly.
Is the KonMari fold the same as the file-fold?
They’re very similar — both create a small rectangle that stands upright in a drawer. The KonMari method emphasizes folding until the shirt can stand on its own, which is the same core idea as filing shirts vertically.
How many times should you fold a t-shirt?
Most methods use 2-3 folds: one or two side folds to narrow the shirt, then a bottom-to-top fold to shorten it into a compact rectangle. The exact count depends on shirt size and drawer depth.
Pick one drawer tonight — just one — and try the file-fold on whatever’s inside. You’ll see the difference the second you stand that first shirt upright, and by the weekend, refolding the rest of your closet with this method will feel like second nature.