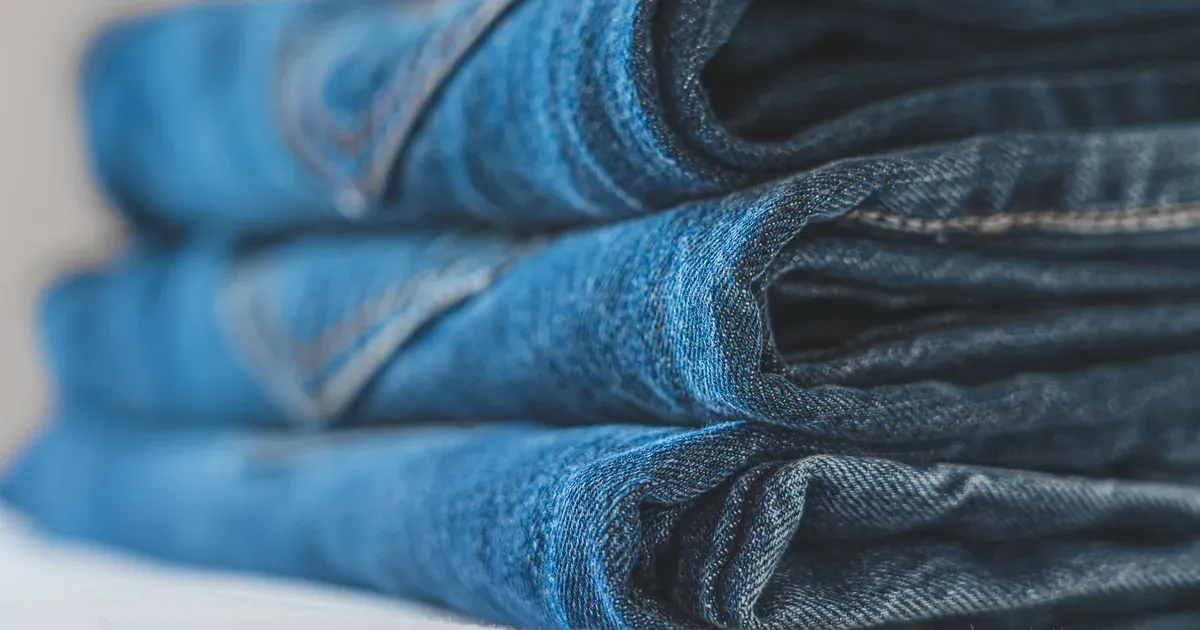
You pull a shirt from the drawer and three others come with it. You fix the pile, grab what you need, and close the drawer hoping for the best. Two days later, it’s a disaster again.
The problem usually isn’t that you don’t have enough drawer space. It’s that the folding method isn’t working for your shirts, your drawers, or your habits. A good fold holds its shape. A bad one collapses the second you pull a neighbor shirt out.
This article covers 5 specific folding methods — one for everyday tees, one that makes every shirt visible at a glance, one for packing, one for dress shirts, and one for the hoodies that eat your entire drawer. By the time you’re done reading, you’ll know exactly which method fits each shirt type you own. Give yourself about an hour to try the first two on one drawer, and you’ll see the difference immediately.
Why Your Folding Method Actually Matters
Here’s the thing most people don’t realize: a messy shirt drawer is almost always a folding problem, not a storage problem. Buying a bigger dresser won’t fix it. Neither will buying more bins.
The fold determines three things: how much space the shirt takes up, whether it wrinkles sitting in the drawer, and whether you can actually find it when you’re half-awake at 7am. A shirt folded too wide collapses when you pull its neighbor. A shirt folded too loosely won’t stay upright in a vertical system. A dress shirt folded without buttoning first is going to look like you slept in it.
Different shirts also need different approaches. A thin cotton tee is forgiving. A heavy hoodie will destroy a drawer system built for tees. A button-down needs to be treated like it has feelings.
Here’s what’s coming:
- Method 1 — The Basic Tri-Fold for everyday tees in a standard drawer
- Method 2 — The KonMari Vertical Fold so every shirt is visible at once
- Method 3 — The Ranger Roll for travel or a seriously overstuffed drawer
- Method 4 — Folding Dress Shirts so they don’t wrinkle in storage
- Method 5 — Handling Bulky Sweatshirts and Hoodies without losing your mind
What You Need Before You Start (Minimal Tools Required)
Good news: you don’t need much. Here’s what actually helps:
- A flat surface. A table, the bed, the floor — all fine. You just need room to lay a shirt fully flat without it hanging off the edge.
- Sorted piles by category. Before you fold a single shirt, group them: tees together, long-sleeves together, dress shirts together, sweatshirts together. Different categories = different methods.
- Dry shirts only. Even slightly damp shirts will develop musty smells and stubborn creases baked right into every fold. If something came out of the dryer recently and feels even a little warm-damp, let it finish air-drying first.
- A firm shake for each shirt. Before you fold, hold the shirt by the shoulders and give it 2-3 good snaps to smooth the fabric. This takes 3 seconds and saves you from folding wrinkles into the shirt permanently.
- Optional: a folding board. These plastic boards (widely available at Target and on Amazon) give you identical folds every single time. Not required, but worth considering if you want your drawer to look like a store display and stay that way. Great for households with multiple people folding laundry with different “interpretations” of a consistent fold.
That’s it. No fancy system required to start. Pick up everything off the floor, give each shirt a shake, and let’s go.
Method 1: The Basic Tri-Fold (Everyday Go-To)
Best for: Standard t-shirts being stacked in a deep drawer or on a shelf.
This is the fold most people already do — the issue is usually that they do it inconsistently. Done right, shirts stack neatly and stay put. Done sloppily (too wide, too loose), the pile tips and you’re back to chaos within a week.
Here’s the step-by-step:
- Lay the shirt flat, front-side down on your surface.
- Fold the left third of the shirt toward the center — sleeve and all.
- Fold the right third toward the center the same way. You should now have a long rectangle roughly the width of your drawer.
- Fold the bottom hem up to the midpoint of the shirt.
- Fold that section up again to the collar. You’ll end up with a compact rectangle.
The width of your side folds matters. Measure your drawer before you start and fold each shirt to match that width — give yourself a little breathing room so shirts don’t jam. For smaller drawers, go narrower on the side folds. For deeper shelves, you can go wider.
The most common mistake here: folding too wide so that shirts are slightly wider than the drawer. They won’t stack cleanly, they’ll splay out, and your neat pile will collapse every time you pull one out. When in doubt, fold slightly narrower than you think you need.
This is a great method for shelves and deep drawers where you’re stacking shirts on top of each other. If you’re tired of shirts at the bottom disappearing for months at a time, that’s your cue to try Method 2 instead.
Method 2: The KonMari Vertical Fold (Game-Changer for Drawers)
Best for: Anyone who has ever lost a shirt at the bottom of a stack and forgotten they owned it for six months.
The KonMari method (popularized by Marie Kondo) stores shirts vertically — like files in a filing cabinet — so you can see every single shirt at once just by looking into your open drawer. No more digging. No more stack-collapsing. Every shirt gets equal visibility.
Here’s how to do it:
- Lay the shirt flat, front-side down.
- Fold one long side into the center (about one-third of the shirt width), including the sleeve.
- Fold the other side in the same way. You now have a long, narrow rectangle.
- Fold the bottom hem up toward the collar about one-third of the way.
- Fold again, bringing the bottom up another third.
- Fold once more — you should have a compact rectangle roughly the height of your drawer’s depth.
- Stand it upright on its folded edge. It should hold that position on its own. If it flops over, it’s folded too loosely — go back and tighten each fold.
That last test is important. A shirt that can’t stand on its own won’t stay vertical in the drawer either.
Store your shirts side by side, standing upright, so the open drawer shows every shirt at once. Pair this method with small drawer dividers or organizer bins to keep the rows from tipping into each other — this is especially helpful when the drawer isn’t full. Fabric drawer dividers work well here because they’re flexible enough to adjust as your shirt count changes. You can find affordable options at Target, IKEA, and Amazon.
If you only try one new method from this article, make it this one. It’s the single biggest visual upgrade you can make to a shirt drawer. See also: How to Organize a Dresser Drawer So It Stays That Way for how to set up the full drawer system around it.
Method 3: The Ranger Roll (Saves the Most Space)
Best for: Travel packing, gym bags, or a drawer that is genuinely, embarrassingly overstuffed right now.
This is a military packing technique, originally used to fit maximum clothing into a backpack or duffle. It creates an extremely tight, compact roll that holds its shape without unraveling. The results are almost satisfying to look at.
Step-by-step:
- Lay the shirt flat, front-side up.
- Fold the bottom hem up about 3 inches, creating a cuff along the bottom edge. This cuff is what holds the whole roll together at the end — don’t skip it.
- Fold the shirt in thirds lengthwise (same as the KonMari — one side to center, other side to center).
- Starting at the collar, roll the shirt tightly downward toward that folded cuff.
- When you reach the cuff, stretch it up and over the rolled shirt to lock everything in place.
The result is a tight cylinder that won’t unroll. Rolled shirts can stand upright in a drawer, line up in a suitcase layer without wasting vertical space, or pack into a gym bag without turning into a crumpled ball.
This method works best on thinner fabrics — cotton tees, tanks, lightweight long-sleeves. Thicker fabrics resist the tight roll and don’t hold as well.
For travel specifically, packing cubes are a natural companion to this method. You can roll an entire week of shirts into one cube and pull individual rolls out without disturbing the rest. It genuinely changes how much fits in a suitcase.
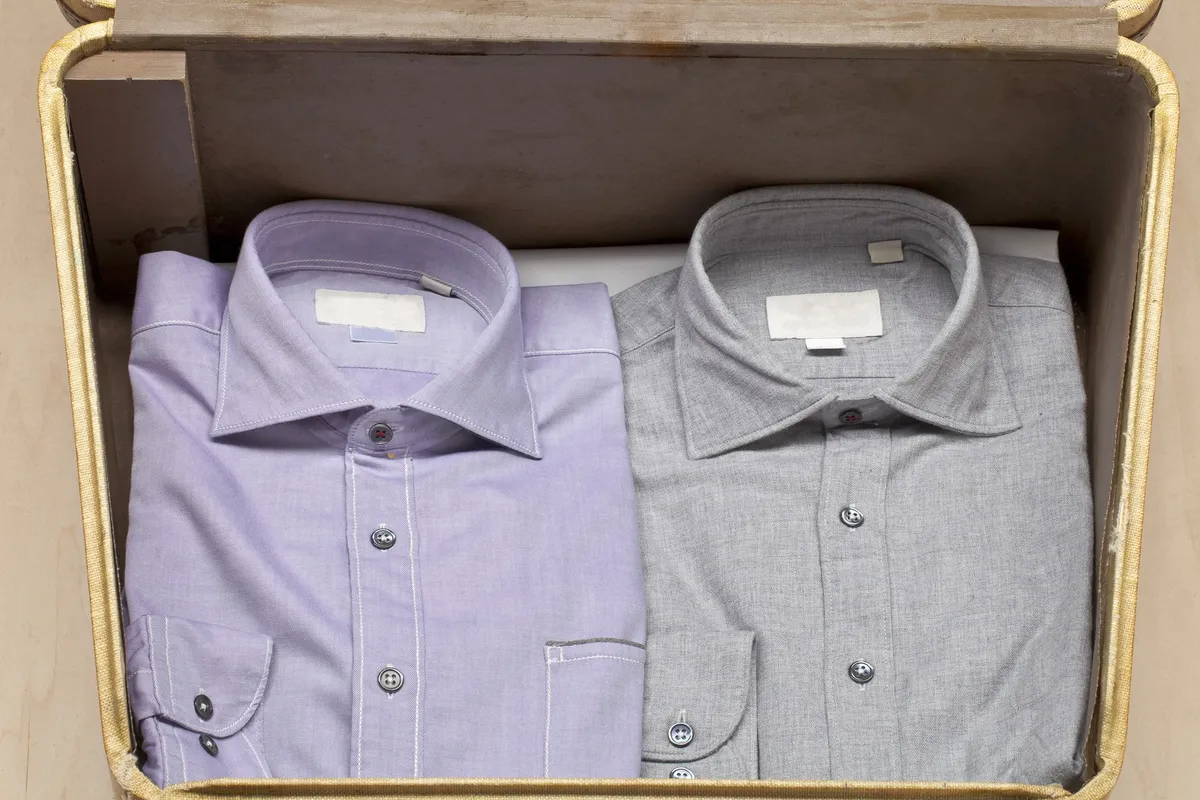
Method 4: Folding Dress Shirts to Avoid Wrinkles
Best for: Button-downs and dress shirts when hanging space is limited.
Honest truth first: if you have the rod space, hang dress shirts. Hanging is always better for preventing wrinkles. But when drawer space is what you have, here’s how to fold a dress shirt without ruining it.
- Button all buttons before you touch the shirt. This is the most skipped step. Buttoning keeps the front placket flat and stops the shirt from twisting during folding. All buttons — collar, cuffs, every single one.
- Lay the shirt face-down on a flat surface.
- Fold one sleeve across the back of the shirt diagonally, angling it downward so it runs parallel to the shirt’s side seam. Repeat with the other sleeve.
- Fold one side of the shirt (about one-third) toward the center. Fold the other side to meet it.
- Fold the bottom hem up one-third.
- Fold up once more so the collar is on top.
The collar should be the last thing you see when you look at the folded shirt. Store it flat in a drawer with the collar face-up, or use the KonMari method to stand it vertically if drawer depth allows.
Two things that will wreck a dress shirt in a drawer: overpacking (pressure at every fold line = permanent creases) and slightly damp fabric. If a dress shirt was recently ironed and put away while still warm, let it cool completely before folding.
If you find yourself folding more than 3-4 dress shirts regularly, it’s worth considering slim velvet hangers to free up rod space elsewhere in your closet. They’re widely available at Target and Amazon and hold far more shirts per inch of rod than standard plastic hangers. Your dress shirts will thank you. Best Closet Organization Ideas for Small Spaces has more on making the most of limited rod and shelf space.
Method 5: Folding Bulky Sweatshirts and Hoodies
Best for: Hoodies and heavy sweatshirts that currently eat your entire dresser.
Sweatshirts are the enemies of any drawer system built for tees. They’re thick, they compress unevenly, and a stack of 5 hoodies takes up the same space as 15 t-shirts. The goal here is containment.
The hood trick (works for zip and pullover hoodies):
- Lay the hoodie flat, front-side down.
- Fold the sleeves in across the back.
- Fold the sides in toward the center so you have a long rectangle.
- Fold the bottom up, then fold again.
- Flip the whole bundle over and tuck it into the hood, which acts as a built-in pocket. The hood wraps around and holds the bundle together.
This creates a tidy, self-contained package. It’s oddly satisfying. It also prevents the bundle from unfolding itself in a drawer.
Stack limit: No more than 3-4 heavy sweatshirts per stack. Beyond that, the bottom ones get crushed and the pile becomes structurally unsound (ask anyone who’s tried to pull the bottom hoodie out of a stack of 7).
For very thick hoodies and fleece items, drawers may not be the right storage at all. Open fabric cube storage bins — the kind that fit IKEA Kallax units or similar cube shelf systems — work significantly better. You can fold each sweatshirt into a wide, flat rectangle and stack them in a cube where they can breathe. This is worth considering if you have more than 5-6 bulky items to store.
Common Shirt Folding Mistakes (And How to Fix Them)
-
Folding shirts while slightly damp. Even a little moisture causes musty smell and bakes creases into fabric permanently. Always let shirts dry fully before folding — err on the side of “definitely dry.”
-
Overpacking the drawer. If you have to force the drawer closed, the shirts inside are being compressed at every fold line. Every fold becomes a wrinkle. Use this as a signal to declutter, not to fold more tightly.
-
Inconsistent fold widths. If your tees end up different widths, they won’t stack or stand evenly. Pick a width that matches your drawer and stick to it. A folding board eliminates this entirely.
-
Skipping the shake-out. Folding a shirt with existing wrinkles just locks those wrinkles in. Three seconds of shaking before every fold is worth it.
-
Using the same fold for every shirt type. A gym tee and a dress shirt have nothing in common. Using the tri-fold on a button-down or trying to KonMari a thick hoodie leads to frustration and a system that falls apart fast.
-
Mixing methods in one drawer. If half your shirts are stacked flat and half are standing vertically, neither method actually works. The vertical ones need consistent row support to stay upright.
How to Maintain a Tidy Shirt Drawer Long-Term
The method you choose matters less than committing to it consistently. Pick one approach per drawer and use it every single time. Mixing methods creates visual chaos and the drawer devolves fast.
A few habits that keep the system working:
- Do a 2-minute weekly reset. Vertical shirts tip over. It happens. Once a week — maybe when you put away laundry — take 2 minutes to re-stand any shirts that have leaned.
- Apply the one-in, one-out rule. New shirt arrives, one shirt leaves. This keeps the drawer from gradually overpacking until nothing folds correctly anymore.
- Add drawer dividers if you haven’t already. This is the single most effective upgrade for keeping vertical folds in place. Even a basic set of adjustable dividers stops rows from tipping into each other when the drawer isn’t completely full.
- Start small. Don’t overhaul your entire dresser tonight. Pick one drawer, try the KonMari vertical fold, and live with it for a week. If it’s working, expand. If something’s off, troubleshoot before scaling.
For more on building a system that actually holds: How to Declutter Your Closet in One Weekend is a good next step once the folding side is sorted.
FAQ
What is the best way to fold t-shirts to save drawer space?
The KonMari vertical fold saves the most drawer space and keeps every shirt visible. Fold each shirt into a compact rectangle that stands upright on its own edge, then store shirts side by side in the drawer like files in a filing cabinet instead of stacking them.
Should shirts be folded or hung in a closet?
It depends on the fabric and shirt type. Dress shirts, linen shirts, and anything prone to wrinkling should always be hung. Everyday t-shirts, sweatshirts, and casual tops can be folded without issue. Hanging everything sounds ideal, but folding frees up valuable rod space for items that truly need it.
How do you fold shirts so they don’t get wrinkled?
Make sure shirts are fully dry and give each one a firm shake before folding to smooth out the fabric. Button all buttons on dress shirts before laying them flat. Avoid overpacking drawers — compressed shirts wrinkle at every fold line. Storing shirts vertically instead of stacking also reduces pressure wrinkles significantly.
Start tonight with just one drawer — the one you open every morning. Empty it, sort the shirts into categories, pick the method that fits (vertical fold for tees, flat fold for dress shirts), and refold them. One drawer takes about 20 minutes. If it’s still tidy in a week, you’ll have all the motivation you need to do the rest.