Your washing machine cleans your clothes every single week. But who’s cleaning the washing machine?
If you’ve noticed a musty smell coming from your laundry room — or your “clean” clothes don’t smell quite fresh — your washer is probably the problem. Detergent residue, hard water minerals, body soil, and fabric softener all build up inside the drum, gasket, and dispenser over time. That buildup becomes a breeding ground for mold and mildew, which then transfers right back onto your clothes.
The good news: you can fully deep clean your washer in about 1.5 to 2 hours, and most of that time is the machine doing the work while you do something else. This guide covers both top-loaders and front-loaders, with a DIY approach using supplies you probably already have — plus a commercial shortcut if you’d rather skip the measuring.
Why Your Washing Machine Needs Regular Cleaning
Here’s the frustrating irony: the machine designed to clean things is itself getting dirty every time you use it.
Every load deposits a little something behind. Detergent that didn’t fully rinse, hard water minerals that leave a chalky film, body soil from your clothes, and fabric softener that coats the drum in a waxy layer. Over time, that buildup creates exactly the warm, damp, food-rich environment that mold and mildew love.
On front-loaders, the rubber door gasket is the worst offender. Its folds trap standing moisture after every cycle. If you’ve pulled back that gasket and found black spots — that’s mold, and it’s been there a while. The detergent dispenser tray is another hotspot that most people never clean, which means every future load is getting rinsed through a tray full of caked-on residue.
The result? Your washer is actively making your clothes worse. That “clean laundry” smell you’re not getting isn’t a detergent problem. It’s a machine problem.
How often should you clean it? Once a month works for most households. If you’re running daily loads or using a lot of fabric softener, bump it to every two weeks.
What You’ll Need Before You Start
You have two solid options here, and neither requires a special trip to the store.
Option 1: DIY with pantry staples
This is the most affordable route and works just as well as commercial cleaners when you follow the steps correctly.
- Distilled white vinegar (you’ll need 2–4 cups depending on machine type)
- Baking soda (½ cup)
- Microfiber cloths (2–3)
- An old toothbrush or small scrub brush
- A spray bottle
- Rubber gloves
Option 2: Commercial washer cleaner tablets
Tablets like Affresh or OxiClean Washing Machine Cleaner are a legitimate shortcut. You drop one tablet into the drum, run the clean cycle, and skip most of the measuring. They’re widely available at grocery stores, Target, and Amazon. Worth keeping a few on hand for your monthly maintenance cycle.
One safety rule, non-negotiable: never mix bleach and vinegar. They create chlorine gas, which is genuinely harmful. Pick one cleaning method and stick with it for the whole process.
Time estimate: About 1.5–2 hours total, but most of that is machine run time. Your actual hands-on work is closer to 30–40 minutes.
Step 1 — Clean the Detergent Dispenser and Filter
Start here — not with the drum. Here’s why: when you loosen caked-on detergent and mildew from the dispenser tray, gravity is going to pull some of it down into the drum. Clean the dispenser first, and any mess it makes will get handled in the next step.
For the dispenser drawer:
Pull it straight out — most drawers release with a press-down tab or a small button inside one of the compartments. If yours is stuck, check your machine’s manual (or a quick YouTube search for your model). Once it’s out, drop it in a sink of hot water and let it soak for 10–15 minutes. Then go at it with an old toothbrush. You’re breaking up caked detergent, softener film, and whatever that gray sludge is that accumulates in the softener cup.
Rinse thoroughly, dry it off, and set it aside.
For front-loaders — the coin/lint filter:
This one surprises most people. Your front-loader has a small filter panel at the bottom front of the machine — it’s usually a little door or panel you can pop open. Behind it is a filter that catches lint, hair, and debris. Pull it out slowly (have a towel ready — water will drain out), rinse it under the sink, and screw it back in.
If you’ve never done this and your machine is a few years old, prepare yourself. It’s not pretty. But once it’s clean, your machine drains much more efficiently.
For top-loaders: Check around the agitator cap (if you have a center agitator) and the lint trap if your model has one. Not all do — again, your manual is your friend here.
Dry all parts thoroughly before putting them back.
Step 2 — Scrub the Drum, Door, and Gasket
Mix equal parts white vinegar and water in your spray bottle. Put on your gloves.
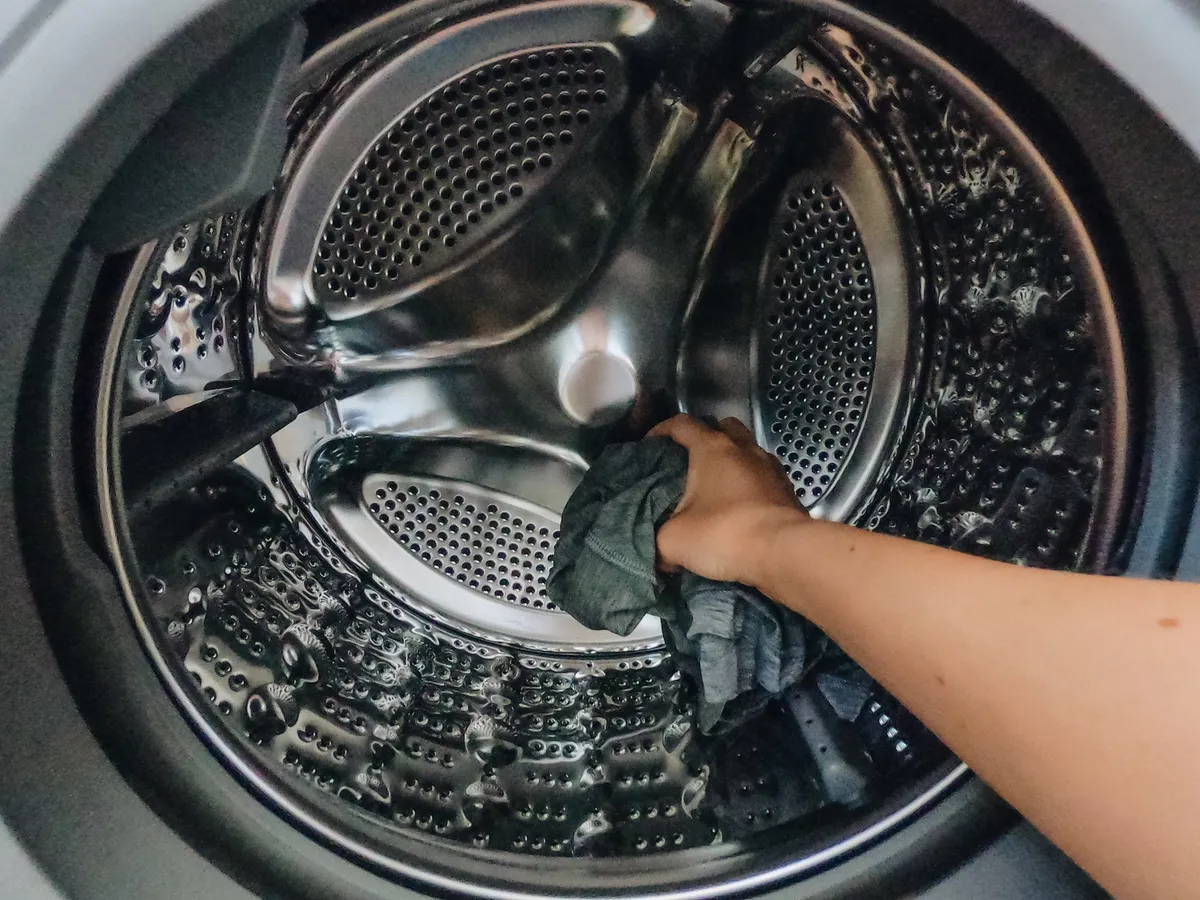
Spray the inside of the drum and wipe it down with a microfiber cloth — go all the way to the back wall, and don’t skip the area right below the door opening where the drum meets the casing. That rim collects residue you can’t see until you wipe it.
If you have a front-loader, the gasket is your main event.
The rubber door gasket has accordion-style folds that trap every bit of moisture, hair, and lint that passes through. Pull those folds back and look inside. Spray with your vinegar solution and scrub with the toothbrush, working your way around the entire circumference.
If you find actual mold spots (black or dark gray patches), don’t just wipe — make a paste of baking soda and a few drops of dish soap, press it onto the moldy spots, and let it sit for 10 minutes before scrubbing. That gives it time to work before you rinse.
If you have a top-loader:
Wipe under the lid rim — lift the lid and look at the underside edge. Grime collects there and drips back into the drum every time you open it. Wipe it down, then clean around the top rim of the drum opening where the drum meets the outer housing.
Clean the door glass or lid as well, inside and out. A little vinegar solution on a cloth handles this in under 2 minutes.
Step 3 — Run the Cleaning Cycle
This is the step where the machine does most of the heavy lifting. Instructions differ slightly by machine type.
Top-Loader DIY Method
- Add 3–4 cups of white vinegar directly into the drum (not the dispenser).
- Set the machine to the hottest water temperature and longest cycle available.
- Start the cycle, then pause it once the drum is full and agitated — usually around the 5-minute mark.
- Let it soak for 30–60 minutes.
- Resume and complete the cycle.
- Once that cycle finishes, add ½ cup of baking soda directly to the drum and run a second hot cycle, this time without pausing.
Front-Loader DIY Method
- Pour 2 cups of white vinegar into the detergent dispenser.
- Add ¼ cup of baking soda directly into the drum.
- Run the “drum clean” cycle — or if your machine doesn’t have one, the hottest and longest cycle available.
Wait — didn’t I just say not to mix vinegar and baking soda? In a front-loader, they’re added in separate compartments and don’t actually contact each other until mid-cycle, so the neutralization is minimal. Still, if you want maximum effectiveness, you can do two separate cycles here the same way as the top-loader method.
Commercial Tablet Method (works for both)
Drop one Affresh or similar tablet directly into the drum. Don’t add detergent. Run the “clean washer” cycle or the hottest setting your machine has. That’s it — the tablet does the work.
This is a solid option for monthly maintenance once you’ve done the initial deep clean. Keeping a 3-pack or 6-pack under the sink makes it easy to stay consistent.
Step 4 — Wipe Down the Exterior and Control Panel
The cycle is running or just finished — now take 5 minutes to do the outside.
Spray your vinegar solution onto a cloth first, not directly onto the machine. Then wipe the control panel, top surface, front panel, and sides. Spraying directly risks moisture getting into the buttons and knobs, and that’s a repair bill nobody needs.
For the knobs and buttons, use a damp toothbrush or cotton swab to get into the crevices. You’ll be surprised how much grime hides in there — laundry product drips, dust, and general finger residue.
Finish by drying the whole exterior with a clean dry cloth. Prevents streaks and water spots, and honestly, the machine just looks dramatically better when it’s done.
Common Mistakes That Make Your Washer Dirtier Faster
- Using too much detergent. More suds ≠ cleaner clothes. Excess detergent leaves a residue film that feeds mold growth. Measure every time — or switch to single-dose pods.
- Closing the door right after a load. This traps moisture inside and creates the perfect mold environment. Leave the door or lid cracked open after every single cycle.
- Using liquid fabric softener in a front-loader. It builds up fast on the drum, gasket, and dispenser. Wool dryer balls are a simple swap that actually works without the residue problem.
- Only cleaning the drum and skipping the dispenser and filter. The drum is not where the real grime lives. The dispenser tray and coin filter are the hidden culprits in most smelly washer situations.
- Waiting until you notice a smell. By the time you smell mold, it’s been growing for weeks. Monthly cleaning prevents the smell from ever developing in the first place.
- Using bleach on a front-loader gasket without a thorough rinse cycle. Bleach is effective, but if it sits in the rubber folds, it can degrade the gasket over time. Always run a rinse cycle after using bleach.
How to Keep Your Washer Clean Between Deep Cleans
The deep clean gets you back to baseline. These habits keep you there.
- Leave the door or lid open after every load. This one habit alone prevents most mold problems. Even cracking a front-loader door an inch is enough to let moisture escape.
- Wipe the front-loader gasket dry after your last load of the day. Takes 30 seconds with a microfiber cloth. Prevents the moisture that feeds mold from sitting there all night.
- Run an empty hot cycle with 2 cups of vinegar once a month. You don’t need a full deep clean every time — this quick maintenance cycle keeps mineral deposits and residue from building up.
- Pull out and rinse the dispenser drawer every two weeks. A quick rinse under hot water before it has time to build up is much easier than the 15-minute soak you’ll need if you let it go.
- Switch to pods or properly-dosed liquid HE detergent. Overdosing the dispenser is one of the most common causes of buildup. Pods eliminate the guesswork.
- Set a recurring monthly reminder on your phone. Right now. The washer is in a closed room you mostly ignore — “out of sight, out of mind” is genuinely the biggest reason people end up with a mold problem. A phone reminder takes 10 seconds to set and solves that completely.
A clean washer doesn’t just smell better — it actually cleans your clothes better. You’ll notice it within the first two washes after a deep clean. Cleaner machine, cleaner clothes, no mystery smell in the laundry room.
For more on keeping your laundry area running well, check out How to Deep Clean Your Dryer (Including the Lint Trap You’re Forgetting) and How to Get Musty Smell Out of Towels (Laundry Room Fix). And if you want a broader schedule for keeping up with cleaning tasks like this, Monthly Home Cleaning Checklist: What to Clean and When maps it all out in one place.
FAQ
How often should you clean your washing machine?
For most households, once a month is the right cadence. If you’re running daily loads or using a lot of fabric softener, move to every two weeks. The more you use it, the faster buildup accumulates — especially with liquid softener.
Can I use bleach instead of vinegar to clean my washer?
Yes — bleach is effective at killing mold and bacteria inside the drum. Add ½ cup of liquid chlorine bleach to the bleach dispenser and run a hot cycle. Never combine bleach with vinegar or baking soda, as that combination creates harmful fumes.
Why does my washing machine still smell after cleaning it?
The most common culprit is the rubber door gasket on front-loaders — specifically the folds inside it, which are easy to miss. Pull them back and scrub inside each fold. The detergent dispenser tray is another frequently overlooked spot. Also make sure you’re consistently leaving the door open between washes so moisture can escape.
Is it safe to use vinegar and baking soda together in the washer?
It’s not harmful, but it’s less effective than using them separately. They neutralize each other on contact, which reduces the cleaning power of both. Use vinegar in one cycle, then baking soda in a follow-up cycle for better results.
How do I clean a top-loader vs. a front-loader differently?
Top-loaders are generally more straightforward — add vinegar directly to the drum and run on hot. Front-loaders require extra attention to the rubber door gasket, which traps mold in its folds, and they have a coin filter at the bottom front that needs to be drained and cleaned regularly. Most front-loader problems trace back to one of those two spots.
Start tonight with the dispenser drawer. Pull it out, drop it in hot water, and let it soak while you do something else. You’ll have one genuinely cleaner component before you go to bed, and you’ll have the motivation to finish the rest this weekend. The whole job takes less than two hours — and your laundry will smell better for it immediately.