Your washing machine washes your clothes. But who’s washing your washing machine?
If your “clean” laundry comes out with a faint funky smell, or you’ve noticed dark gunk around the door seal, your washer is overdue for a cleaning. This isn’t a rare problem — it’s actually the default outcome when you run a machine full of warm water, detergent, and dirt week after week without ever cleaning the machine itself.
This guide walks you through exactly how to deep clean both front-load and top-load washers using supplies you almost certainly already have at home. The whole process takes about 1.5 to 2 hours (mostly hands-off time while cycles run). You’ll end up with a cleaner machine, fresher laundry, and one less thing quietly grossing you out.
Why Your Washing Machine Needs Regular Cleaning
Every load of laundry leaves something behind. Soap scum, hard water minerals, lint, body oils, and bacteria accumulate in the drum, the rubber gasket, the detergent drawer, and the drain filter over time. Warm, damp conditions make washers a prime spot for mildew and mold — especially front-loaders, which we’ll get into below.
Signs your washer needs cleaning now:
- Clean laundry smells musty or like mildew
- You can see visible dark residue or black spots around the door seal
- The inside of the drum looks dingy or feels grimy
- Detergent drawer has sticky, discolored buildup
- There’s a general sour smell when you open the door
How often should you clean it?
- Heavy-use household (daily washing, pets, kids): once a month
- Average household: every 2-3 months
- Light use: every 3 months, minimum
That said, monthly maintenance is the easiest cadence to stick to, and it keeps small buildup from turning into a big problem.
Front-load vs. top-load: Front-load washers need more frequent attention because their horizontal drum design traps moisture and creates a near-perfect environment for mold — especially in the rubber door gasket. Top-loaders have better airflow and drain more completely. Both need cleaning, but front-loaders have a few extra steps you can’t skip.
What You’ll Need Before You Start
No specialty supplies required here. Most of this is probably already in your pantry or under the sink.
Basic supplies (DIY method):
- White distilled vinegar (you’ll need 2-4 cups depending on machine type)
- Baking soda (about 1/2 cup)
- Microfiber cloths (2-3)
- Old toothbrush
- Spray bottle
- Dish soap
- Rubber gloves (optional but recommended if you’re dealing with mold)
Optional but genuinely helpful:
- Washing machine cleaner tablets (like Affresh or OxiClean Washing Machine Cleaner) — these are a convenient alternative if you’d rather skip the vinegar-and-baking-soda method. Drop one in and run a hot cycle. Great for monthly maintenance once your machine is already in good shape.
- A small shallow pan or tray for catching water when you clean the drain filter (front-loaders only)
One safety rule — read this before you start:
Never mix vinegar and bleach. Both are effective cleaning agents, but combining them produces toxic chlorine gas. Pick one method for your cleaning session and stick with it. If you want to use bleach (which is fine, especially for visible mold), skip the vinegar steps and use 1/2 cup of chlorine bleach in the drum on a hot cycle instead.
Step-by-Step: How to Clean a Top-Load Washer
Top-loaders are a bit more forgiving than front-loaders, but they still accumulate buildup in the drum, under the agitator (if yours has one), and around the lid and controls.
Step 1: Run a hot cycle with vinegar. Set your machine to the largest load size and the hottest water setting. Add 3-4 cups of white distilled vinegar directly into the drum — not the detergent dispenser. Start the cycle, let it agitate for a few minutes to mix the vinegar through the water, then pause the machine and let it soak for 30 to 60 minutes. This gives the vinegar time to break down mineral deposits and kill bacteria.
Step 2: Scrub the drum while it soaks. While the machine is paused, use a microfiber cloth dipped in the vinegar water to wipe down the inside of the drum. If your machine has a center agitator, get around and under it as best you can. Use an old toothbrush for crevices and the lip under the lid. This is also a good time to wipe down the top of the machine, the control panel, and the inside of the lid.
Step 3: Let the cycle finish. Unpause the machine and let the full cycle complete. It’ll drain all that vinegar solution along with everything it loosened.
Step 4: Run a second cycle with baking soda. Add 1/2 cup of baking soda directly to the drum and run another full hot cycle. This neutralizes any remaining vinegar odor and helps flush out loosened residue. Don’t skip this step — it’s what leaves the drum smelling genuinely clean instead of just like a salad.
Step 5: Wipe down the exterior. Spray a damp microfiber cloth with a little dish soap and wipe the outside of the machine, the control knobs, and the lid. Pay attention to the area around the lid opening where lint collects.
Going forward: Leave the lid open after every wash load. Even an hour of airflow makes a real difference in preventing mildew from forming in the drum.
Step-by-Step: How to Clean a Front-Load Washer
Front-loaders need a bit more hands-on work — specifically around the rubber door gasket and the detergent drawer. These two spots are where most of the mold and smell originate, and they won’t get clean from a washing cycle alone.
Step 1: Clean the rubber door gasket first. This is the most important step for front-loaders, and the one most people skip. Peel back the rubber seal around the door opening and look inside the fold. There’s almost always trapped lint, hair, and a varying degree of black mold hiding in there.
Use a damp microfiber cloth to wipe out everything you can reach. For stubborn buildup or visible mold, dip an old toothbrush in a small amount of diluted dish soap (or a paste of baking soda and water) and scrub the grooves. If there’s significant black mold, a cloth dampened with a small amount of bleach — used on its own, not with vinegar — is more effective.
Wipe the gasket dry when you’re done.
Step 2: Remove and clean the detergent drawer. Most front-loader drawers come out completely — press the tab (usually labeled “push” or marked with an arrow) and pull the whole drawer out. Rinse it under hot water, then soak it in warm soapy water for about 10 minutes. Use your toothbrush to scrub out every compartment, especially the fabric softener section, which gets the stickiest buildup. Rinse it well and let it dry before putting it back.
Also look at the opening where the drawer sits. There’s usually gunk built up in there too — use your toothbrush to scrub it out.
Step 3: Run a hot clean cycle with vinegar. Add 2 cups of white distilled vinegar directly to the drum — not the dispenser. Select the hottest, longest wash cycle available, or use the dedicated “Clean Washer” cycle if your machine has one. Let it run completely.
Step 4: Run a rinse cycle with baking soda. Add 1/2 cup of baking soda to the drum and run a second cycle on hot. This clears out any remaining vinegar residue and leaves the drum neutral and fresh.
Step 5: Wipe everything down. Use a damp cloth to wipe the drum interior, the door glass (both inside and out), and the exterior of the machine. Then leave the door ajar — not fully open, just cracked — to let air circulate.
That last habit — leaving the door cracked — is genuinely one of the most effective things you can do to prevent mold from coming back. The horizontal drum on a front-loader holds moisture longer than a top-loader. A little airflow goes a long way.
How to Clean the Detergent Dispenser and Filter
These two spots get overlooked most often, and they’re responsible for a surprising amount of odor.
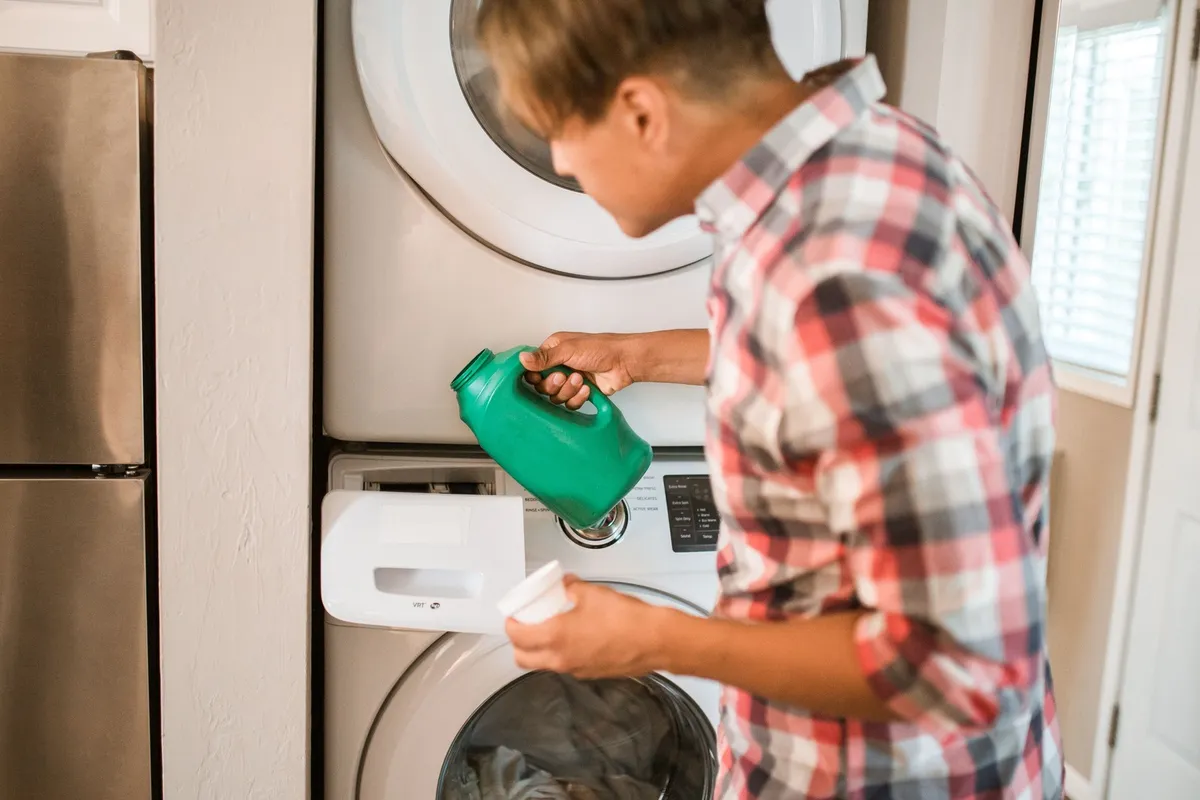
The detergent dispenser was covered in the front-load steps above, but top-loaders often have dispensers too. Remove the drawer or tray, soak it in hot soapy water for 10 minutes, and scrub every section with a toothbrush. The fabric softener compartment is almost always the grimiest — that waxy, sticky residue is a magnet for mold. Rinse thoroughly before replacing. Clean this monthly.
The drain pump filter (front-loaders only) is a step most people have genuinely never done — and it can be the single biggest source of washing machine odor. The filter collects lint, small items, and debris before they reach the pump, and it needs to be cleaned every 3 to 6 months (or sooner if your machine is draining slowly).
Here’s how to do it:
- Find the filter access panel at the bottom front of your machine — it’s usually a small rectangular door that pops open with a flathead screwdriver or your fingers.
- Place a shallow pan or folded towels on the floor in front of it to catch water.
- Slowly unscrew the filter cap counterclockwise. Water will start draining — go slowly and let it flow into your pan.
- Once the water stops, remove the filter completely.
- Rinse it under running water, use your toothbrush to remove any trapped debris, and inspect the filter housing for gunk before reinserting.
- Screw the cap back on firmly and close the panel.
It’s not a glamorous job, but doing this once can make a bigger difference in machine odor than anything else.
How to Keep Your Washer Fresh Between Deep Cleans
A good monthly deep clean matters a lot less if your daily habits are working against you. These small changes make a real difference:
- Use the right amount of detergent — more detergent doesn’t mean cleaner clothes. Excess suds leave residue inside the drum and in fabric fibers, which feeds mildew. Follow the detergent’s recommended amount, or go slightly under.
- Use HE detergent in HE machines — regular detergent creates way too many suds in high-efficiency machines. If your machine says HE on it, only buy detergent with the HE symbol on the label.
- Move laundry to the dryer promptly — wet clothes sitting in a closed drum for hours are the fastest way to create a mildew smell in both the clothes and the machine.
- Leave the door or lid open between uses — even an hour of airflow after a wash prevents moisture from sitting stagnant.
- Wipe down the gasket after each use (front-loaders) — takes 10 seconds with a dry cloth and prevents mold from getting a foothold.
- Run a monthly maintenance cycle — drop a washing machine cleaning tablet into an empty drum and run a hot cycle. It’s low effort and keeps buildup from accumulating between deep cleans.
For a related read on laundry odor problems, check out How to Get Mildew Smell Out of Towels — the fix often starts with the machine, but sometimes the towels themselves need a reset.
Common Mistakes to Avoid When Cleaning Your Washer
- Mixing vinegar and bleach. This one’s worth repeating. Both are effective. Combined, they produce toxic fumes. Pick one per cleaning session, always.
- Using too much cleaning product. Dumping in extra vinegar or baking soda doesn’t accelerate the cleaning — it just creates more residue to rinse out. Stick to the amounts recommended here.
- Skipping the gasket on front-loaders. The rubber door seal is where most mold actually lives. Running cleaning cycles without scrubbing the gasket manually will leave the source of your smell completely untouched.
- Forgetting the detergent drawer. Second most overlooked spot. If your drawer has visible discoloration or a sour smell, it’s contributing to the problem every single wash.
- Cleaning with cold or warm water. The cleaning cycle needs to be hot to dissolve buildup and kill bacteria. “Warm” doesn’t cut it here.
- Expecting one cycle to fix years of neglect. If your machine has serious buildup, you may need 2 or 3 consecutive cleaning sessions before you notice a real difference. Stick with it. It works.
If your laundry room itself could use some attention alongside the machine, How to Deep Clean Your Laundry Room covers everything from lint-clogged dryer vents to cleaning behind appliances.
FAQ
Can I use bleach instead of vinegar to clean my washing machine?
Yes — add 1/2 cup of liquid chlorine bleach to the drum and run a hot cycle. Never use both bleach and vinegar in the same session, as mixing them creates toxic fumes. Bleach is especially effective if you’re dealing with visible black mold in the drum or gasket.
How often should I clean my washing machine?
Once a month is ideal for most households. If you wash frequently, have pets, or notice any musty smell on clean laundry, bump it to every 2 to 3 weeks. Monthly maintenance tablets make it easy to stay on schedule without much effort.
Why do my clothes still smell after washing them in a clean machine?
Check three things: you may be using too much detergent, which leaves residue in the fabric itself; you may be leaving wet clothes in the drum too long; or your water temperature may be too low to kill bacteria effectively. Running a hot wash cycle on the affected clothing can help reset freshness. For towels specifically, How to Get Mildew Smell Out of Towels walks through the full fix.
Start tonight with whatever you can reach: if you have a front-loader, peel back that gasket and take a look. If what you find is alarming, at least now you know why the laundry smells the way it does — and exactly what to do about it. Gather your vinegar and a toothbrush, and get the first cycle going before you sit down for the evening. By tomorrow, you’ll have a machine that actually deserves to be called clean.