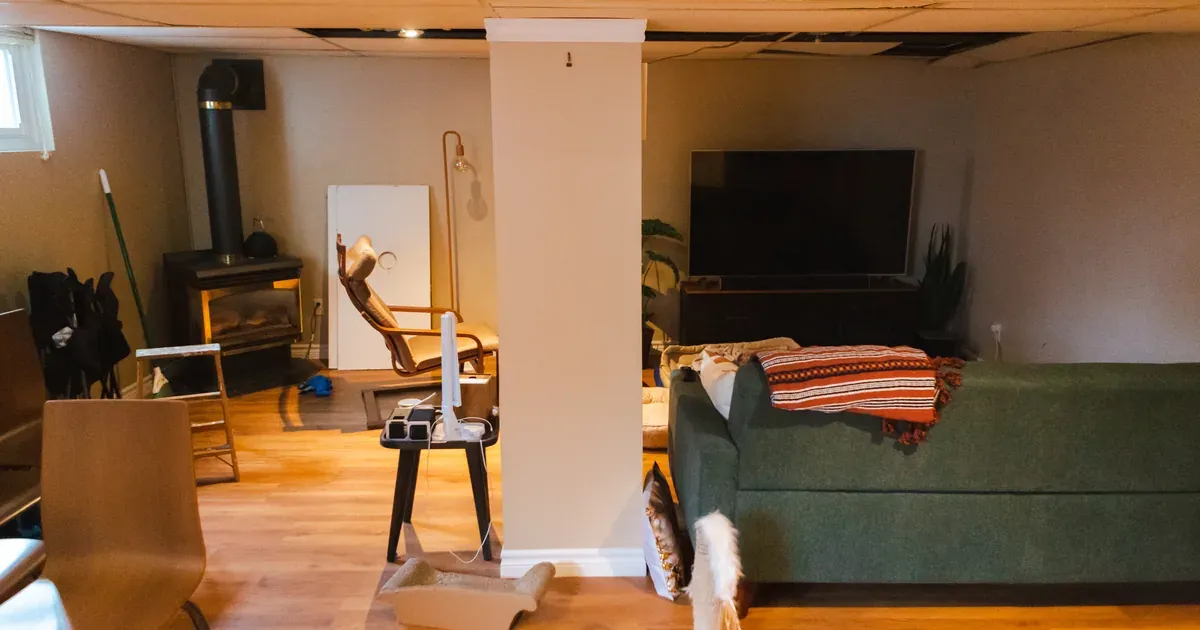
If you can’t park in your own garage, you’re not alone. Most garages start out as parking spots and slowly become where everything goes to disappear. The camping gear, the holiday bins, the sports equipment your kids swear they still use — it all piles up until the garage is more obstacle course than functional space.
The good news: a chaotic garage is almost always a system problem, not a space problem. You probably have enough room. You just don’t have a plan yet.
These 15 garage storage ideas are the ones that actually move the needle. Some are weekend projects. Some you can knock out in an afternoon. All of them are designed to be mixed and matched — pick the ones that fit your garage, your budget, and your actual life.
Why Most Garage Storage Systems Fail (And How to Fix Yours)
Here’s the pattern: something needs a home, so it gets set down in the nearest open spot. Then that spot fills up. Then there’s no open spot anymore, so things start stacking. Within a year, you’ve got a perfectly full garage with zero organization.
The problem isn’t the stuff. It’s the lack of zones.
Before you buy a single shelf or hook, sketch out five zones for your garage:
- Lawn and garden — mowers, rakes, hoses, fertilizer, pots
- Sports and recreation — bikes, balls, bats, helmets, camping gear
- Tools and workshop — hand tools, power tools, hardware, workbench
- Seasonal storage — holiday bins, winter gear, pool supplies
- Car supplies — fluids, cleaning supplies, jumper cables
You don’t need to spend anything to do this. Tape on the floor works perfectly as a starting zone map. Mark the zones, see how the traffic flows, then start adding storage within each zone.
As for budget: some of these ideas are free (repurposing what you have). Others are affordable one-time buys. A few are bigger investments for people who want a long-term system. Start where you are and build from there.
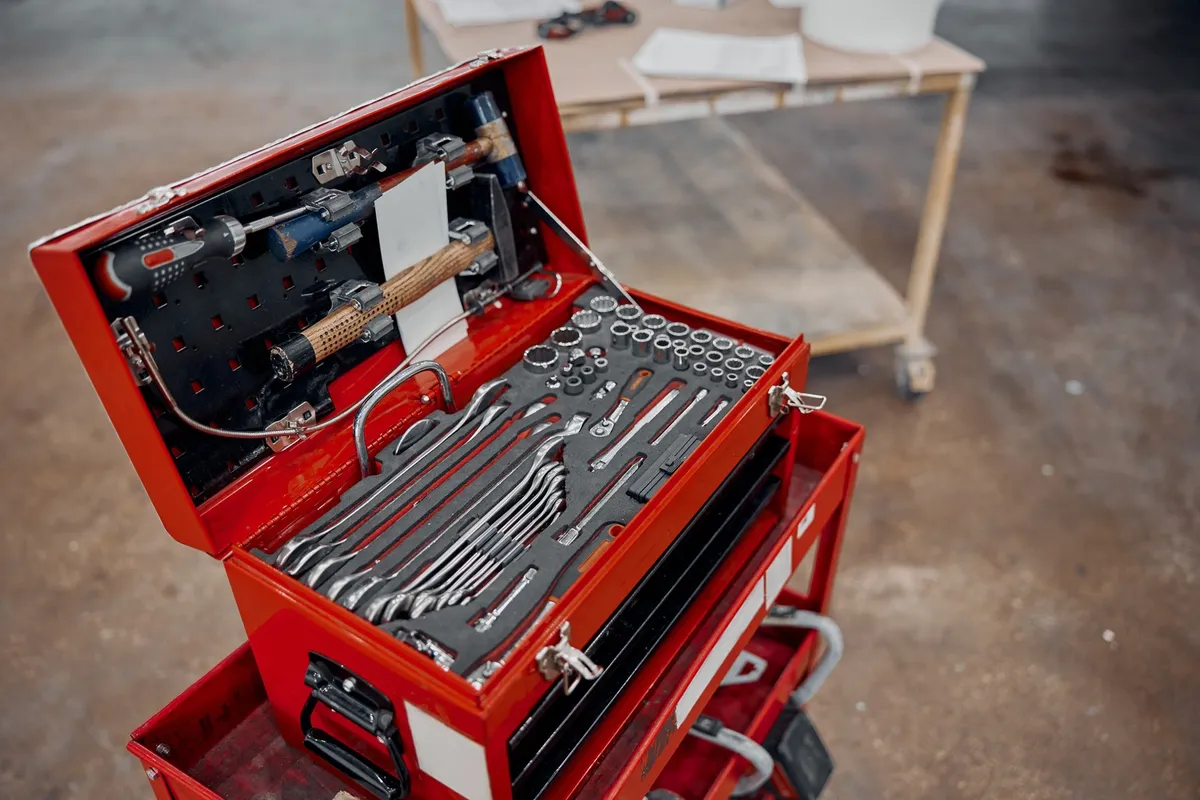
1. Install a Heavy-Duty Wall Shelving System
Freestanding metal shelving units are the single highest-impact upgrade you can make to a garage. They go up fast, they hold an enormous amount of weight, and most of them don’t require drilling a single hole.
Look for units rated at 1,500 to 2,000 lbs total capacity. That sounds like overkill until you start loading them with bins, totes, and power tools — then it makes sense. Adjustable shelf heights matter too: you want a taller bottom shelf that fits large storage bins, and shorter upper shelves for boxes and smaller items.
Start by lining the back wall first. That one move clears more floor space than almost anything else you can do. Freestanding metal shelving units are widely available at Home Depot, Costco, and Amazon in both wire and solid steel configurations — look for ones with leveling feet so they don’t rock on an uneven garage floor.
2. Use Overhead Ceiling Storage for Bulky Seasonal Items
Ceiling space is the most underused real estate in any garage, full stop. While you’re stacking bins on the floor, there’s a completely empty storage zone right above your head.
Ceiling-mounted overhead storage platforms bolt directly to your ceiling joists and hold an impressive amount: holiday decorations, camping totes, out-of-season sports equipment. If you want something you can raise and lower without a ladder, ceiling pulley lift systems work well for kayaks, bikes, and large bins.
These systems are ideal for things you only need once or twice a year. Check your ceiling joist spacing before you buy — most overhead systems require 24-inch centers, and you’ll want to know what you’re working with before you order.
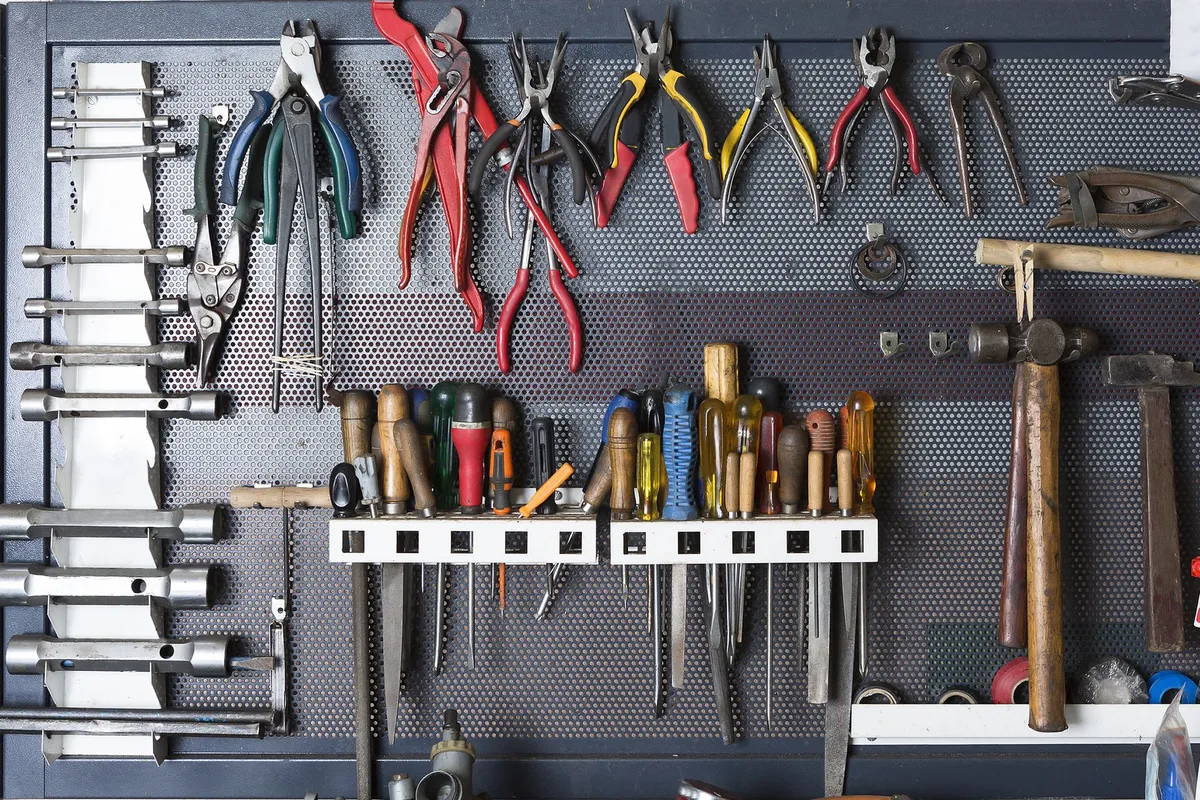
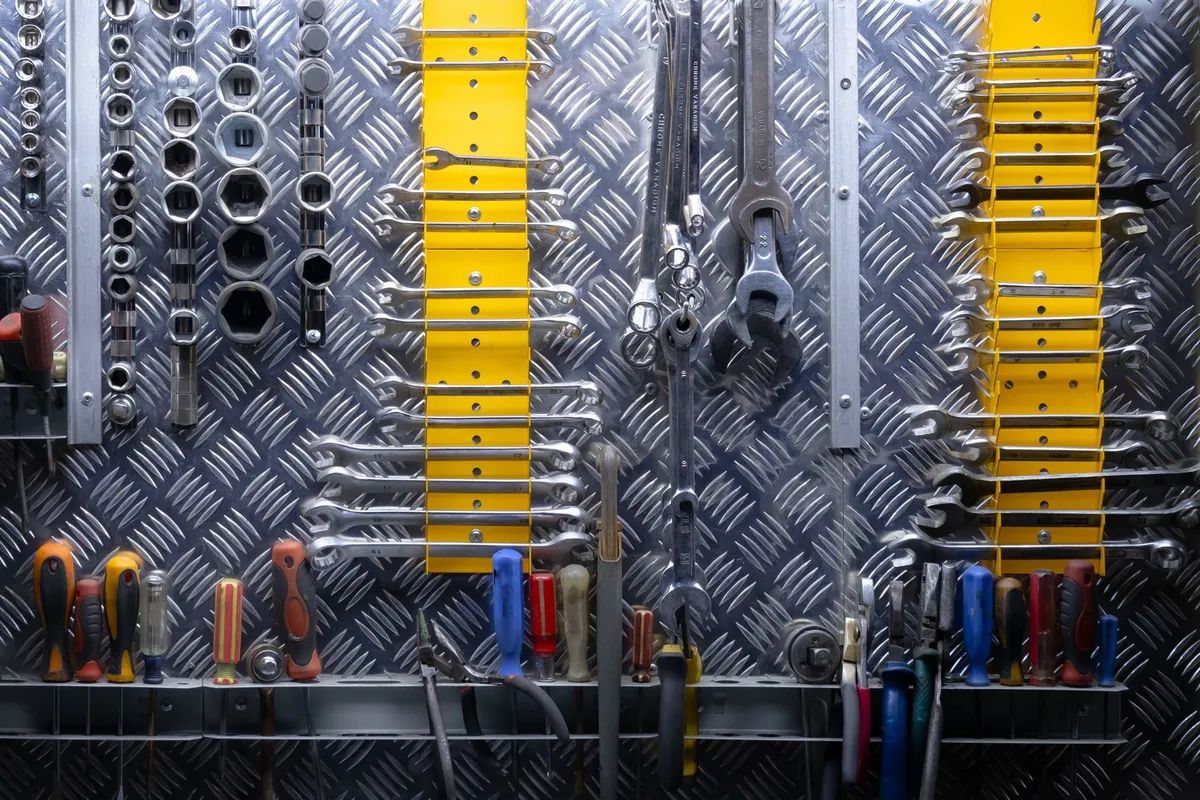
3. Hang a Pegboard Wall for Tools and Small Gear
Pegboard is one of the cheapest, most flexible tool storage solutions you can install. One sheet of pegboard turns a blank wall into a fully visible, completely customizable surface where everything has a spot.
The trick most people skip: paint the pegboard a dark color before you hang anything. It makes tools stand out visually, and — more importantly — you can immediately see when something’s been used and not returned. Empty hooks are obvious in a way they aren’t on a raw tan board.
A standard 4x8 sheet covers most basic tool collections. If you’re setting up a real workshop zone, go wall-to-wall. Pegboard hook assortment kits are inexpensive and widely available, and you can reconfigure the layout anytime without creating new holes in your wall.
4. Mount a Slatwall Panel System for Flexible Wall Storage
Think of slatwall as pegboard’s sturdier, more polished cousin. Where pegboard works great for hand tools and small gear, slatwall handles heavier loads — power tools, helmets, full garden tool collections, even bikes.
The accessories (hooks, baskets, shelves, bike holders) slide along horizontal grooves, so you can reconfigure the whole wall without a single new screw hole. That makes it a particularly good choice if your storage needs change seasonally, or if you’re renting and want one wall investment that adapts over time instead of a wall full of individual screws.
Slatwall panels are available in 4x8 sheets at most home improvement stores. You can paint them to match your garage walls, which makes the whole space look intentional rather than improvised.
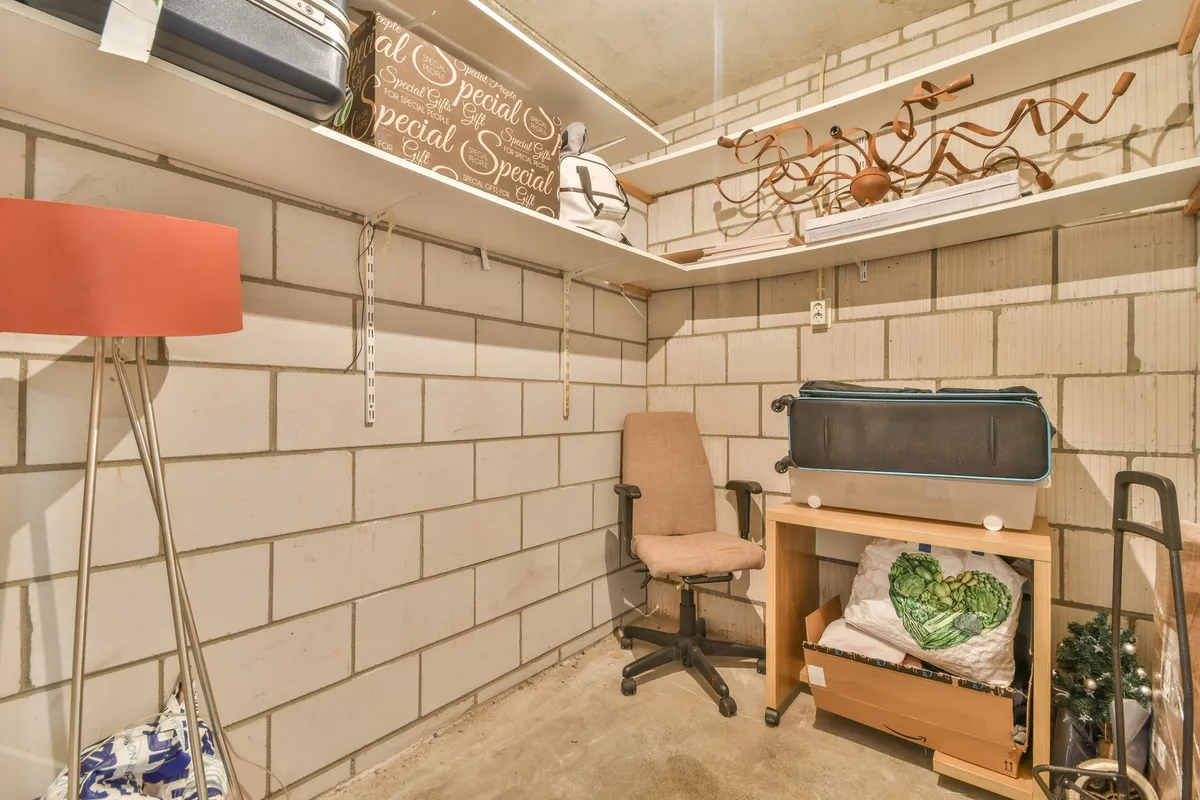
5. Add a Garage Cabinet System for a Cleaner Look
If your garage is visible from the street, or if it connects directly to your living space, cabinets make a dramatic difference. They hide clutter completely — no more visual chaos every time you open the garage door.
Options range from budget-friendly plastic freestanding cabinets to mid-range metal cabinets that lock. For families with young kids, lockable lower cabinets for chemicals, sharp tools, and anything hazardous are genuinely worth the upgrade.
One underrated bonus: the tops of your cabinets become additional shelf space. Add a simple rail or lip edge to keep things from sliding off, and you’ve got a functional surface above as well as below.
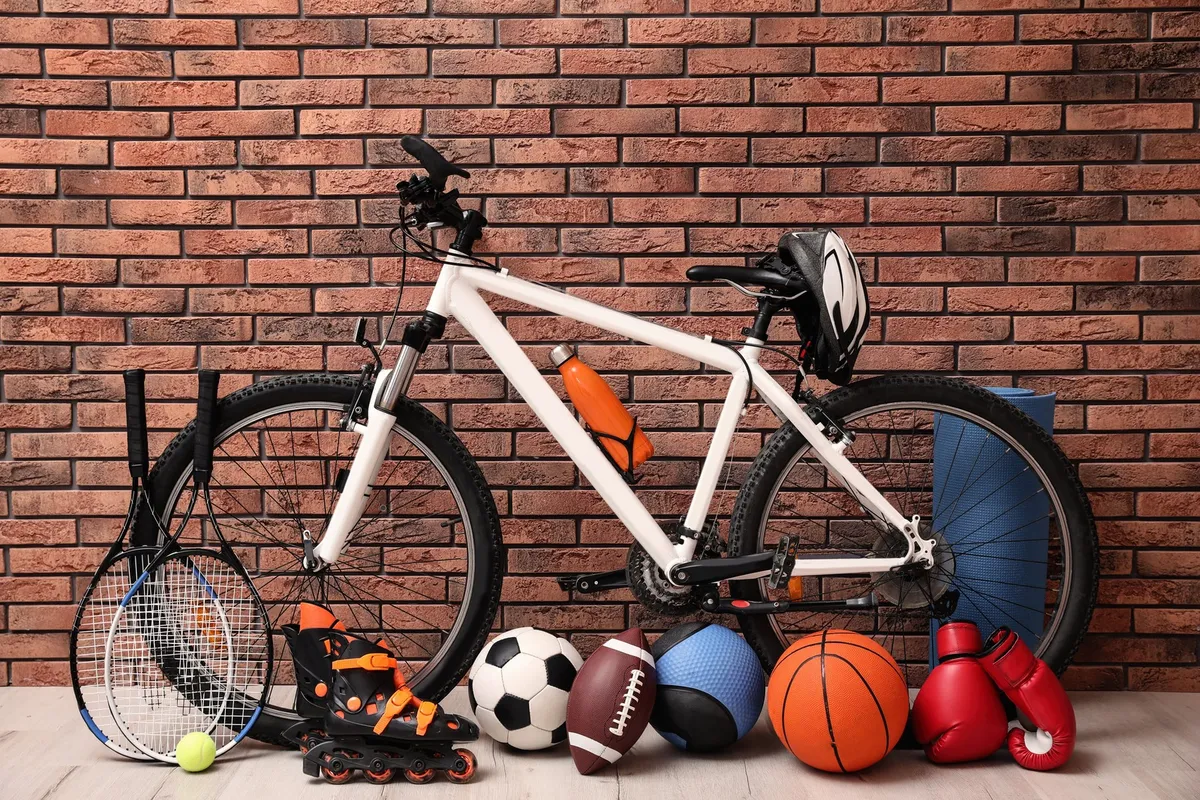
6. Corral Sports Equipment With a Dedicated Sports Organizer
Sports gear is the number one source of garage chaos for families. Balls end up under the car. Helmets land in random corners. Bats lean against whatever surface is closest until they fall. None of it has a natural home — so it spreads everywhere.
A standalone sports equipment organizer solves this with one footprint. Look for units with ball bungee cords, hooks for rackets and helmets, and a lower shelf for bags and smaller gear. Everything lives in one spot, and it’s actually easier to return gear than to leave it on the floor.
Position it near the garage door so kids can grab what they need on the way out and return it on the way in. It sounds simple, but proximity to the exit is what makes the system stick. Add color-coded bins on the bottom shelf for each family member’s personal items — shoes, mouth guards, batting gloves — so nothing gets mixed up.
7. Store Bikes Vertically to Free Up the Most Floor Space
A single bike lying on the garage floor takes up four to six square feet of usable space. Two bikes and a tricycle can block an entire lane of parking.
Vertical wall-mount bike hooks are the most space-efficient solution. The bike hangs front wheel up against the wall, taking up almost no floor space at all. They require some wall mounting, but the hardware is minimal and the payoff is immediate.
If you have high ceilings, ceiling-mounted pulley systems work well for households with multiple bikes — you hoist the bike up and out of the way entirely. For renters or anyone who doesn’t want to drill into walls, freestanding bike floor stands hold two to four bikes without any mounting required.
8. Use Clear Stackable Bins With Labels for Holiday and Seasonal Items
If you’re only going to do one thing for your seasonal storage, make it this: switch to clear bins and label every single one.
Opaque bins turn into mystery boxes within six months. You forget what’s inside, you open four of them to find the one thing you need, and eventually you just stop putting things away properly because the system feels useless. Clear bins fix the whole problem — you can see what’s inside without pulling anything off the shelf.
Stack them on your overhead rack or on the top shelves of your wall unit. Label each bin on the short end and the lid — when bins are stacked three high, you need both. Group by season: winter holidays together, summer gear together, back-to-school in its own section. A label maker is a small one-time investment that prevents months of re-organizing.
9. Mount a Garden Tool Rack to Stop Rake and Shovel Avalanches
Long-handled tools leaned against a wall are a disaster waiting to happen. They tip, they slide, they take out everything around them. If you’ve ever had a rake fall on you while reaching for something else, you know exactly what I mean.
A wall-mounted tool rack with individual grip slots holds shovels, rakes, brooms, and hoes vertically — separated from each other so nothing can cascade. It’s a straightforward install and one of the most satisfying swaps you can make in the lawn and garden zone.
Mount it on the wall nearest your backyard entry for fastest access. Add a small shelf or a row of hooks directly above it for gloves, kneeling pads, and small hand tools. The whole lawn zone becomes self-contained.
10. Build a Workbench With Storage Underneath
A workbench earns its square footage twice over: flat working surface on top, prime storage opportunity below.
If you have a one-car garage or limited space, a fold-down wall-mount workbench is worth considering — it folds flat against the wall when you’re not using it and gives you full floor clearance for parking. Standard fixed workbenches work better in larger garages where the surface gets used regularly enough to justify the footprint.
Underneath the bench is some of the most underused storage real estate in a garage. Rolling drawer cabinets slide in and out easily. Totes on wheels give you flexible storage you can pull out when you need them. Standard workbench height is 34 to 36 inches — the same as a kitchen counter — so it feels natural to stand at and work.
If you’re skimming, slow down for the next few — they handle the stuff that causes the most day-to-day frustration.
11. Add a Rolling Utility Cart for Portable Storage
The thing that makes a rolling cart different from a shelf is that it comes to you. Wheel it next to the car when you’re doing an oil change. Roll it to the lawn mower. Pull it to the workbench. When you’re done, roll it back to its home spot.
Choose carts that offer a mix of drawers and open shelves — drawers for small parts, fasteners, and tools; open shelves for larger bottles, rags, and spray cans. If you’re storing sharp tools or car keys, a locking top drawer is worth having.
Weight rating matters more than color or brand here. For workshop or automotive use, look for carts rated at 300 lbs or more — lighter-duty options will feel flimsy when fully loaded.
12. Hang a Hose and Cord Organizer to Tame Tangled Mess
Garden hoses and extension cords piled on the floor aren’t just an eyesore — they’re a tripping hazard, and they dramatically shorten the lifespan of both items. Kinked hoses crack. Tangled cords get damaged at the connections.
Wall-mount hose reels with a hand crank make rewinding the hose almost automatic. It takes thirty seconds instead of five minutes of wrestling with a kinked coil. Mount it near the water spigot so there’s no extra slack to manage.
For extension cords, use a separate cord reel or a large wall hook. Don’t store hoses and cords on the same hook — they tangle, and you’ll regret it every time. Position both near the outlets and spigots they’ll actually be used from.
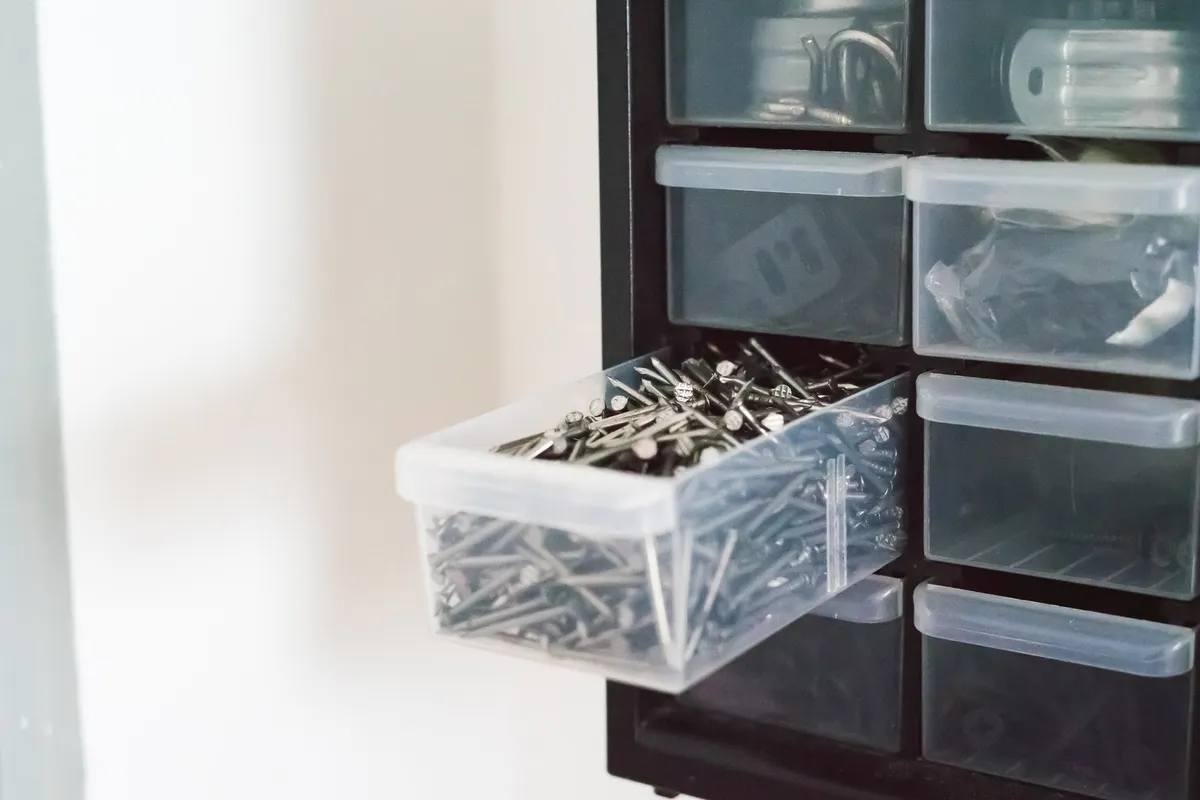
13. Use Magnetic Strips and Small Parts Organizers for Hardware
Screws, bolts, nails, and wall anchors are the fastest things to become an unmanageable mess in any garage. They end up mixed together in a drawer, or scattered across the workbench, or living in a coffee can where you have to dig through everything to find a single size.
A magnetic tool strip mounted at eye level near your workbench keeps drill bits, chisels, and small metal tools immediately accessible and visible. Small parts organizer cabinets — the kind with rows of clear stackable drawers — are ideal for sorting hardware by size.
The key detail: label every drawer with the size and tape a small sample fastener inside. When you’re in the middle of a project and need the right screw fast, you’ll be very glad you did this.
14. Add Garage Door Track Shelves to Use Dead Space
Look at the wall space on either side of your garage door tracks. Chances are it’s completely empty — a narrow strip of wall that doesn’t seem worth using. It is worth using.
Slim shelves designed to fit alongside garage door tracks turn that dead space into a home for spray cans, bottles of car fluid, cleaning supplies, and small boxed items. It’s one of the few garage storage solutions that adds capacity without taking up any new floor space or wall real estate you were already using.
Just make sure shelves clear the door track by at least 6 inches so nothing interferes when the door opens and closes. This is a great spot for frequently grabbed items — motor oil, washer fluid, ice melt in winter — because you’ll pass it every time you pull in or out.
15. Create a Dedicated Drop Zone Near the Garage Entry Door
Most garages connect directly to the house, which means they’re also the main entry point for your family’s everyday chaos. Without a designated spot for that chaos, it migrates inside — and then you’re dealing with a garage organization problem and an entryway organization problem.
A simple drop zone stops the spread. You need three things: a row of hooks at kid height for backpacks and jackets, a boot tray on the floor for muddy shoes, and a small shelf or floating cube for keys, sunglasses, and wallets. If your garage entry doubles as your mudroom, this might be the most important zone in the whole garage.
Add a lidded bin labeled “return/donate” for items that don’t belong in the garage. Process it weekly — not daily, not monthly. Weekly keeps it from becoming another pile. See How to Declutter Your Garage in a Weekend (Even If It’s Completely Overwhelmed) for how to do the initial purge before you set up your drop zone.
Where to Start: Building Your Garage Storage System in Order
Don’t try to do all 15 of these at once. Here’s the order that makes sense:
- Declutter first. No storage system fixes a garage full of things you don’t need. Go through everything before you buy a single shelf. One weekend of honest sorting changes the math on how much storage you actually need. How to Declutter Your Garage in a Weekend (Even If It’s Completely Overwhelmed) has a step-by-step process if you’re not sure where to begin.
- Assign zones before you buy anything. Tape on the floor, a sketch on paper, a note on your phone — anything works. Know where each category of stuff will live before you start installing hardware.
- Install wall and ceiling storage before floor-level organizers. Getting things off the floor starts with getting things up — overhead racks, wall shelving, pegboard. Once the walls are working, the floor situation sorts out faster than you’d expect.
- Tackle one zone per weekend. The lawn and garden zone one Saturday, the tool zone the next. Trying to do the whole garage in a single day usually leads to a partially done garage that’s harder to work in than the original chaos.
- Revisit at the 30-day mark. Your first pass won’t be perfect. Things will end up in the wrong zones, hooks will be in inconvenient spots, and you’ll have thought of a better system for one category. Give yourself permission to adjust — that’s not failure, that’s how organization actually works.
For small garages with unique constraints, 10 Garage Organization Ideas for Small One-Car Garages has ideas scaled specifically for tighter spaces.
FAQ
How do I organize a garage with no wall space?
Focus on ceiling-mounted overhead storage racks for bulky seasonal items and freestanding shelving units that stand on their own without wall anchors. Rolling utility carts and floor-level bin systems also add significant capacity without needing to mount anything.
What is the cheapest way to organize a garage?
Start by decluttering and