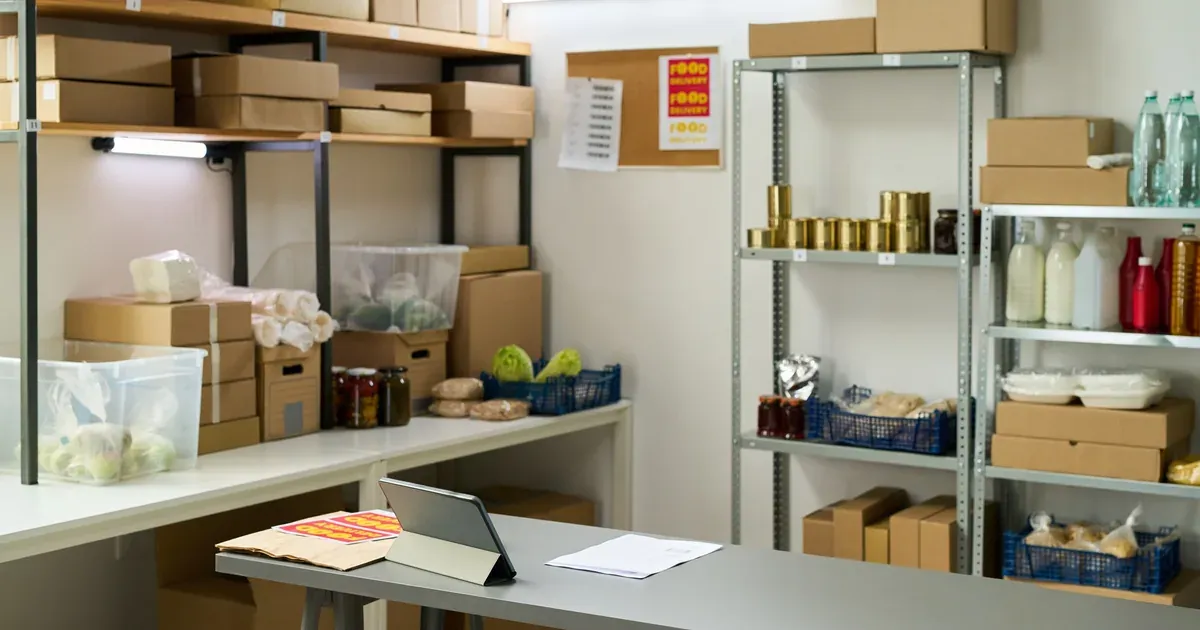
If your garage is where things go to disappear, you’re not alone. Most garages end up as a graveyard of floor piles — not because the people who live there are disorganized, but because there’s simply nowhere to put anything. No shelves, no zones, no system.
The fix isn’t complicated. It’s shelving — but the right shelving for your space, your walls, and what you actually store.
This list gives you 12 concrete garage shelving ideas, from zero-tool freestanding setups to full DIY builds to modular cabinet systems. Some take 20 minutes to set up. Others are a weekend project. All of them use your garage’s vertical space instead of letting it go to waste.
Quick tip before you dive in: skim the list once, then go back to the ideas that match your situation. Renter? Jump to #1 and #8. DIYer on a budget? #4 and #9 are your friends. Family with gear everywhere? Don’t miss #11.
Why Most Garages Stay Cluttered (And How Shelving Fixes It)
Here’s the honest reason garages become dumping grounds: the floor is always available. You come home from a camping trip, and instead of finding a home for the gear, you set it down “just for now.” A year later, it’s still there.
The other problem is vertical neglect. Most garages have 8-10 feet of wall height, but people only use the bottom 4 feet — if that. Everything above eye level is dead space. That’s where your actual storage capacity is hiding.
Good shelving does two things. It gets stuff off the floor so the floor can actually function. And it creates zones — a place for tools, a place for seasonal bins, a place for sports gear — so you can find things without moving six other things first.
A note on how to use this list: these 12 ideas aren’t ranked by quality. They’re different solutions for different situations. Match the idea to your budget, your wall type (drywall vs. concrete block matters), and what you store most. The “Where to Start” section at the end will help you narrow it down fast.
1. Freestanding Metal Utility Shelves for Instant, No-Drill Storage
If you rent your garage or just want storage today with no tools and no commitment, freestanding metal utility shelves are your starting point.
These wire or solid steel units are widely available at Target, Amazon, Costco, and home improvement stores. Most have adjustable shelf heights, which matters more than people realize — being able to configure the spacing means you can fit bulky equipment on one shelf, standard bins on another, and awkward-shaped items wherever they fit.
The weight capacity on heavy-duty versions is genuinely impressive. Better-built steel racks can hold several hundred pounds per shelf, which is more than enough for most garage storage needs. The key is choosing a shelf that’s been load-tested and checking that number before you pile things on.
Common mistake: buying units that are too narrow. Anything under 18 inches deep fills up fast and forces you to stack things in front of other things — which defeats the purpose. Go 18-24 inches deep minimum for real garage storage.
Where to put them: along the back wall or a side wall that’s out of your car’s path. Leave at least 3 feet of clearance for doors and walking.

These are also easy to reconfigure as your storage needs change — no holes in the wall, no regrets if you move.
2. Wall-Mounted Garage Shelving for Maximum Floor Space
Wall-mounted shelving is the move when you want to reclaim floor space entirely. Because the shelves cantilever off the wall, there’s nothing underneath them — your floor stays clear for cars, bikes, or working space.
The most flexible version of this is an adjustable track system: vertical metal rails screw into your wall studs, and bracket arms slot in at whatever height you need. You can add shelves, move them up or down, or remove them completely as your storage needs evolve.
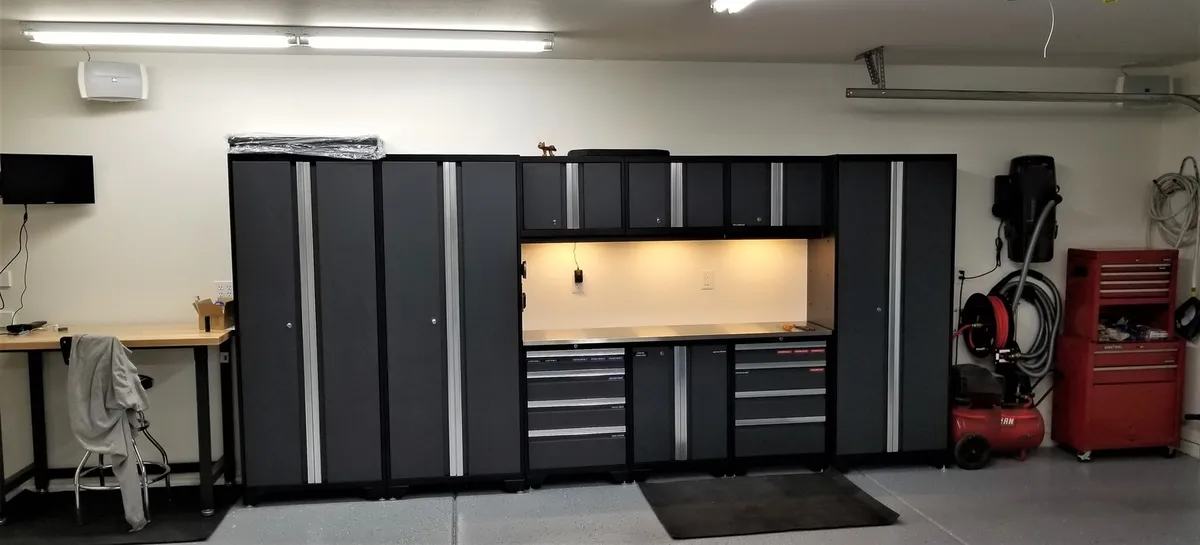
Critical installation note: these must be anchored into studs, not just drywall. Drywall alone won’t hold the weight when shelves are loaded. If your garage has concrete block walls, you’ll need a hammer drill and masonry anchors instead of standard wood screws — doable, just different. (See the FAQ below for more on concrete walls.)
A small habit that pays off long-term: once you’ve installed and loaded the shelves, write the weight capacity on a piece of tape and stick it under the shelf. It sounds fussy, but garages accumulate weight gradually and it’s easy to forget limits.
Best for: seasonal bins, automotive supplies, holiday décor, and sports gear that doesn’t roll away.
3. Overhead Ceiling Storage Racks for Bulky Seasonal Items
This is the most underused storage strategy in residential garages, and it’s genuinely one of the most effective.
The space above your car’s hood — typically 2 to 4 feet between the roof of the car and the ceiling joists — is almost always completely empty. Overhead ceiling racks mount up there and turn that dead space into a platform for bulky items you access once or twice a year: holiday décor tubs, camping gear, luggage, out-of-season sporting equipment.
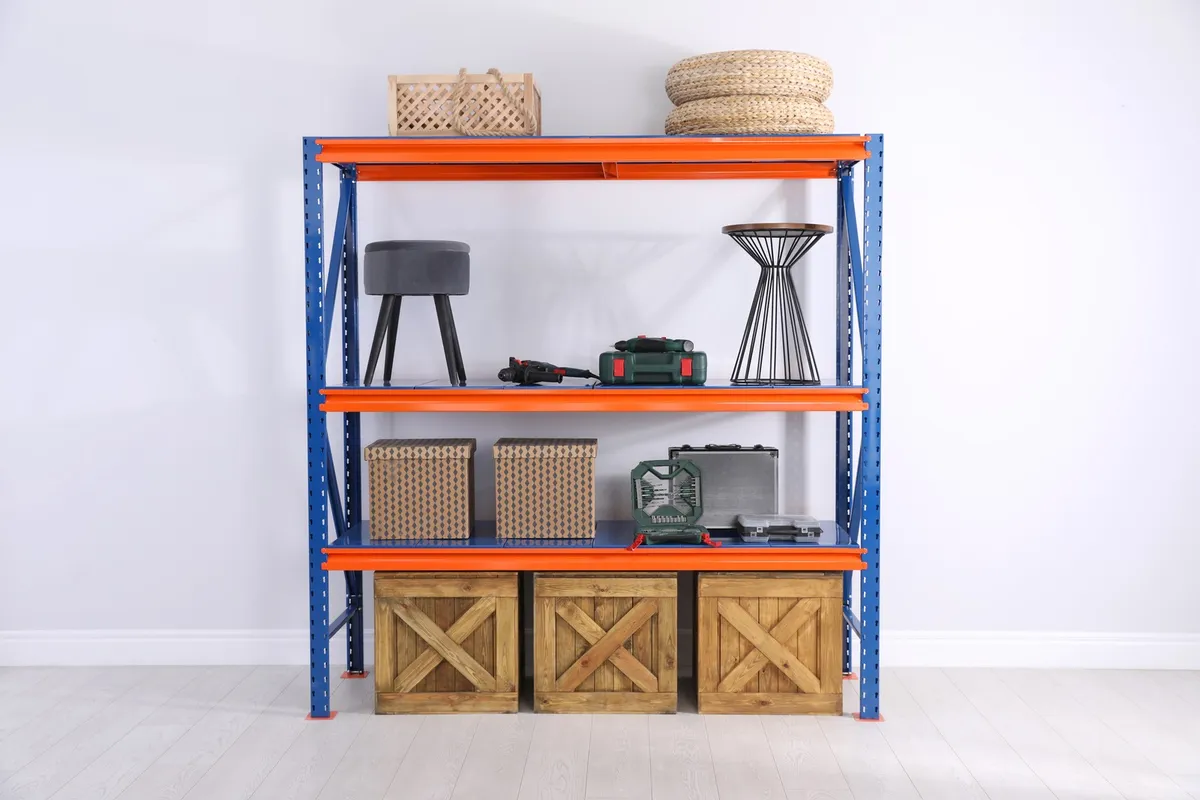
Platform-style ceiling racks are the most common version. They bolt directly into ceiling joists (not drywall — joists, and this is non-negotiable for safety) and create a grid-style shelf above your parked car. Most platforms are sized to hold multiple large bins side by side.
Who this works best for: people who have at least 8 feet of ceiling clearance. You need enough room for the rack, the items stored on it, and your car underneath without anything touching.
A practical rule: if you need to access it more than twice a year, it doesn’t belong on the ceiling rack. Reserve overhead storage for the truly seasonal — it’s not convenient to get things down, and that’s fine when you’re only doing it twice.
4. DIY Plywood Shelves Built Into the Wall Studs
This is the budget option that doesn’t look or feel budget — and in an unfinished garage, it’s remarkably easy to pull off.
In an unfinished garage with exposed studs (or exposed drywall you’re willing to cut into), the wall framing is already there. You’re just using it as the skeleton for your shelves.

Here’s the basic process:
- Measure your stud bays — the space between each pair of studs, usually 14.5 inches wide with standard 16-inch stud spacing.
- Cut 3/4-inch plywood to fit each bay at the depth you want (12-16 inches is typical).
- Screw ledger boards (a horizontal 2x4) into each stud at your desired shelf height.
- Drop the plywood shelf onto the ledger boards and screw it in place.
- Sand the edges so they don’t snag bins or scratch your hands.
Repeat at multiple heights for each bay and you’ve got a full shelving wall. The materials are genuinely affordable — a sheet of 3/4-inch plywood and a handful of 2x4s can outfit a significant wall section.
This only works well in garages with exposed framing or where you don’t mind working with the wall structure. But if that describes your garage, it’s hard to beat.
5. Modular Garage Cabinet Systems With Built-In Shelving
If you’re ready to make a real commitment to your garage and you want it to look like something out of a car magazine (without the car budget), modular cabinet systems are the answer.
Brands like Gladiator, Husky, and Rubbermaid make systems where individual cabinet and shelf units connect to each other and to wall-mounted rails. You can mix tall cabinets, short cabinets, open shelving sections, and workbench surfaces — then rearrange the configuration if your needs change.
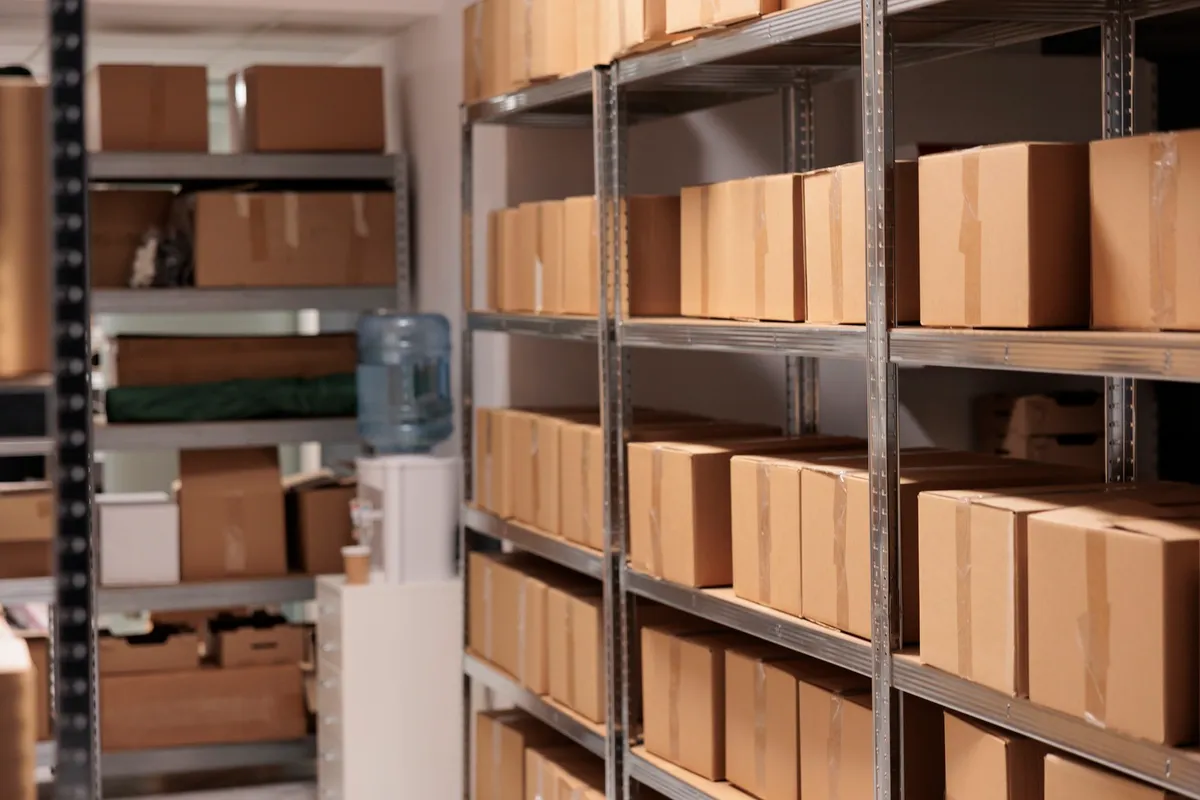
The biggest advantage over open shelving: closed cabinet doors hide the visual chaos. Tools, chemicals, and anything you don’t want kids to access stays behind a door — and most systems let you add a padlock to specific cabinets.
Trade-off to know upfront: this is the investment end of garage shelving. These systems are a serious purchase, and premium setups run well into the hundreds of dollars — but they’re also built to last decades. If you’re planning to stay in your home long-term and want a garage that actually functions as a workspace, the cost is worth thinking through seriously.
Wall-mounted versions of these systems (where the cabinets hang from a wall rail rather than sitting on the floor) keep your floor completely clear. That’s a meaningful upgrade if you do any garage work on the ground.
6. Slat Wall Panels With Interchangeable Shelf Accessories
Slatwall is the organizational system that rearranges itself. Mount the panels once, then slide hooks, bins, and shelf brackets in and out at any height — no drilling required after the initial install.

A 4x8 slatwall panel covers a significant section of wall and accepts a wide range of accessories: short shelves for spray cans and small boxes, deep bins for garden gloves or car cleaning supplies, and hooks for hand tools and extension cords. On a workbench wall, this combination means every tool has a visible home and nothing piles up on the bench itself.
The one install mistake that ruins slatwall: mounting it on drywall only. The panels look like they’re wall-mounted, but if they’re not anchored into studs, the whole thing will eventually pull away from the wall under load. Hit your studs. Every time.
Slatwall panels are available at Home Depot, Lowe’s, and Amazon in 4x8 sheets, and they come in white, grey, and wood-look finishes. You can also paint them if you want to match your garage’s vibe.
If you’ve been skimming, slow down for the next section — corner shelving is one of the most overlooked quick wins in garage organization, and it takes almost no effort to set up.
7. Corner Garage Shelving to Claim Dead Corner Space
Walk into any garage and look at the corners. Now notice how they’re probably completely empty. Corners are some of the most reliably wasted space in garages because standard rectangular shelving doesn’t naturally fit them.
L-shaped or triangular freestanding corner shelf units solve this without any installation. You set them in the corner, they fit snugly into the 90-degree angle, and suddenly you have 3-4 shelves of usable storage that didn’t exist before.
Wall-mounted corner shelves are sturdier but need two anchor points — one on each adjacent wall — so make sure both walls have accessible studs or appropriate anchors.
Best use for corner shelves: smaller, lighter items that don’t need heavy-duty support. Motor oil, cleaning supplies, garden chemicals, and car care products are perfect here. These things tend to end up on the floor by default, and a corner shelf fixes that immediately.
One small upgrade that makes a real difference: add a lazy Susan turntable on the bottom shelf for bottles and round containers. You can spin it to access whatever’s in the back instead of reaching around everything else.
8. Rolling Utility Carts as Flexible Portable Shelving
This one is specifically for garages where the layout shifts with the season — or where you do different kinds of work at different times of year.
A three-tier metal rolling utility cart isn’t exactly shelving in the traditional sense, but it functions like a portable shelf unit you can put exactly where you need it. Doing a car wash? Roll it outside with all your supplies. Working on a garden project? Roll it to the backyard door. Done for the day? Roll it back to its corner.
Look for carts with locking casters — the locking part is important. Without it, the cart will slowly roll away from you every time you reach for something, which gets old fast.
Deep-shelf versions hold power tools, garden supplies, and cleaning gear with room to spare. These are a budget-friendly option in the rolling storage category and widely available at Walmart, Amazon, and hardware stores.
The limitation: carts aren’t load-rated for the same weight as fixed shelving, and they don’t give you the organized wall storage that keeps a garage feeling structured. They work best alongside fixed shelving, not instead of it.
9. Pegboard Shelving Combo for a High-Function Tool Wall
Pegboard has been the default tool storage solution for decades, but most people only use it for hooks. Adding actual shelves to your pegboard setup changes it from a hook collection into a real storage wall.
The key detail that most tutorials skip: mount pegboard on furring strips, not flat against the wall. The hooks need room behind the board to engage. Without a gap, the hooks don’t hold. A 1x2 furring strip around the perimeter and down the center gives you the spacing you need.
Once it’s up, the combination that works best is: small horizontal shelves for spray cans, small boxes, and supplies — plus hooks for hand tools, extension cords, and frequently used gear. Paint the pegboard a bright color and outline each tool’s position with a marker. This “shadow board” trick makes it immediately obvious when something’s missing.
Standard pegboard comes in 4x4 and 4x8 sheets and is available at every hardware store. It’s one of the more affordable per-square-foot options on this list, which makes it a smart choice for a workbench wall where you want maximum functionality without a big investment.
10. Heavy-Duty Lumber Storage Shelves for Workshop Garages
If you do any woodworking, plumbing, or electrical projects at home, you probably have lumber, pipe, or conduit taking up floor space. Horizontal wall-mounted arms are the fix — they hold long materials vertically off the floor and sort them by length without eating into your usable garage area.
These are sometimes called cantilever arms or lumber rack arms, and they mount directly into studs in a vertical column. You slide boards in horizontally, shortest pieces on top, heaviest on the bottom. When you need a specific board, you can pull it out without disturbing everything else.
The weight capacity on properly anchored lumber arms is high — often well over 1,000 lbs across the full rack — which means this system can also handle heavier materials like steel pipe and PVC conduit.
This also works for: kayaks, surfboards, skis, and long seasonal items that don’t fit anywhere else in a conventional shelving setup. If you have any of those in your garage and they’re currently resting on sawhorses or leaning against the wall at a precarious angle, this system solves that problem definitively.
Always load the rack with the heaviest pieces at the lower arms and lighter pieces higher up. That’s basic physics and basic safety.
11. Sports Equipment Shelving Zones for Gear-Heavy Families
Sports gear is its own category of garage chaos. It’s awkwardly shaped, it rolls, it has helmets and rackets and balls in six different sizes, and it belongs to multiple people who will absolutely not put it back in the right place without a system that makes the right place obvious.
The solution is dedicated zoning — one wall section or one corner that belongs entirely to sports and rec gear. Not sharing space with the automotive stuff, not fighting for room with the holiday bins. Its own zone.
The combination that works:
- Upper shelves: helmets, bags, backpacks, anything that stacks
- Mid-height cubbies or bins: one per family member, one per sport
- Lower storage: ball storage bins or a ball claw rack (these keep balls from rolling across the floor)
- Wall hooks: bikes, rackets, lacrosse sticks, anything with a handle
Label each section by person or by sport. Color-coded bins — one color per kid — are the single most effective tool for getting kids to actually put gear back. It works because the decision is already made for them.
If bikes are the primary space problem, overhead bike hooks (ceiling-mounted) free up more floor space than almost any other single change in a small garage. This pairs well with the overhead ceiling rack system in idea #3.
12. Stackable Bin Shelving Systems for Seasonal Item Rotation
The last idea on this list is less about a specific shelving product and more about a system — because a shelf full of random bins isn’t actually organized. It just looks organized until you need something.
The foundation is uniformity. Choose one bin brand in one or two sizes and stick with it. Uniform bins stack cleanly, they use vertical shelf space efficiently, and they don’t wobble. Mixed bins from different brands, different heights, different lid styles — they create exactly the kind of visual and physical chaos you’re trying to escape.
Label every bin with two pieces of information: season and category. “Winter — Holiday Décor” and “Summer — Pool Gear” are both more useful than “Holiday” alone, because they tell you not just what’s inside but when it belongs at eye level.
Shelf placementlogic: current-season bins go at eye level, front and center, on the shelf you reach most naturally. Off-season bins get bumped to the upper shelves or the ceiling rack from idea #3 — you won’t need them for months, so they can live somewhere less convenient.
Clear-lidded bins beat opaque ones every time. Being able to glance at a shelf and see exactly what’s inside — without pulling three bins down first — is a small thing that saves real time, especially during the seasonal swap when you’re digging through everything at once.
Set a twice-a-year reminder (spring and fall work well) to actually do the rotation. Swap the off-season bins up, bring the current-season bins down, and relabel anything that’s changed. This ten-minute habit is what keeps a bin system working instead of slowly turning into the same disorganized pile you started with.
Where to Start: Picking the Right Shelving Idea for Your Garage
Twelve ideas is a lot to look at, so here’s a simple way to narrow it down. Ask yourself three questions: What’s my budget? What kind of walls do I have? And what do I actually store the most of?
Use this quick framework to pick your starting point:
- Renting, or just don’t want to drill into anything? Start with #1 (freestanding metal shelves) and #8 (rolling utility carts). Both require zero wall modification and can move with you.
- DIY-comfortable and working with a tight budget? Combine #4 (plywood shelves built into studs) and #9 (pegboard combo). Together, these can outfit a full wall for well under $150 in materials.
- Got concrete block walls? Skip anything that assumes you can drive a screw into drywall studs. Lean on freestanding units, ceiling racks anchored to joists, or invest in a hammer drill and masonry anchors for wall-mounted options.
- Family with gear scattered everywhere — sports, tools, seasonal stuff, all of it? Don’t try to solve everything with one shelving type. Combine two or three ideas into distinct zones: one wall for sports gear (#11), one for tools (#9), overhead racks for the seasonal rotation (#3 and #12).
- Ready to commit to a full garage overhaul? Modular cabinet systems (#5) or wall-mounted bracket shelving (#2) give you the most polished, long-term result — worth it if you’re staying in the house and want the garage to function like a real workspace.
Here’s your one action step, right now, before you close this tab: go measure your longest open wall. That measurement — length, height, and whether it’s stud-and-drywall or concrete block — tells you exactly which of these 12 ideas will actually work in your space. Everything else is just picking your favorite from the ones that fit.
Your garage didn’t get cluttered overnight, and it won’t get fixed in an afternoon either. But with one shelving zone at a time, it can go from a floor-pile graveyard to a space you actually enjoy walking into.
FAQ
What is the best type of shelving for a garage?
Heavy-duty freestanding metal shelves are the most versatile starting point — they require no drilling, hold up to 400 lbs per shelf, and can be repositioned easily. For a more permanent setup, wall-mounted or modular cabinet systems maximize floor space and are worth the extra installation effort.
How do I add shelving to a garage with concrete block walls?
You’ll need a hammer drill and masonry anchors (also called concrete anchors) instead of standard wood screws. Alternatively, freestanding shelving units and ceiling racks that anchor to joists rather than sidewalls are great workarounds that avoid the concrete wall issue entirely.
How much weight can garage wall shelves hold?
It depends on the product and installation — but bracket-mounted shelves anchored properly into studs typically hold 200-400 lbs per shelf. Always check the manufacturer’s weight rating and never exceed it. Ceiling racks should also be anchored into joists, not just drywall, for safety.