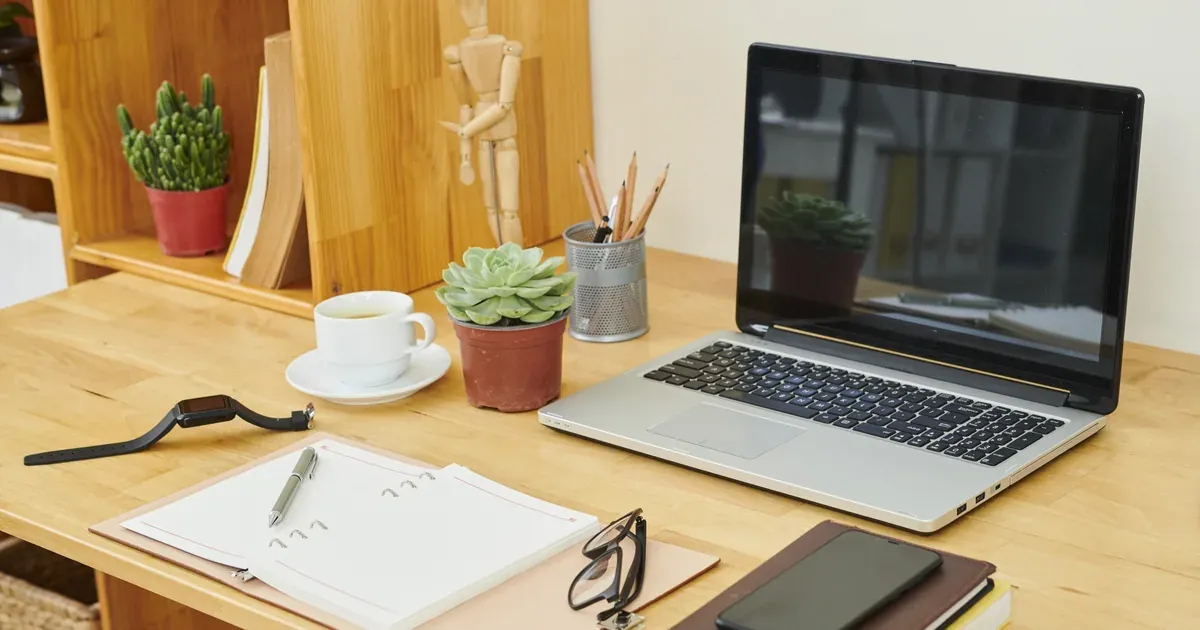
If you’ve ever spent 10 minutes looking for a pen that was definitely on your desk five minutes ago, this one’s for you. A cluttered desk isn’t just annoying — it actively pulls your attention away from the work you’re trying to do. Every sticky note, tangled cord, and random pile is a small drain on your focus, adding up throughout the day.
The good news: you don’t need a bigger desk, a home office renovation, or a weekend-long project to fix it. These 15 desk organization ideas are practical, scalable, and most can be done in an afternoon. Some take 5 minutes. A few take a bit more planning. All of them actually work.
We’ll cover supplies management, cord control, paper systems, wall storage, and the one daily habit that holds it all together. If you’re short on time, jump straight to where to start — but the full list is worth a read.
Why a Cluttered Desk Is Costing You More Than You Think
Visual clutter competes for your attention even when you’re not consciously looking at it. Your brain registers every out-of-place item as an unfinished task, which means a messy desk is quietly draining mental energy before you’ve typed a single word.
There’s also the practical time cost. If you spend even 5 minutes a day searching for something — a specific pen, that one sticky note, your phone charger — that adds up to more than 30 hours a year. That’s nearly a full work week spent hunting through your own desk.
Most desk setups fail for two reasons: too many items live in the primary work zone, and nothing has a designated home. When everything can go anywhere, everything ends up everywhere.
The 15 ideas ahead fix both problems. They’re organized by category — supplies, cables, paper, wall storage, and habits — so you can focus on your biggest pain point first.
1. Use a Desktop Organizer With Compartments
A desktop organizer caddy is the most straightforward upgrade you can make, and it works because it replaces the “pile things on the desk” default with an actual system.
The key is choosing one with enough sections — look for 4 to 6 compartments — so you’re not just creating a tidier version of a junk drawer. Dedicated spots for pens, scissors, tape, sticky notes, and a phone mean those items always go back in the same place.
Both bamboo and acrylic versions work well. Bamboo feels warmer and blends into home office setups easily. Acrylic shows the contents, which makes it faster to grab what you need. Either way, position it off to the side — not directly in front of you — so it doesn’t take up your primary work zone.
A good desktop organizer is an affordable starting point and widely available at Target, Amazon, or any home goods store.
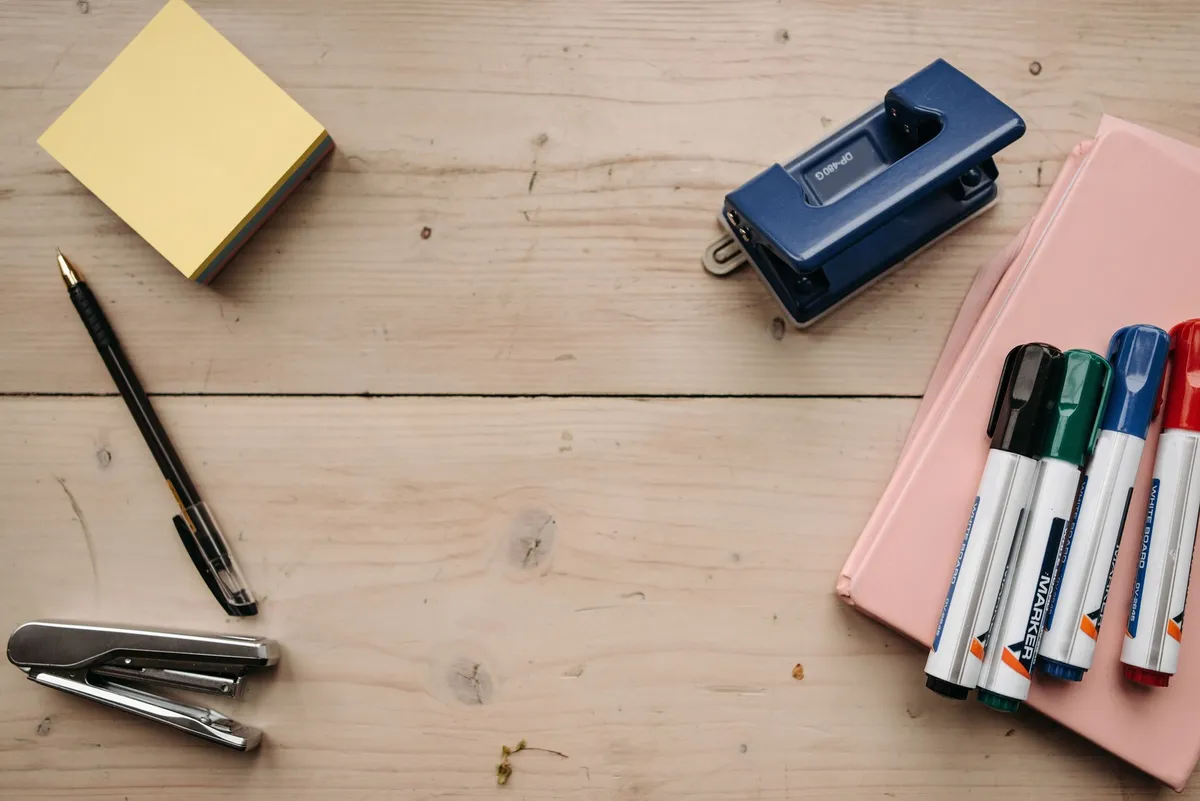
2. Add a Monitor Riser With Storage Underneath
A monitor riser does two things at once: it brings your screen to a better ergonomic height (roughly eye level) and it creates usable storage space underneath.
Slide your keyboard under the riser when you need clear desk space. Use the shelf for a small notebook, a charging station, or a set of small trays. Wood and bamboo risers with built-in drawers offer the most function and look polished.
If you want a no-spend option first: stack two sturdy boxes of the same height and place a rigid tray across the top. It’s not the most elegant solution, but it’ll show you quickly whether a riser makes sense for your setup before you commit to one.

3. Tame Cord Chaos With a Cable Management Box
Tangled cords under and around a desk are one of the biggest sources of visual noise in any workspace. Even an otherwise organized desk looks chaotic when there’s a nest of cables trailing off the back.
A cable management box hides your power strip and excess cable length inside a single enclosed unit. It sits on the floor or on a shelf and looks like a simple box from the outside. Pair it with velcro cable ties to bundle individual cords and keep them from tangling. Add adhesive cable clips along the desk edge to route cords cleanly from device to power source.
These supplies are all budget-friendly and widely available. The velcro ties especially — grab a pack and you’ll use them everywhere.

4. Mount a Pegboard or Wall Grid Above the Desk
This is the single best move if your desktop constantly fills back up no matter what you do. Moving frequently used items off the desk entirely — and onto the wall — frees up surface space permanently.
A pegboard or wall grid gives you a fully customizable system. Mix hooks for headphones and scissors, small shelves for notebooks and a speaker, and bins for charging cables or pens. You design it around what you actually use.
Renters, don’t skip this one. Command strip pegboard hooks exist, and some lightweight wall grids mount without drilling at all. The IKEA SKÅDIS is a popular option, but there are plenty of alternatives at similar or lower price points.
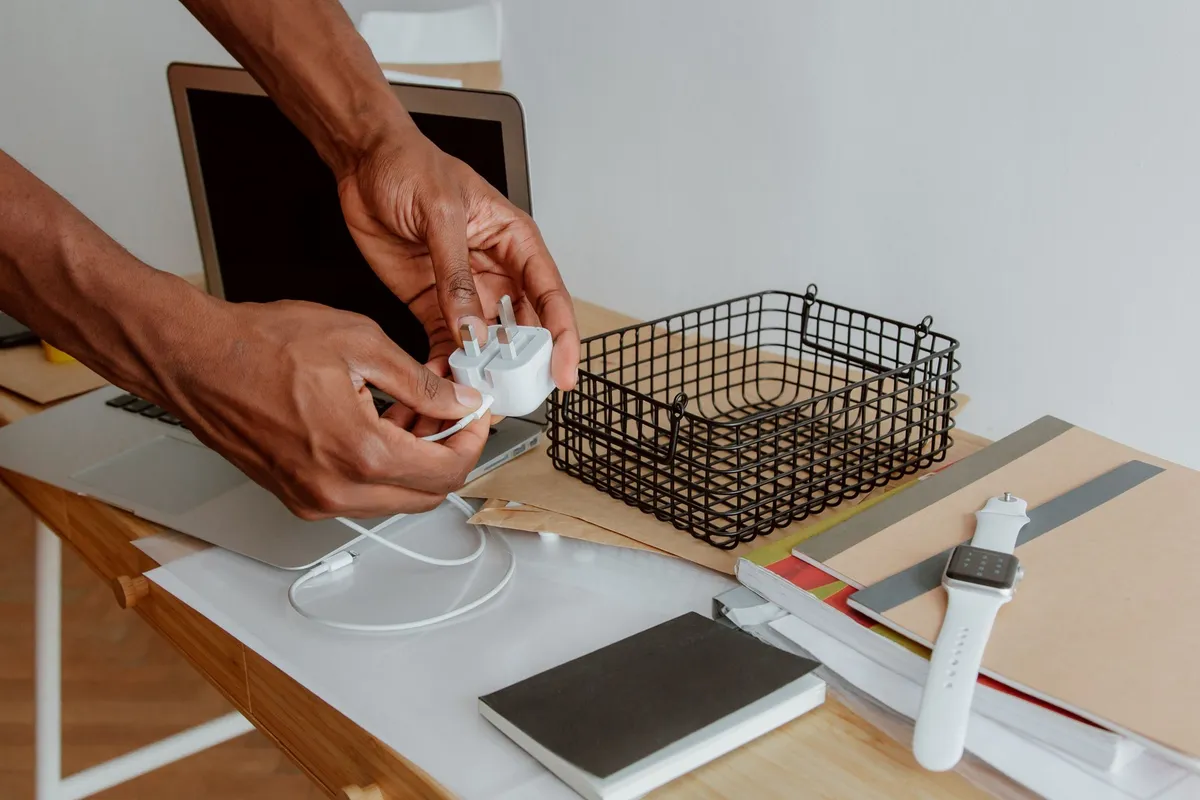
5. Use Drawer Dividers to Organize Every Inch
If you have desk drawers, there’s a good chance they’ve become a catch-all for everything that doesn’t have a designated home. Drawer dividers fix that.
Adjustable expandable dividers are the most practical — you can resize the cells to fit different items rather than working around a fixed layout. Set up dedicated sections for pens and pencils, sticky notes, paper clips and binder clips, chargers, and a small miscellaneous zone for whatever doesn’t fit elsewhere.
Bamboo dividers look clean and hold up well. Plastic expandable sets work just as well and are often even more affordable. The goal is that every item in that drawer has a slot, so returning things takes no thought.

6. Bring In a Small Floating Shelf for Extra Surface Space
One floating shelf beside or above your desk can double your usable storage without taking up any desk surface. Use it for books you reference regularly, a small plant, a Bluetooth speaker, or a simple inbox/outbox tray setup.
If you can’t drill, heavy-duty adhesive wall strips rated for shelving weight work well for lighter loads. Check the weight rating before you load it up, but for a few books and a small plant, most no-drill options are fine.
One rule that prevents the shelf from becoming another clutter zone: limit it to 3-4 items maximum. A floating shelf with intentional items looks clean and helpful. A shelf with 12 things on it just moved the problem six inches higher.

7. Set Up a Dedicated Inbox and Outbox Tray System
Paper clutter is the number one problem for anyone who works from home. Loose papers migrate from the printer to the desk to a pile to a bigger pile, and suddenly you can’t find anything.
A two-tray system cuts through this: one tray for incoming documents that need action, one tray for outgoing items to file, mail, or hand off. Stackable letter trays keep the footprint small. Mesh or acrylic versions are easy to find and work well.
The system only works if you actually process the inbox tray. Pick a consistent time — end of the workday, after lunch, whatever fits your routine — and clear it daily. A tray that holds a week of unreviewed papers isn’t a system; it’s a fancy pile.
For more paper-specific strategies, check out 10 Paper Organization Ideas to Eliminate Desk Clutter for Good.
8. Add a Small Whiteboard or Corkboard for Active Notes
Sticky notes on a monitor are a short-term fix that turns into long-term visual chaos. A whiteboard or corkboard gives you a designated spot for notes that’s visible, accessible, and — crucially — doesn’t multiply across every surface.
Use a whiteboard for temporary, changing tasks (to-do list, daily priorities, a phone number you need for the week). Use a corkboard for ongoing reference items that stay up for weeks — a project timeline, a contact list, an inspiration image.
Mount it within your natural sightline, not off to the side where you’ll forget to look at it. Combo boards with half whiteboard and half cork give you both functions in one frame — a solid choice if you’re only going to install one.
If you’ve made it this far, you’re clearly serious about this. The next few ideas go deeper into the organizational systems that keep a desk working long-term — not just looking good right after you set it up.
9. Corral Notebooks With a Vertical File or Book Stand
Stacking notebooks flat is a storage instinct that works against you. The bottom notebook disappears, things pile on top, and you end up digging through a stack every time you need something.
A vertical file holder or book stand keeps notebooks upright and visible. You can see the spine of each one, which makes grabbing the right notebook a one-second task instead of a three-minute excavation. Label the spine of each notebook with a small piece of tape and a marker if they don’t have printed titles.
This also works for folders, binders, and thin reference books. One upright organizer holds significantly more than a flat stack because you’re using vertical space instead of horizontal.
10. Create a Charging Station in One Designated Spot
When phones, earbuds, tablets, and smartwatches land randomly on the desk, they take up prime real estate and add to visual clutter. A designated charging station solves this.
A small tray or organizer on one corner of the desk — ideally near a wall outlet or power strip — becomes the official charging spot. A multi-device charging hub keeps all the cables in one place and eliminates the hunt for the right charger.
Label each cable with a small cable tag or a piece of tape with the device name. It takes 2 minutes to set up and saves daily frustration. Bonus habit: make a rule that devices charge here only, not on the open work surface. This one boundary keeps the desk clear of the random device creep that happens otherwise.
For managing the cables that run from this station to the wall, see cable management box above.
11. Use a Lazy Susan for a Shared or Corner Desk
A turntable lazy Susan on the desk sounds like a kitchen tool, but it’s genuinely useful in a workspace — especially corner desks where reaching across requires more effort than it should.
Load it with the items you use throughout the day: pens, a stapler, tape, sticky notes, maybe a small pair of scissors. Spin it to access what you need, spin it back. The turntable keeps all those supplies in one footprint instead of spread across the desk, and it keeps the center of the desk completely clear.
This also works well for shared family workspaces. Everyone can access the same supplies without hunting through someone else’s setup.
12. Store Frequently Used Files in a Color-Coded Accordion Folder
One compact accordion folder can replace an entire pile of loose papers and individual folders. It holds everything in one upright unit that fits in a file holder or slides into a deep desk drawer.
The key is color-coding the tabs. Assign a color or label to each project, client, category, or due-date range — whatever system matches how you actually think. Color-coded tabs let you find the right section with a glance instead of reading every label.
Do a weekly purge to keep only active documents inside. Anything that’s completed, filed, or no longer needed comes out. An accordion folder stuffed with old documents becomes just as hard to navigate as a pile.
13. Add a Small Plant or Decorative Bin to Define the Space
This one sounds like aesthetics advice, but it’s actually strategic. A small intentional item — a plant, a pretty bin, a single piece of decor — signals that the space is finished and deliberate. That signal makes it easier to resist filling every inch with random stuff.
A pothos, succulent, or small snake plant works well on a desk. They’re low-maintenance, tolerate indoor light, and add something that isn’t screen glow. A woven basket or decorative bin in one corner can hold items you need quick access to but don’t want sitting out — a small notebook, a hair tie, a snack bar.
One personal item rule is worth adopting: plant OR photo OR decorative object — pick one. Three “personal touches” on a small desk starts to look crowded.
14. Label Everything — Including the Drawers
Labels are unglamorous and they work extremely well. The reason organizational systems collapse isn’t usually lack of effort — it’s that returning items becomes a judgment call. “Where does this go?” leads to “I’ll figure it out later,” which leads to a pile.
Labels eliminate that hesitation. When a drawer says Pens + Markers and a bin says Chargers, returning something takes zero thought.
Use a label maker for clean, readable results — Brother and DYMO both make budget-friendly models that are worth the small investment. Printed adhesive labels work too. Label the outside of file folders, the inside edges of drawer dividers, and storage boxes on the shelf.
This matters even more if other people use the desk. A labeled system maintains itself across multiple users in a way that an unlabeled one never will.
For more on building a whole-room system, see How to Organize a Home Office in a Small Space.
15. Do a 5-Minute Desk Reset at the End of Every Day
Every organization system on this list eventually fails without a maintenance habit. A cluttered desk isn’t usually the result of one bad day — it’s the result of small accumulations that never got reset.
A 5-minute reset at the end of the workday is genuinely enough when everything has a home. The steps are simple:
- Return every item to its designated spot
- Throw away trash (empty coffee cups, wrappers, expired sticky notes)
- Move inbox tray items to the correct folder or tray
- Wipe the desk surface with a damp cloth or microfiber cloth
- Set tomorrow’s top 1-2 priorities on a sticky note or your whiteboard
Set a timer. You’ll be surprised how much you can reset in 5 minutes when you’re not making decisions — just returning things to where they live. This habit is what separates an organized desk that lasts from one that looks good for a week.
For a broader take on building a work-from-home routine that keeps this kind of system running, check out How to Set Up a Productive Work-From-Home Routine.
Where to Start: The 3-Zone Desk Method
Trying to implement all 15 ideas at once is a great way to spend a Saturday reorganizing and then abandon the whole thing by Wednesday. Instead, use the 3-zone method to identify your biggest problems first.
Zone 1 — Prime Zone (arm’s reach from your chair) This is your daily-use zone: keyboard, mouse, a notepad, one pen. That’s it. If something is in Zone 1 but you only touch it a few times a week, it doesn’t belong here.
Zone 2 — Secondary Zone (desk edges, monitor area) Weekly-use items: headphones, a charger, your inbox tray, a reference notebook. Accessible, but not in your primary line of sight.
Zone 3 — Off-Desk Storage (drawers, shelves, wall) Occasional-use items, reference materials, backup supplies. If you need it once a month, it doesn’t need to be on the desk at all.
Once you can see which zone is most broken for you, pick 2-3 ideas from the list that fix that specific problem:
- If your desktop is buried in stuff: Start with desktop organizer + monitor riser + vertical file holder
- If cords are the main problem: Start with cable management box + charging station
- If paper is out of control: Start with inbox/outbox tray + accordion folder + whiteboard
- If everything needs a home: Start with drawer dividers + labels
The recommended starter combo if you’re not sure where to begin: cable management box + desktop organizer + inbox tray. Those three changes solve the most common problems in under 2 hours andunder $60 total. Once those are in place and you’ve stuck with the daily reset for a week, layer in whatever’s left on the list based on what’s still bugging you.
There’s no prize for implementing all 15 ideas at once. The people whose desks actually stay organized long-term are the ones who fix one real problem at a time and build the daily reset habit before adding anything new. Start small, give it a week, then keep going.
FAQ
How do I organize my desk if I have very little surface space?
Go vertical. A monitor riser, wall-mounted pegboard, or floating shelf immediately frees up desk surface without requiring a bigger desk. Focus on moving items off the desktop and onto the wall or into drawers rather than adding more surface organizers.
What’s the best way to organize a desk with no drawers?
Use a combination of a desktop organizer caddy, a small rolling cart tucked beside the desk, and wall-mounted storage like a pegboard or floating shelf. A rolling cart with 2-3 tiers is especially useful because it adds drawer-like storage you can move as needed.
How do I keep my desk organized when I work from home full-time?
The key is a daily 5-minute reset habit paired with a clear “home” for every single item on and around the desk. Full-time work creates more daily turnover of papers and supplies, so also set up a strong paper management system with an inbox tray and weekly filing routine.