
You started with energy an hour ago. Now there’s a bigger pile on the bed than what you started with, three “maybe” stacks on the floor, and you’re standing in the doorway wondering if it’s even worth finishing. This is the most common way decluttering sessions die — and it’s not because you lack discipline.
This guide walks you through a room declutter from start to finish, in an order that actually holds up. You’ll clear surfaces first, sort in one direction only, and give every single item a home before you call it done. Budget 2-4 hours for a full room, or break it into a few shorter sessions this week. You’ll need trash bags, a donate box, and a laundry basket — that’s it to start.
Why Your Room Keeps Getting Cluttered (And Why Willpower Isn’t the Fix)
If you’ve decluttered before and watched the mess creep back within a month, it’s tempting to blame yourself. You’re not lazy. Your room just doesn’t have a system that supports where things actually land.
Clutter isn’t really about mess — it’s about decisions. Every object on your floor represents a decision you didn’t make yet: keep or toss, put away or deal with later. Multiply that by 50 small objects and your brain taps out. That’s decision fatigue, and it’s exactly why halfway through a declutter session everything starts feeling impossible.
There’s a second piece too. If an item doesn’t have an assigned “home” — a specific drawer, shelf, or bin it belongs in — it will always drift back to the floor or the nightstand pile. You can declutter the same room every month and it’ll relapse every time if nothing has a home to return to.
So this is a system problem, not a character flaw. Fix the system — clear decisions, assigned homes — and the room stays clear without you gritting your teeth every day to maintain it.
Before You Start: What You Actually Need
You don’t need to buy anything fancy before you begin. In fact, buying storage products before you declutter usually backfires — more on that later. What you need is simple and probably already in your house.
Gather these four things before you touch a single item:
- Trash bags — for actual garbage, broken items, and things too worn to donate.
- A donate box or bag — one designated container, not a vague pile “to deal with later.”
- A laundry basket — for items that belong in other rooms (dishes, tools, your roommate’s stuff).
- A timer or a plan for your time block — 1-3 hours uninterrupted works best, or split into shorter sessions.
Before you start moving anything, set your rule out loud: every item gets sorted into keep, donate, trash, or relocate. No fifth category, no “I’ll figure it out later” pile. That one rule is what keeps this process from turning into the same reshuffling you’ve done before.
Step 1: Empty Every Surface First
Before you sort anything, clear every flat surface in the room completely. Nightstand, dresser top, desk, windowsill — all of it goes into one central pile, usually the bed works best since you’ll need it later anyway.
Don’t sort as you clear. That’s the mistake that stalls people out in the first ten minutes — picking up an item, deciding what to do with it, putting it down, picking up the next one. Just move everything off surfaces first. Sorting comes next, as its own separate step.
Here’s why this works: an empty dresser top or nightstand is visible proof that something changed, even if the rest of the room looks worse for a minute. That visual win is what keeps you going when the bed is now covered in stuff. You’re not making more mess — you’re consolidating scattered mess into one pile you can actually process.
If surfaces are the only cluttered zone in your room, you might be done faster than you think. If your floor and closet are also involved, this step just buys you clear workspace to sort everything methodically instead of shuffling piles from surface to surface.
Step 2: Sort in One Direction — Never Back and Forth
This is the step that actually determines whether you finish or quit. Work through your central pile in one direction only: pick up an item, make a decision, move it to its category, move to the next item. Never go back to “reconsider” something you already placed.
Here’s the sorting flow that works:
- Pick up one item — don’t scan the whole pile first, that’s how overwhelm creeps in.
- Ask: keep, donate, trash, or relocate? — one of these four, no exceptions.
- Give yourself 3 seconds — if you can’t decide in 3 seconds, it goes in donate. Indecision is usually your gut telling you that you don’t need it.
- Physically move it immediately — into the bag, box, or basket. Don’t set it back down “for now.”
- Move to the next item — don’t circle back.
The 3-second rule matters more than people expect. Most stalling happens on sentimental or “someday” items — the shirt you might wear again, the gadget you might need. If you’re debating past a few seconds, that hesitation is information. Send it to donate and keep moving.
Handling each item once is the whole trick here. The “I’ll decide later” pile is exactly what created the mess you’re fixing right now — don’t recreate it mid-declutter.
Step 3: Tackle the Closet and Drawers Separately
Once your surfaces and central pile are handled, treat your closet as its own separate project — don’t blend it into the general sort. Closets have their own logic and deserve focused attention.
Pull everything out of the closet, all of it, including shoes and stuff on the floor. Wipe down the empty shelves and rod while it’s bare — you’re already in there, might as well. Then only return items that earn their spot back using the same keep/donate/trash rule from Step 2.
For clothes specifically, try the hanger-flip trick: turn every hanger backward before you start. Over the next few weeks, whenever you wear something, flip its hanger the right way. After a season, anything still backward hasn’t been worn — that’s your honest donate pile, no guessing required. You can also do a faster version right now: if you haven’t worn it in a year and it’s not seasonal or sentimental, it goes.
Drawers get the same treatment. Empty one drawer completely, sort its contents, and only put back what you’ll actually use. Slim, uniform hangers and simple drawer dividers can help once you know what’s staying — but that’s a later step, not a prerequisite. How to Organize a Small Bedroom Closet on a Budget has more on making a small closet work hard once you’re at this stage.
Step 4: Deal With the Hardest Spot Last — Under the Bed and Hidden Corners
Save under-the-bed storage, the closet floor, and any junk corners for last. You’ll have momentum built up by now, and these zones are usually the ones with the oldest, most emotionally loaded stuff — better tackled once you’re warmed up.
Under-bed storage should hold only things you use less than once a month: off-season clothes, spare bedding, memory boxes. If you’re storing things there because there was nowhere else to put them, that’s a sign they need a real home elsewhere, or they need to go.
A good gut check for boxes you haven’t opened: if you haven’t opened it in a year, ask why it’s still taking up space. Not everything sentimental needs to go, but plenty of it is sitting there out of inertia, not meaning.
Under-bed bins or slim vacuum storage bags can help you use this space efficiently once you’ve decided what’s actually worth keeping there — but sort first, contain second.
Step 5: Give Every Item a Home Before You Call It Done
This is the step people skip, and it’s the reason clutter comes back within weeks. If everything you’re keeping doesn’t have an assigned spot, it’ll end up back on the floor or nightstand within a month — right back where you started.
Group like items together before you decide on homes: all chargers in one place, all skincare together, all books on one shelf. This makes it obvious where new things of that type should go later, and it makes it obvious when you have too many of something.
A junk drawer is completely fine — one drawer for the odds and ends that don’t fit a category. A junk room, or a junk corner that grows every week, is not fine. If you have overflow items with no clear category, contain them deliberately in one labeled bin rather than letting them scatter again.
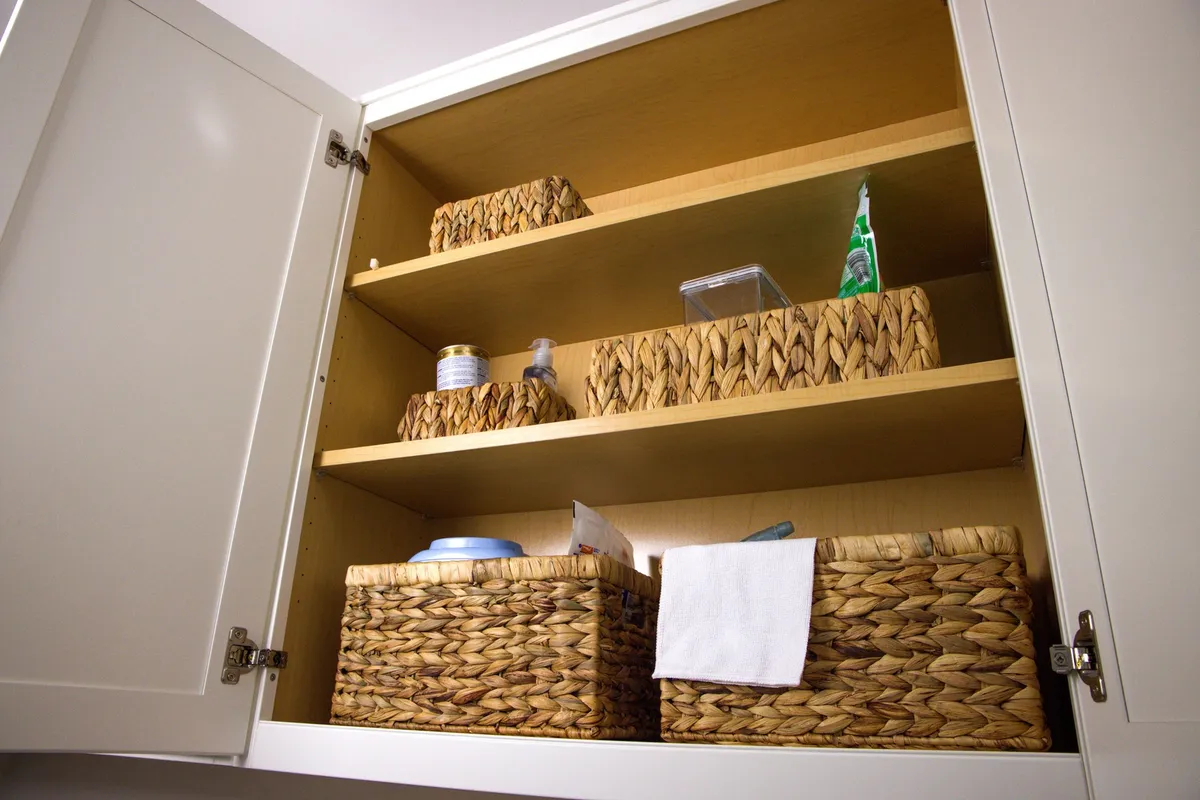
Small baskets, drawer organizers, or a simple tray on your dresser can hold these grouped items once you know what’s staying. The goal isn’t perfect containers — it’s that every single object has one specific place it goes back to.
The 20-Minute Daily Declutter Habit That Actually Sticks is worth reading next if you want this to hold for good, not just for a week.
Common Decluttering Mistakes That Undo Your Progress
Even with a solid process, a few habits quietly sabotage the work you just did. Watch for these:
- Buying storage bins before decluttering. It feels productive, but bins just give clutter a nicer place to hide. Sort first, contain second — always in that order.
- Trying to do the whole room in one unrealistic sitting. If your room has been building up for months, one afternoon might not cover it. Split it into sessions by zone instead of forcing a marathon that burns you out halfway through.
- Skipping the donate box out of guilt. “I might use this” quietly turns into “I’ll just put it back,” and nothing actually left the room. If you hesitated on it in Step 2, trust that decision.
- Not setting a maintenance habit afterward. A one-time declutter without a follow-up habit drifts back to clutter in a month, almost every time. A quick nightly reset takes minutes and protects the work you just did.
- Sorting by category instead of by zone. Trying to handle “all clothes in the house” or “all books everywhere” in one pass is overwhelming. Stick to one room, one zone at a time.
FAQ
How long does it take to declutter a room?
A small to medium bedroom typically takes 2-4 hours if done in one focused session. You can also split it into 3-4 shorter sessions across a week — just finish one zone completely before moving to the next so you don’t end up with half-sorted piles everywhere.
What should I do with items I’m not ready to get rid of?
Put them in a labeled “maybe” box with today’s date and store it out of sight. If you haven’t gone looking for anything in it after three months, donate the whole box without reopening it.
How do I declutter when I feel emotionally attached to everything?
Start with the easiest category first — trash, duplicates, broken items — to build momentum before you tackle sentimental things. For pieces where the memory matters more than the object, take a photo of it and let the physical item go.
Pick one surface tonight — your nightstand or your dresser top — and clear it completely before bed. That single win is enough momentum to tackle the rest of the room this weekend, one zone at a time.