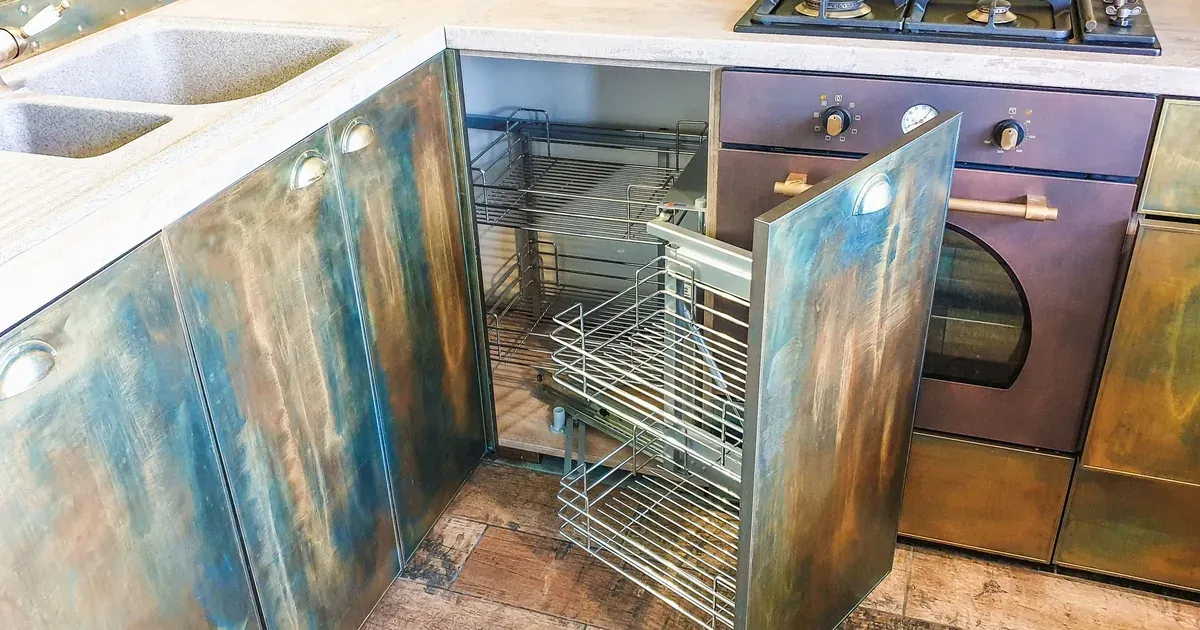
If your corner cabinet has become a black hole for forgotten appliances and mystery cans, you’re not alone. That awkward corner is one of the most complained-about spots in the kitchen — and one of the most fixable. The problem isn’t your cabinet. It’s that most people try to use it like a regular cabinet when it needs a completely different approach.
This list covers 10 specific ways to tackle a corner cabinet, from the classic fix to some genuinely underrated options you probably haven’t tried. Whether you rent, own, or are somewhere in the middle on how much you want to spend, there’s something here that works for your setup. If you’re short on time, jump to the classic lazy Susan for the fastest win — or read straight through if you want to pick the best fit for your cabinet type.
Why Corner Cabinets Are the Hardest Spot in Your Kitchen to Organize
The problem with corner cabinets isn’t clutter — it’s geometry. When two cabinet runs meet at a 90-degree angle, you end up with a cavity that’s deep, wide, and impossible to see into fully without practically climbing inside.
Items slide to the back and stay there. That’s not a personal failing. That’s physics.
Most kitchens have at least one of these corners, and most of them function as a graveyard for things like the panini press you used twice, cans of coconut milk from 2021, and approximately 47 plastic lids with no matching containers.
Before you pick a solution, it helps to know what type of corner cabinet you’re working with:
- Base corner cabinet with swing doors — the most common, usually accessed from one or two doors at the corner
- Blind corner cabinet — only accessible from one side, with a fixed wall blocking the far interior
- Upper corner cabinet — higher, shallower, and often has an angled or diagonal door
- Diagonal corner cabinet — has a door set at 45 degrees across the corner
The right fix depends on your cabinet type. This list covers all of them — including lazy Susans, pull-out hardware systems, and several options that require zero tools and work perfectly in rentals.
1. Classic Lazy Susan Turntable
The lazy Susan has been solving corner cabinet problems for decades, and there’s a reason it hasn’t been replaced: it works.
A rotating tray brings everything at the back of the cabinet to the front with a simple spin. No digging. No moving three things to reach the fourth. You load it, spin it, grab what you need.
The two-tier version is especially worth it in a base cabinet — you effectively double the usable surface area because you’re stacking two rotating levels on top of each other. Load the top tier with lighter, smaller items (spices, extracts, small cans) and the bottom with heavier jars and condiments.
For standard base corner cabinets, look for a lazy Susan with at least a 28-inch diameter so it actually fills the space instead of floating in the middle. Non-slip surfaces matter more than you’d think — nobody wants their olive oil to go skating every time they spin it.
This works best for: spices, canned goods, oils, vinegars, and condiments. It’s less ideal if you’re storing pots and pans, where the turntable can feel wobbly with heavier loads.
Two-tier lazy Susans are widely available at Target, Amazon, and most home goods stores in a range of sizes.
2. D-Shaped Lazy Susan Shelf System
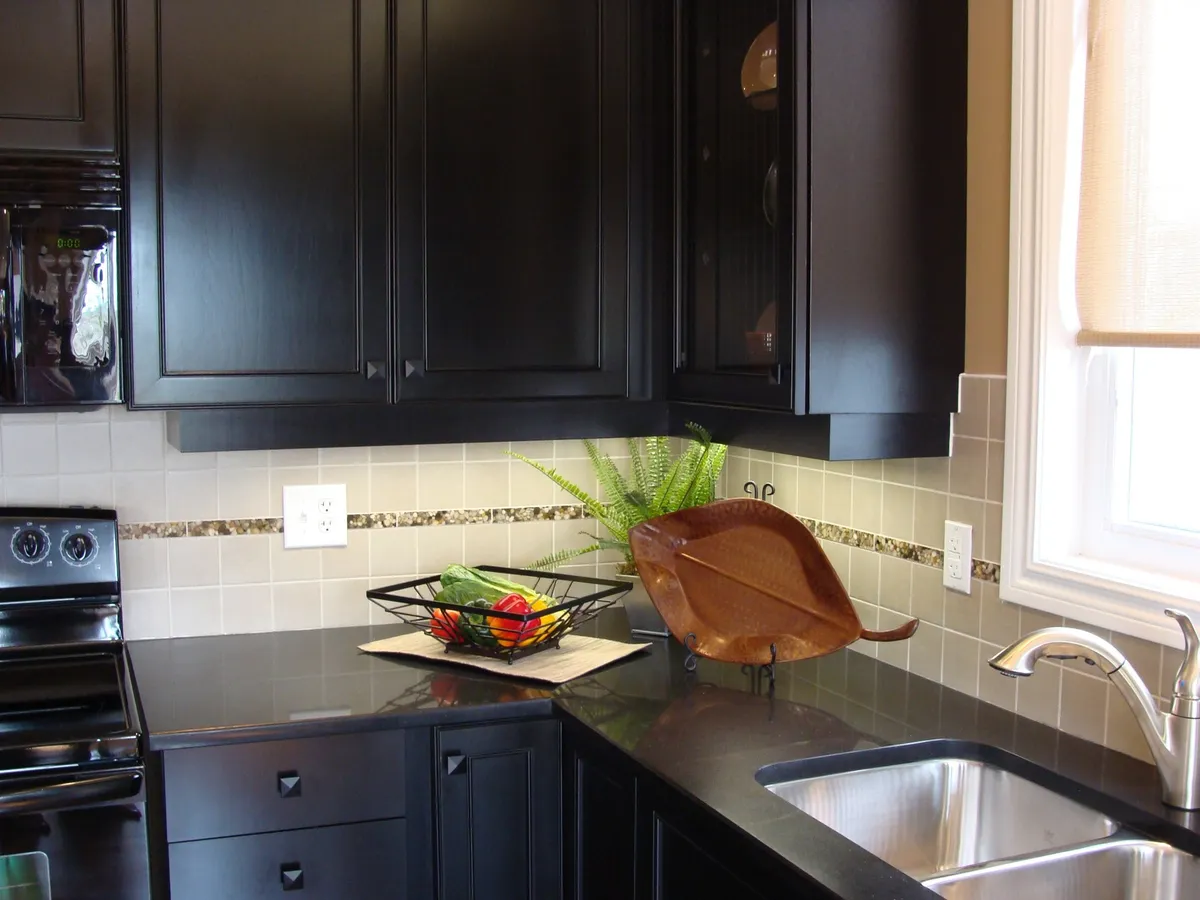
This one looks almost exactly like a regular lazy Susan — but the shape is cut flat on one side, like the letter D. That flat edge is the key.
In a blind corner cabinet (the kind where one side is blocked by a wall and you can only enter from one direction), a round turntable wastes a lot of space because it can’t extend fully into the back corner. The D-shape solves that. The flat edge slides against the cabinet frame, letting the shelves reach further back than a circle ever could.
Built-in D-shaped lazy Susans are a staple in new kitchen builds — if you’re doing a renovation, they’re worth requesting. But if you’re working with an existing cabinet, retrofit D-shaped shelf sets are available as a DIY option. They typically come as a two or three-shelf stack that mounts to a central pole inside the cabinet.
The installation is more involved than just setting a turntable inside, but it’s not a full carpentry project — most homeowners can do it in an afternoon.
If you’ve tried a regular round lazy Susan and still felt like items were disappearing into the back corner, this is the upgrade to try.
3. Pull-Out Blind Corner Organizer
This is the premium solution, and honestly, it earns the title.
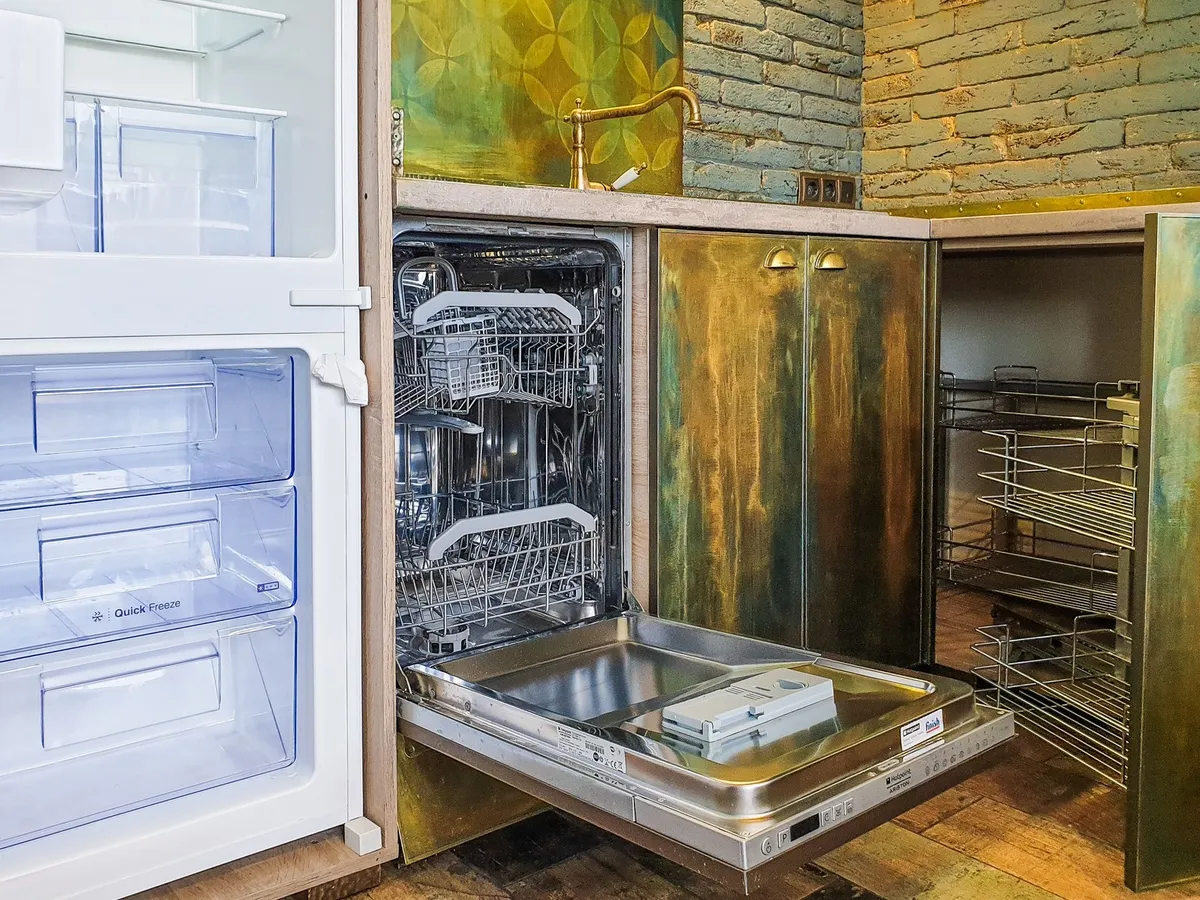
A pull-out blind corner organizer uses mounted hardware to slide the entire contents of the cabinet out toward you when you open the door. The most popular styles are the “magic corner” (two kidney-shaped shelves that swing out in sequence) and the full pull-out (a rack that extends straight forward on gliders). Both eliminate the blind spot completely.
It does require installation — you’ll be mounting hardware to the inside of the cabinet frame. It’s not complicated, but it does involve measuring carefully and using a drill. The upfront work is a one-time project, not an ongoing commitment.
Before you buy, measure these three things:
- Cabinet opening width (the door opening, not the interior)
- Interior cabinet depth (how far back the cabinet goes)
- Shelf height (to confirm the pull-out hardware clears the existing shelf)
These organizers are sold in standard sizes (typically 9-inch and 12-inch openings are common), so having your measurements on hand before shopping saves a wasted return trip.
Rev-A-Shelf makes some of the most popular versions, available on Amazon and Wayfair. For homeowners who plan to stay in their kitchen for years, this is the highest-return corner cabinet investment on this list.
4. Stackable Wire Shelf Risers
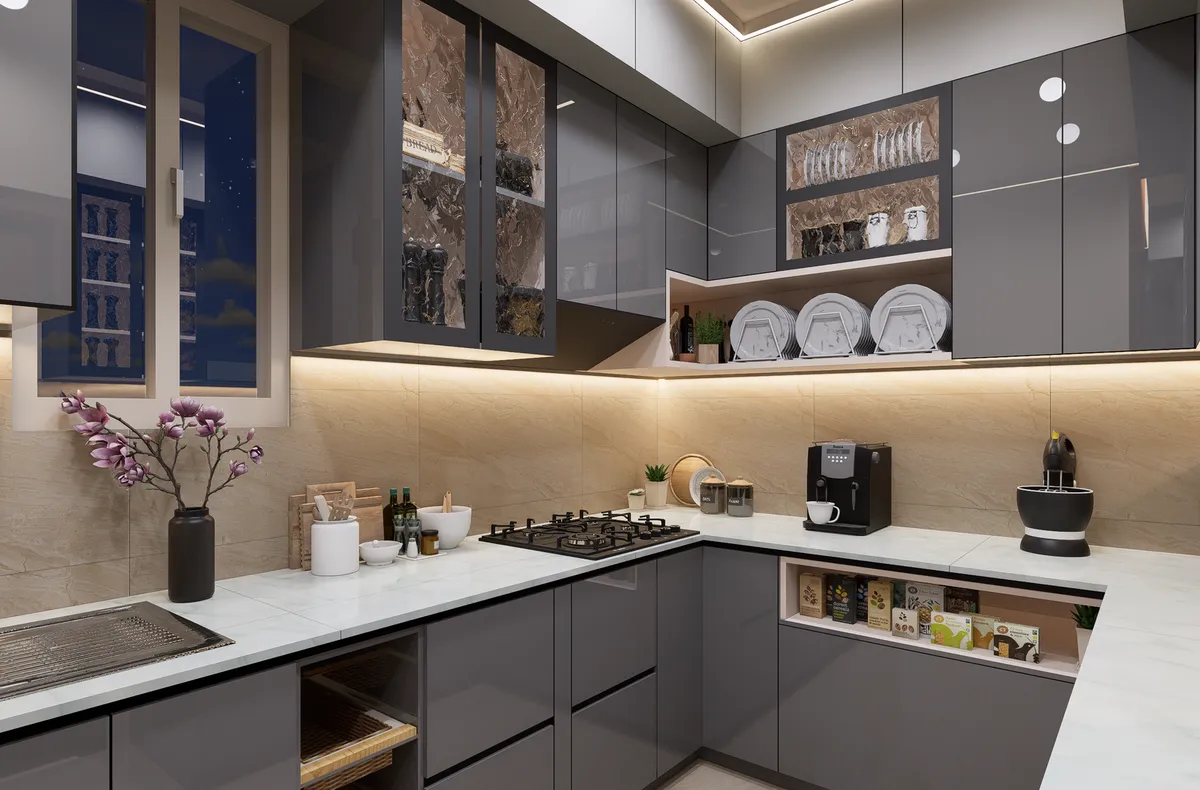
If you’re not ready to install anything — or you’re renting — stackable wire shelf risers are the lowest-effort way to get more usable space out of a corner cabinet.
The concept is simple: you’re adding a second (or third) layer inside the cabinet by stacking raised wire shelves. This is especially useful for base cabinets where you’re storing pots, pans, and baking sheets, because those items don’t naturally stack well and tend to turn into a teetering pile.
Stand baking sheets and cutting boards on edge in the back section, then use the riser to create a shelf level above for smaller items. Lids can be stored vertically in a wire rack alongside the pots instead of nested chaotically inside them.
One note on materials: choose coated wire over bare metal. If your corner cabinet is near the dishwasher (common in many kitchen layouts), steam can eventually cause bare wire to rust. Coated options last significantly longer and wipe clean more easily.
These are widely available at Target, Amazon, and even Dollar Tree for smaller sizes.
5. Diagonal Corner Cabinet with Open Shelf Styling
Here’s the thing about diagonal corner cabinets — the ones with a door set at 45 degrees across the corner: they’re actually kind of beautiful if you work with the layout instead of cramming things in.
Because the door opens to reveal a symmetrical interior, this cabinet type responds really well to intentional styling. Pick 2-3 matching bins or baskets in one consistent color (white, natural rattan, black — pick one and stick with it) and use them to hold grouped categories. Everything looks contained, and it actually functions because the bins are easy to pull out.
The “prime real estate” rule applies here: only store things you reach for weekly. Not the lobster pot you use at Christmas. Not the giant roasting pan from November. The things you actually touch on a regular Tuesday.
One underrated upgrade: a small battery-powered LED light inside the cabinet. It sounds fussy, but upper corner cabinets in particular can be surprisingly dark, and being able to see what you’re reaching for changes how often you actually use the space. These lights are inexpensive, stick on with adhesive, and require no wiring.
If you’ve made it this far, slow down for the next one. It’s the most overlooked idea on the list, and it costs almost nothing.
6. Dedicated Pot and Pan Corner Storage
This one sounds boring, but it’s one of the most practical reassignments you can make in your kitchen.
Corner base cabinets are wide and deep — which makes them awkward for grabbing a can of soup, but perfect for the oversized stuff that doesn’t fit anywhere else. Dutch ovens, stockpots, large skillets, and lids are natural tenants for a corner base cabinet. The wide opening that makes the corner tricky for small items actually makes it easy to slide a big pot in and out.
To make it work, here’s the setup that functions best:
- Use an adjustable pan organizer insert or pegboard-style rack to keep lids stored vertically instead of stacked randomly
- Stack pots by size — largest at the back, smallest at the front — with felt pan protectors between them to prevent scratching
- Keep lids separate in a vertical lid holder so they’re not balanced on top of pots
- Assign this cabinet exclusively to cookware — no rogue mixing bowls, no random appliances
The “exclusively to one category” rule is what makes this work long-term. The moment you let random things migrate in, the system collapses. Corner cabinets are terrible for mixed categories. They’re excellent for one big category done right.
Felt pan protectors and adjustable pot organizer inserts are widely available at Amazon and Target.
7. Upper Corner Cabinet as a Baking Station
Upper corner cabinets are tricky for a different reason than base cabinets — they’re high, sometimes hard to reach, and the angled or diagonal door can make the interior feel smaller than it actually is.
The fix is to stop treating it as general storage and make it a dedicated zone for one category. Baking supplies are a natural fit: measuring cups, mixing bowls, vanilla extract, baking soda, baking powder, cocoa powder, and spice packets all live together and get used together.
If the cabinet sits higher than you can comfortably reach — which is common for upper corner cabinets — a pull-down shelf mechanism is worth looking into. It’s a hardware addition that lets you pull the shelf down toward you rather than reaching up into the cabinet. Available at home improvement stores and Amazon.
For the internal organization, keep it simple:
- One labeled bin for dry goods (baking soda, powder, cocoa)
- One bin for extracts and flavorings
- Measuring cups and spoons hooked or stacked near the front
- Mixing bowls nested by size at the back
The labeled bin system does most of the work. When things have an assigned home and the label says so, even other people in your household can put things back correctly. Label makers are a small one-time investment that prevents months of re-organizing.
8. Corner Cabinet Drawer Insert Organizers
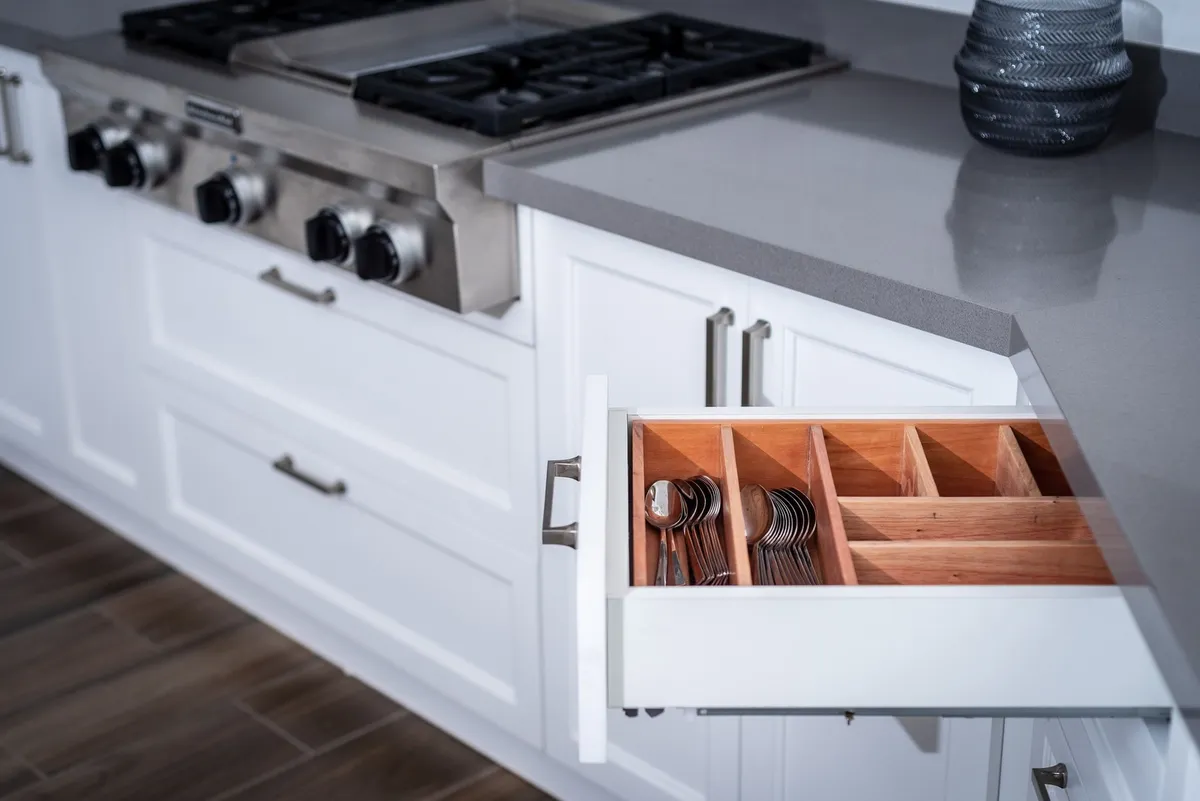
This one is for a specific cabinet type that often gets ignored: the corner base cabinet with a drawer stack instead of swing doors.
If you have this setup, you’re luckier than you think. Drawers in a corner cabinet are genuinely usable — you can see and reach everything because the drawer comes to you. The problem is that deep corner drawers turn into a jumble without internal structure.
Bamboo or adjustable plastic drawer organizers solve this without any drilling or permanent modification. You’re simply creating lanes within the drawer so items have a designated spot instead of shifting around every time the drawer opens.
Deep corner drawers are ideal for:
- Ziplock bags, plastic wrap, foil, and parchment paper stored upright on edge
- Batteries, rubber bands, and miscellaneous hardware (contained in one small bin)
- Utensils grouped by type in separate sections
Bamboo sets look clean, are easy to wipe down, and hold their position better than plain plastic. Adjustable versions work if your drawer is an unusual size — you can expand or contract the dividers to fit without having to measure precisely before shopping.
9. Tension Rod Dividers for Vertical Storage
This is the most renter-friendly option on the list, and it might also be the cheapest.
Install tension rods vertically inside a corner cabinet (running from the cabinet floor to the shelf above), and you create a row of narrow slots — perfect for storing cutting boards, baking sheets, cooling racks, and sheet pans on edge instead of in a flat pile.
No tools required. The rods expand to fit and hold themselves in place by spring tension. You can adjust or remove them in minutes if you want to reconfigure the space.
A few things to know: measure your cabinet’s interior height before buying so you get rods in the right length range. Most adjustable rods cover a span of 12-36 inches or similar, but it varies, so check before ordering. For a polished look, match the rod finish to your existing cabinet hardware — chrome with chrome, matte black with matte black.
Tension rods are widely available at Dollar Tree, Target, and Amazon. This is the “do it this weekend with what you can grab locally” option on the list.
10. Label and Zone the Entire Cabinet with a Simple System
No organizer — lazy Susan, pull-out, or otherwise — works long-term without a system attached to it.
The system doesn’t have to be complicated. It just has to be consistent. Assign one category per shelf or section of the cabinet and make sure everyone who uses the kitchen knows what goes where:
- Assign categories explicitly: “top shelf = baking, middle = canned goods, bottom = pots”
- Label the bins, not just the shelves: a label on the bin travels with the bin even if you rearrange
- Use a label maker or chalkboard labels — handwritten sticky notes fall off and fade
- Do a 5-minute quarterly reset: pull everything out, wipe the shelf liner or cabinet interior, put things back in their correct zones
The quarterly reset is the part that most people skip. It takes almost no time, but it catches the inevitable drift before it turns back into a black hole. Set a phone reminder — once every three months is plenty.
A label maker is a small investment that pays off every time someone else in your household actually puts something back in the right spot.
Common Corner Cabinet Mistakes to Avoid
Even with the best organizer installed, a few common errors will undermine the whole system. Here’s what to watch for:
- Buying before measuring — Always measure cabinet opening width, interior depth, and shelf height before purchasing any organizer. Returning a lazy Susan is annoying. Returning a pull-out system is genuinely painful.
- Storing rarely used items in the prime spots — Everyday items belong at eye level and in front. The giant holiday roasting pan can live in the back.
- Mixing too many categories in one corner cabinet — The “junk corner” trap happens when you treat the corner as overflow space for whatever doesn’t fit elsewhere. One or two categories max.
- Ignoring vertical space — Most people use the bottom shelf and leave one or two empty levels above it. Every empty shelf level is wasted real estate.
- Skipping the wipe-down before installing — Grease accumulates on cabinet floors over time. Any organizer you set on a greasy shelf will slide, smell, and eventually stick. A quick clean first makes a real difference.
For more help getting the rest of your kitchen cabinets in order, check out How to Organize Kitchen Cabinets in a Small Kitchen — it covers the full cabinet-by-cabinet approach.
Where to Start: Picking the Right Corner Cabinet Solution for Your Kitchen
If you’re renting or want a no-commitment start: Grab a classic two-tier lazy Susan turntable or a set of tension rods. Both require zero tools and zero permanent changes. Start with whichever feels more relevant to what you’re actually storing.
If you own your home and want the highest-impact fix: A pull-out blind corner organizer is worth the installation. It’s the single biggest functional upgrade you can make to a corner cabinet.
If you only do one thing before buying anything: Empty the cabinet completely, measure it, and take notes. Write down the opening width, the interior depth, and the shelf heights. Then shop. Never guess on cabinet organizers — the wrong size is the most common reason returns happen.
Your quick action step for this weekend:
- Set a 20-minute timer
- Pull everything out of your corner cabinet
- Wipe it down
- Measure it
- Look at what you just removed and decide what actually belongs in that cabinet
That step takes less than half an hour and tells you everything you need to know about which solution fits your situation. More on how to approach the full kitchen while you’re at it: How to Declutter Your Kitchen Counters in One Afternoon.
FAQ
What is the best organizer for a blind corner kitchen cabinet?
A pull-out blind corner organizer (sometimes called a magic corner) is the most effective long-term solution because it glides the entire contents out to you. If you don’t want to install hardware, a D-shaped lazy Susan turntable is the best no-drill alternative for reaching items in the back.
How do I organize a corner cabinet without a lazy Susan?
Tension rods installed vertically create slots for baking sheets and cutting boards. Stackable wire shelf risers add vertical layers for pots and canned goods. Clear bins grouped by category and pulled out like drawers also work well in any corner cabinet without any hardware.
Are corner cabinets worth keeping in a kitchen?
Yes — corner cabinets provide significant storage square footage that would otherwise be dead wall space. The key is choosing the right organizer for your cabinet type (base vs. upper, swing door vs. diagonal) so the space actually gets used rather than becoming a catch-all.
A well-organized corner cabinet isn’t about buying the fanciest gadget — it’s about matching the fix to the cabinet you actually have, then giving the system a few minutes of upkeep every few months. Start small if you need to. Even one tension rod or one labeled bin is a step in the right direction, and it beats letting that corner stay a mystery zone for another year.