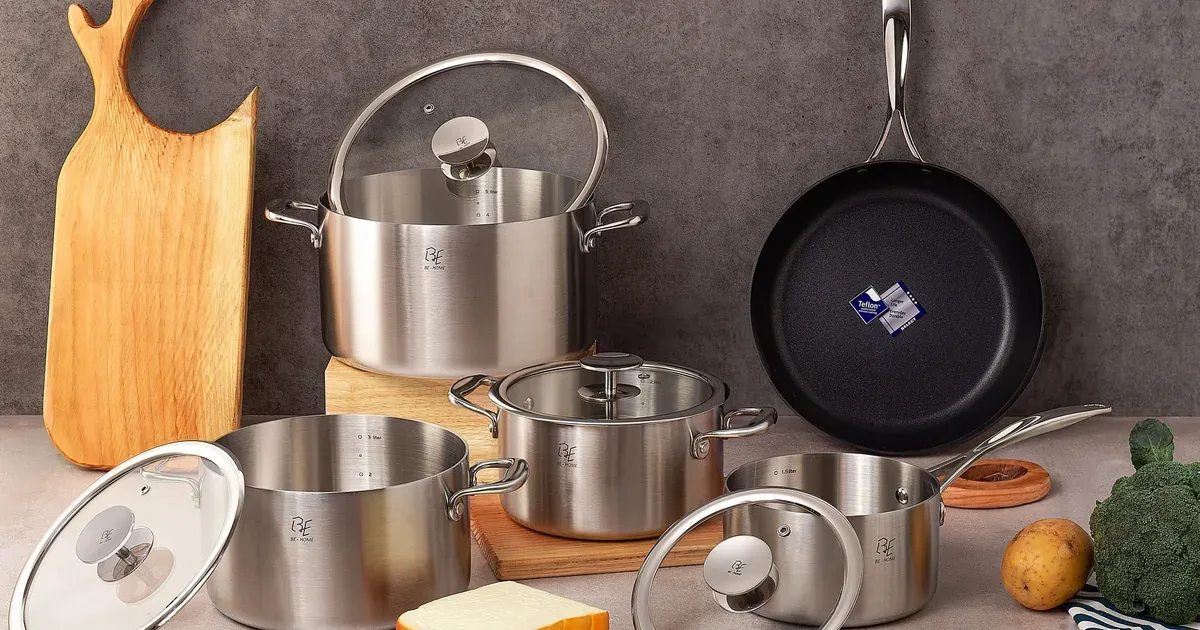
You pull your favorite pan out of the cabinet, ready to cook, and there they are — cloudy white spots, a rainbow-tinted patch near the center, maybe a ring of burnt-on residue from last week’s dinner. It looks ruined. It’s not.
Stainless steel cookware puts up with a lot, and almost every stain you’re looking at is completely fixable with stuff already in your kitchen. This guide walks you through getting your pots and pans back to looking new, start to finish, in about 30-45 minutes depending on how many stains you’re tackling. No special tools required, no replacing your cookware.
Why Stainless Steel Cookware Stains and Discolors
That rainbow or blue-ish tint you see isn’t damage — it’s called heat tint, and it happens when stainless steel gets exposed to high heat, especially in an empty or nearly-empty pan. The metal’s surface actually changes color at a molecular level when it overheats. It looks alarming, but it’s cosmetic. Your pan works exactly the same.
The white, cloudy, chalky spots are a different thing entirely. Those are mineral deposits, usually from hard water or from salt added to water before it boils. The minerals cling to the surface as the water evaporates, leaving that filmy residue behind.
Then there’s the burnt-on food and grease that just won’t budge with a normal wash. That usually comes down to tools and technique, not a lost cause. People tend to scrub too gently, worried about scratching the metal, and end up going over the same spot for five minutes instead of using the right method.
Here’s the reassuring part: none of this means your cookware is ruined. Stainless steel is tough. With the right approach, you can get even years-old stains looking dramatically better.
What You’ll Need Before You Start
You probably have most of this already. That’s kind of the point — you don’t need a specialty stainless steel kit to fix these problems.
Tools:
- A soft sponge for everyday washing
- A non-scratch scrub pad or nylon brush for tougher spots
- A microfiber cloth for drying and polishing
Pantry staples:
- Baking soda, for burnt-on food and grease
- White vinegar, for mineral deposits and water spots
- Dish soap, for the basic wash
- Cream of tartar, specifically for rainbow heat stains
An optional add-on is a dedicated stainless steel cleaner or polish — these can give a bit more shine at the end, but they’re not required to fix any of the stains covered here.
One important note on what to skip: steel wool, bleach, and any abrasive scouring powders. They might feel more powerful, but they leave permanent micro-scratches or can actually pit and discolor the metal. More on that later, because it’s a mistake worth avoiding from the start.
Step 1: Do a Basic Wash First
Before you break out the vinegar and baking soda, always start with a plain hot water and dish soap wash. It sounds too simple to matter, but it tells you exactly what you’re actually dealing with.
Wash the pan with hot water, a few drops of dish soap, and your soft sponge. If there’s stuck-on food, resist the urge to scrape at it right away. Let the pan soak in hot soapy water for 10-15 minutes first — this loosens things up so you’re not fighting the pan.
Once you’ve washed it, dry it completely with a towel. This step matters more than it seems. Wet stainless steel hides stains and makes water spots and mineral deposits look worse than they are. Dry, you can actually see what’s left: is it burnt food? White cloudy spots? Rainbow discoloration? That tells you which step to move to next.
Step 2: Remove Burnt-On Food and Baked-On Grease
This is usually the most stubborn problem, so it gets the most firepower. Baking soda is mildly abrasive without scratching the metal, which makes it ideal here.
- Mix a paste using 3 parts baking soda to 1 part water, and spread it directly over the burnt or greasy areas.
- Let the paste sit for 15-20 minutes so it has time to break down the residue.
- Alternatively, for stuck food covering a larger area, add a few tablespoons of baking soda straight to the pan with some water and bring it to a boil for a few minutes — this loosens everything at once.
- Scrub with your non-scratch pad in the direction of the metal’s grain, not in circles.
- If a spot won’t come up, repeat the paste rather than pressing harder or grabbing something more abrasive.
That last point matters. Scrubbing harder with the wrong tool is how permanent scratches happen. Patience and repetition beat force every time here.
Step 3: Remove White Mineral Deposits and Water Spots
Vinegar is the fix for that chalky white film, since it dissolves mineral buildup on contact.
Fill the pan with equal parts water and white vinegar, enough to cover the affected area, and bring it to a light simmer for a few minutes. Let it cool down, then wipe with a soft cloth. The deposits should lift away easily — you’ll actually feel the surface go from gritty to smooth.
If you’re just dealing with a small spot rather than a whole pan covered in film, you don’t need to simmer anything. Straight vinegar on a cloth, rubbed directly on the spot, works just as well for smaller areas.
Rinse the pan thoroughly with water afterward. Vinegar does its job well, but nobody wants their next meal to smell faintly like a salad.
Step 4: Fix Rainbow Heat Stains
This is the fix most people have never heard of, and it’s oddly satisfying to see work. Cream of tartar, the same stuff in the baking aisle, is mildly acidic and breaks down heat discoloration effectively.
Mix cream of tartar with a small amount of water to make a paste — you want it thick enough to stay put on the surface. Rub it into the discolored area using small circular motions with a soft cloth. If you don’t have cream of tartar on hand, straight white vinegar on a cloth works too, just with a bit more effort.
Worth remembering: heat tint is purely cosmetic. It doesn’t affect how your pan cooks or how food tastes. Fixing it is entirely about how the pan looks, which is fine — there’s nothing wrong with wanting your cookware to look good.
Rinse and dry the pan immediately once you’re done, since leaving moisture sitting on the surface can invite new spots.
Step 5: Polish for a Streak-Free Shine
Here’s the step almost everyone skips, and it’s the difference between “clean” and “looks brand new.”
Once the pan is clean and dry, buff it with a fresh microfiber cloth. If you want extra shine, put a few drops of mineral oil or a dedicated stainless steel polish onto the cloth first. This restores that glossy look and helps the surface resist fingerprints and water spots going forward.
Always wipe in the direction of the grain, the same rule as scrubbing. Going against it or in circles creates faint swirl marks you’ll notice under kitchen lighting.
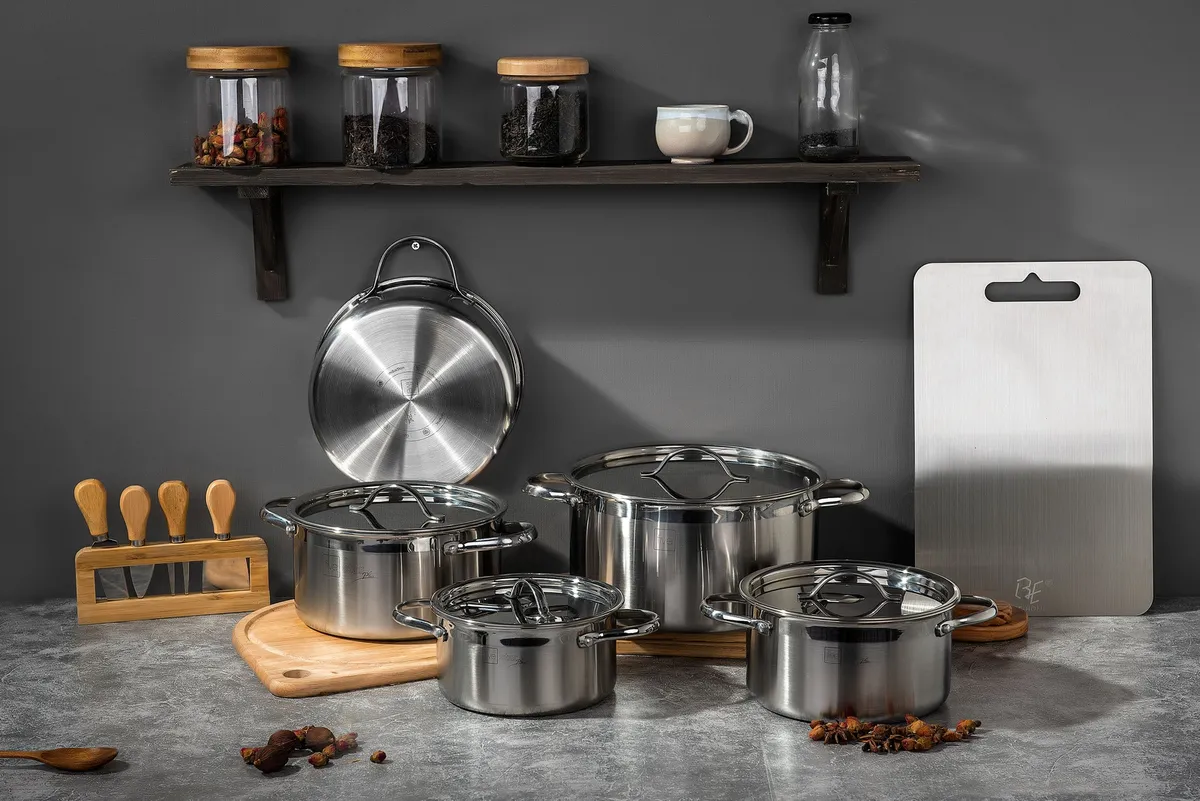
This final buff is genuinely what makes the difference in how your cookware photographs and how it feels sitting in your cabinet. It’s a two-minute step that gets skipped constantly.
How to Prevent Stains From Coming Back
Cleaning is only half the equation. A few small habit changes keep you from repeating this whole process every month.
- Preheat pans on medium heat instead of high — most heat tint happens from high heat on an empty or nearly-empty pan.
- Add salt to water after it’s already boiling, not before, since salt sitting on the pan’s surface before it dissolves can cause pitting.
- Dry your pans immediately after washing rather than letting them air-dry, which is where most water spots come from.
- Avoid letting acidic foods like tomato sauce sit in the pan for long stretches without stirring, since prolonged acid contact can affect the surface over time.
None of these require extra time in your routine, they just shift when you do things you’re already doing.
Common Mistakes That Make Stainless Cookware Worse
A few habits are almost guaranteed to make your cookware look worse over time, even when your intentions are good.
- Reaching for steel wool or abrasive powders. They feel effective in the moment but leave permanent micro-scratches that trap food and dull the finish for good.
- Scrubbing in circles instead of with the grain. This creates visible swirl marks that catch the light and make a clean pan look dingy.
- Using bleach or chlorine-based cleaners. These can pit and discolor stainless steel in ways vinegar and baking soda never will.
- Plunging a hot pan into cold water. The thermal shock can warp the base, which affects how evenly the pan heats from then on.
- Letting stains sit for months. Fresh stains lift easily; the same stain a year later takes real effort to budge.
Small adjustments to how you wash, not how often, make the biggest difference here.
FAQ
Can I use steel wool on stainless steel pans?
It’s best to avoid steel wool since it can leave permanent micro-scratches that trap food and dull the finish over time. Stick with non-scratch scrub pads or nylon brushes designed for stainless steel instead.
Why does my stainless steel pan have rainbow spots?
Those rainbow or blue-tinted spots are heat stains caused by cooking on high heat, especially when the pan is empty or nearly empty. They’re purely cosmetic and can be removed with vinegar or a cream of tartar paste.
Is it safe to put stainless steel cookware in the dishwasher?
Most stainless steel cookware is dishwasher-safe, but hand washing helps prevent water spots and keeps the shine longer. If you do use the dishwasher, dry pans immediately once the cycle ends.
How often should I deep clean my stainless steel pans?
A quick wash after every use is enough for daily care, but a deeper clean with vinegar or baking soda every few weeks helps prevent buildup from becoming a stubborn stain. Address heat stains or discoloration as soon as you notice them.
Pick the pan that’s bothering you most right now — the one with the rainbow patch or the cloudy white ring — and run it through this process tonight. Once you see how easily that “ruined” stain lifts off, the rest of your cookware starts feeling like a much smaller job.