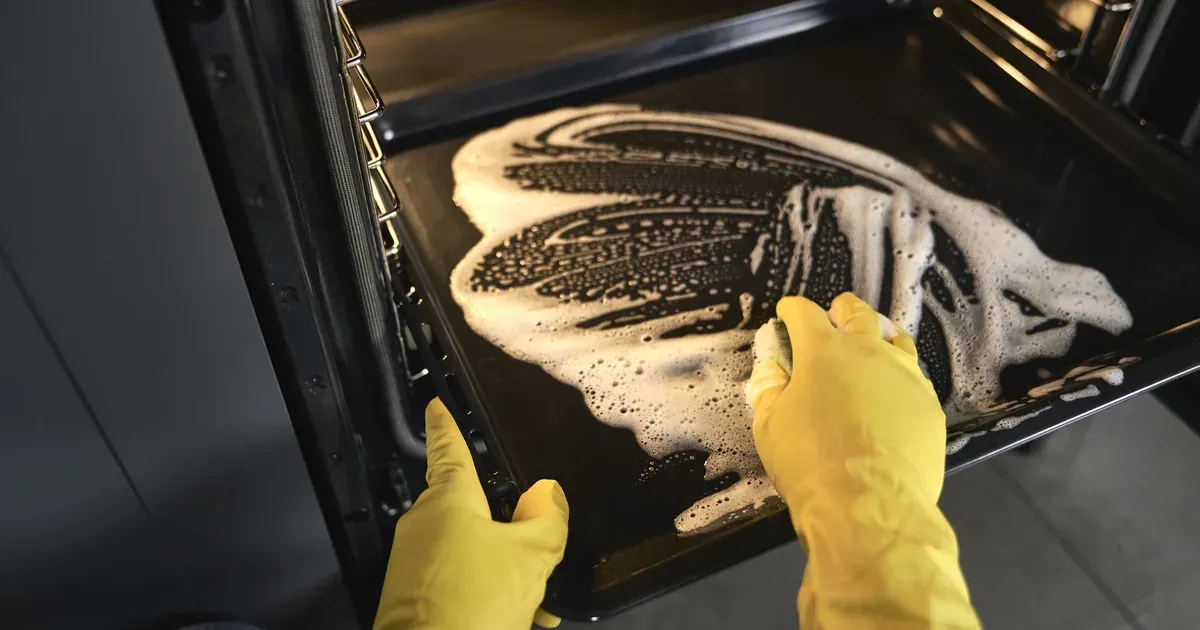
You opened the oven door to preheat for dinner and immediately closed it again. The layer of baked-on grease, the dark splatter ring around the bottom, the door glass you’ve been pretending not to notice — yeah. It’s time.
The good news: you don’t need that scary commercial oven cleaner with the warning label that tells you to open every window in the house and evacuate the building. (Only slight exaggeration.) You can get your oven genuinely clean using baking soda, white vinegar, and about 15 minutes of actual effort.
The catch? You need to give it time. This method works overnight — you apply the paste, go to sleep, and do the wipe-out in the morning. Total active time is around 30-40 minutes spread across two days. If you’re expecting a 10-minute fix, that’s not this. If you’re okay with a little patience, you’ll have a clean oven without a single harsh fume.
Why Baking Soda Is the Best Natural Oven Cleaner
Baking soda works because it’s mildly abrasive — abrasive enough to scrub through grease and baked-on residue, but gentle enough that it won’t scratch your oven’s enamel surfaces. When you add water to make a paste, it clings to vertical surfaces long enough to actually do something.
The real magic happens when it meets grease. Baking soda is alkaline, which means it reacts chemically with the fatty acids in cooking grease and starts to break them down. Add a squirt of dish soap to the paste and you’ve got even more grease-cutting power working for you.
No toxic fumes also means you can clean while your kids or pets are home, which is genuinely useful. Commercial oven cleaners typically use sodium hydroxide (lye), which is caustic and produces fumes that aren’t great to inhale in a small kitchen. Baking soda smells like… nothing.
One honest note: baking soda isn’t magic on extremely carbonized buildup — the stuff that’s been baked on for months and turned almost black. It’ll still work, but you may need a second round or an extra-long soak. For most ovens that get regular use, one overnight application does the job.
What You’ll Need Before You Start
Gather these before you begin so you’re not hunting for a spray bottle at 11pm.
Ingredients:
- Baking soda (at least ½ cup — have more on hand for the racks method)
- White vinegar (enough to fill a spray bottle)
- Dish soap (a small squeeze)
- Warm water
Tools:
- Rubber or silicone gloves
- Microfiber cloths or old rags (you’ll want several — these get grimy fast)
- A small bowl for mixing the paste
- A spray bottle for the vinegar
- A plastic or silicone spatula for scraping thick buildup
- A toothbrush or small scrub brush for corners and edges
Nice to have:
- A plastic dough scraper for particularly stubborn spots
- Old towels or newspaper to lay under the open oven door
- A large plastic bin or stopper for the bathtub rack soak
One important safety note: don’t mix baking soda with bleach or any commercial oven cleaner. Baking soda plus vinegar is fine — that’s intentional chemistry. Baking soda plus bleach creates a reaction you don’t want in an enclosed kitchen.
Step 1: Make Your Baking Soda Cleaning Paste
The ratio is simple: ½ cup baking soda to 2-3 tablespoons of water. Add the water slowly — you’re going for a consistency like thick frosting or peanut butter. Spreadable, not runny, not powdery.
If it gets too wet, add a little more baking soda. Too dry, add water a few drops at a time. You want it to stick to the oven walls and stay there.
Add a small squeeze of dish soap — maybe a teaspoon — for extra grease-cutting power. This is optional but worth it if your oven is on the greasier side.
For a very large oven or a particularly dirty one, scale up: use a full cup of baking soda and adjust water accordingly. Better to have too much paste than to run out halfway through coating the interior.
One thing that throws people off: the paste will turn brown and grayish as you apply it and as it sits overnight. That’s not a problem — that’s the grease it’s absorbing. By morning, your paste will look pretty disgusting, which is how you know it’s doing its job.
Step 2: Apply the Paste and Let It Sit Overnight
First, remove your oven racks and set them aside (more on those in Step 5). Then lay old towels or newspaper on the floor in front of the oven — the wipe-out phase can drip.
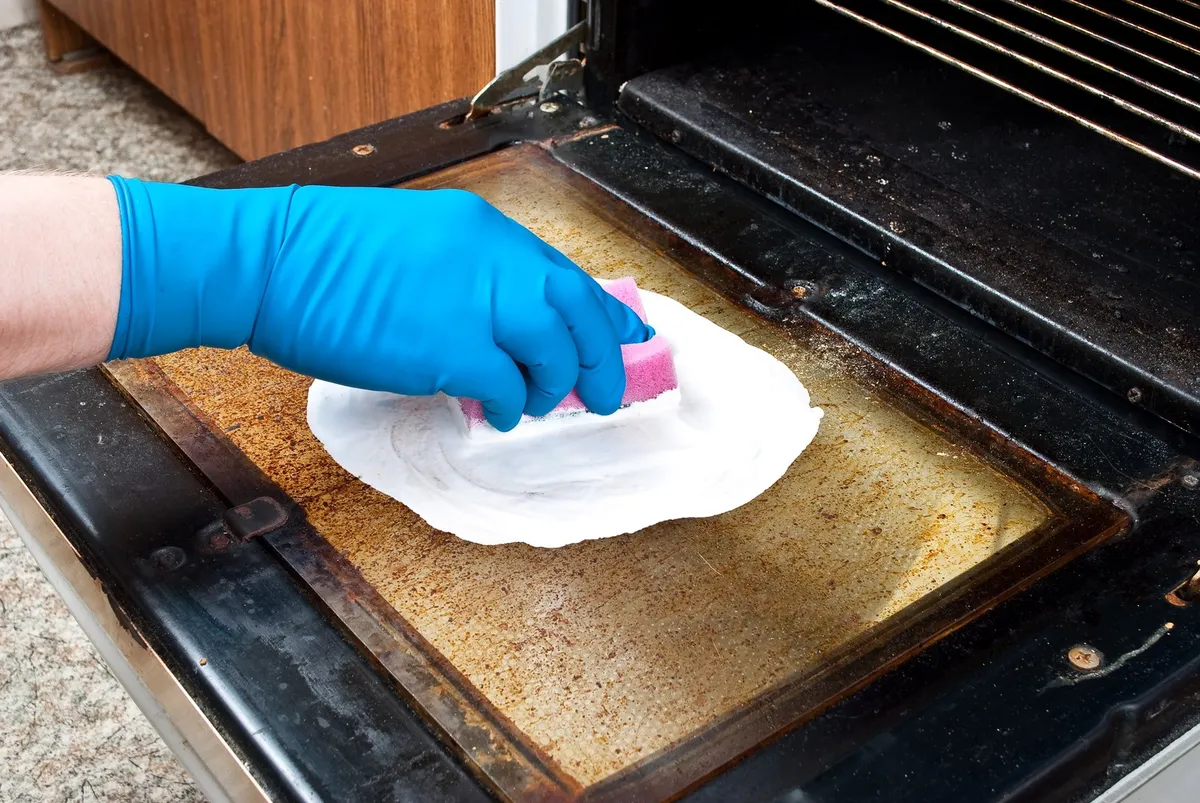
Put on your gloves and start spreading the paste across the oven interior with your hands or a spatula. Cover the bottom, the side walls, the back wall, and the inside of the oven door and its glass panel. Work it into every surface.
Avoid the heating elements — both the bake element at the bottom and the broil element at the top. You don’t need to get paste on them, and residue on heating elements can smoke when you turn the oven on. Work around them carefully.
Focus extra paste on the darkest spots — the corners, the back bottom, anywhere you can see a thick layer of grease or baked-on residue. These areas need more coverage and more contact time.
Minimum soak time: 12 hours. Overnight (8-12 hours) is the sweet spot for most ovens. If you’re dealing with a very lightly soiled oven — recent drips, not years of buildup — a 2-3 hour soak can be enough. How do you know which category you’re in? If the grease looks shiny and recent, shorter soak is fine. If it’s matte, dark, and crusty, give it the full overnight.
While the paste works its magic, use that time to deal with the oven racks. Fill your bathtub with hot water and a generous squirt of dish soap, drop the racks in, and let them soak while you sleep. You’ll thank yourself in the morning.
Step 3: Wipe Out the Paste and Loosened Grime
This is the most hands-on phase — and it goes faster than you’d think.
Here’s the order of operations:
- Start at the top walls and work downward. Use a damp microfiber cloth to wipe out the paste in sections. Working top to bottom means loosened debris falls to the bottom, not onto surfaces you’ve already cleaned.
- Use your spatula for thick, goopy areas. Scoop out the paste rather than smearing it around. The bottom of the oven usually has the thickest accumulation.
- Rinse your cloth frequently. As in, after every few swipes. If you’re using a grime-coated cloth to wipe, you’re re-depositing it.
- Switch to a toothbrush for tight spots. The corners, around the door seal, the edges near the heating element base — a small scrub brush gets into places a cloth can’t.
- Don’t expect perfection at this stage. Your goal here is to remove the bulk of the paste and loosened grime. Some white residue will remain, and that’s what the vinegar step handles.
The paste will look dark brown or almost black when you wipe it out. That’s grease that was baked onto your oven walls — now it’s on your cloth instead. Good.
Step 4: Spray with Vinegar to Remove Residue
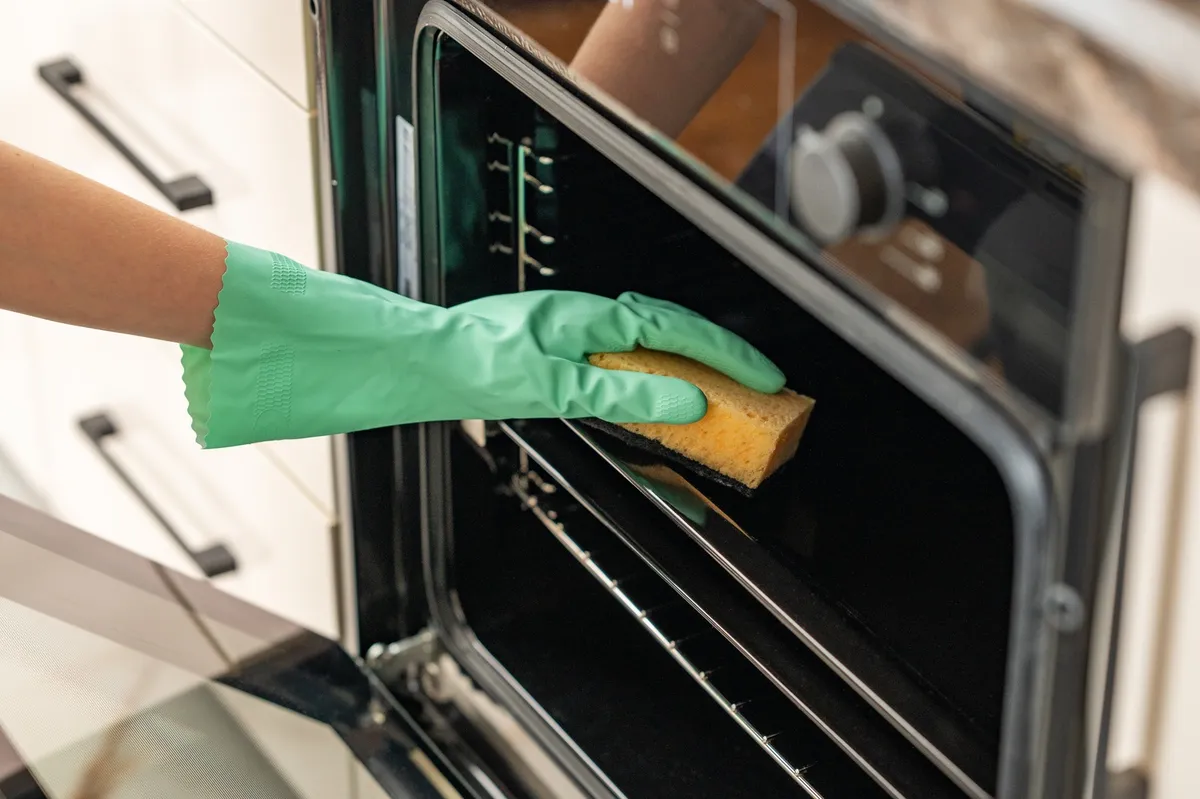
Fill your spray bottle with plain white vinegar — undiluted, straight from the jug.
Spray all the interior surfaces where you can still see white baking soda residue. It will fizz and bubble immediately. That reaction is the vinegar (acidic) meeting the leftover baking soda (alkaline), and it’s physically lifting the remaining residue off the surface.
Let it fizz for about 30 seconds, then wipe with a fresh damp cloth. Spray and wipe, spray and wipe, repeating until no white chalky residue remains on any surface. Use a clean section of cloth each time.
For the oven door glass, spray directly and wipe in circular motions with a microfiber cloth. This is often the most satisfying part — oven door glass cleans up remarkably well with this method, and you’ll suddenly be able to see through it again.
Once all residue is gone, do a final wipe-down with a clean damp cloth. Then leave the oven door open for 15-20 minutes to air dry completely before closing it up.
Step 5: Clean the Oven Racks Separately
Pull the racks out of their bathtub soak. The hot soapy water will have loosened a lot of the grease overnight, so you should be able to scrub them clean with a non-scratch scrubber pad and dish soap without too much effort.
For racks that are genuinely grimy — like, you’re not sure when they were last cleaned — here’s a more aggressive method: lay them on old towels in the dry tub, sprinkle baking soda over them generously, then pour a cup of white vinegar and enough hot water to cover them. Let that soak for 30 minutes, then scrub and rinse.
Rinse the racks thoroughly under running water and dry them completely before putting them back in the oven. Wet racks slid into a warm oven aren’t a safety hazard, but they can leave water marks and create a little steam situation you don’t need.
If you’re in a small apartment without a usable bathtub for this, a large plastic storage bin works fine — set it outside or in the shower stall, same process. It’s slightly less convenient but gets the job done.
When sliding racks back into the oven, use a cloth or towel to cushion them as you push them in — no reason to scratch up the clean interior you just worked for.
How Often Should You Clean Your Oven (And How to Keep It Cleaner Longer)
A full baking soda deep clean every 3-6 months is the right cadence for most households. If you roast a lot of meats or cook at high heat regularly, lean toward 3 months. Light oven users can stretch to 6.
Between deep cleans, here’s what actually makes a difference:
- Wipe spills while the oven is still warm (not hot) — recent grease wipes off with a damp cloth in 2 minutes. Baked-on grease takes 12 hours.
- Use a reusable oven liner on the bottom rack to catch drips before they hit the oven floor. These are widely available and cut your cleaning time dramatically.
- Put a baking sheet under anything bubbly — casseroles, fruit pies, anything with liquid that might boil over. A drip that lands on a sheet pan stays on the sheet pan.
- Do a quick spot treatment for fresh spills: make a small amount of baking soda paste, apply it directly to the spot, and let it sit for 20-30 minutes before wiping. Handle it right away and you won’t need a full clean.
For more natural cleaning methods that use the same pantry staples, check out 10 Natural DIY Cleaners You Can Make with Pantry Staples — there’s a lot of overlap in what works.
And if you’re on a kitchen-cleaning kick, How to Deep Clean Your Kitchen in One Afternoon and How to Clean a Microwave with Vinegar and Lemon (5-Minute Method) are both worth bookmarking for your next free Saturday.
Common Mistakes to Avoid
- Not letting the paste sit long enough. Wiping it out after an hour means the baking soda hasn’t had time to soften and lift the grease. The overnight soak is what does the actual work — don’t shortcut it.
- Getting paste on the heating elements. This is the one area to avoid carefully. Baking soda residue on heating elements will smoke when you turn the oven on, which is alarming and not the vibe.
- Using too thin a layer. A light dusting of paste won’t penetrate baked-on grease. Be generous — coat the surfaces like you’re frosting a (not delicious) cake.
- Skipping the vinegar rinse. Leftover baking soda residue doesn’t just look bad — it can create a white film on your oven interior and actually cause some light smoking during your next use. Spray and wipe until no white remains.
- Forgetting the oven door glass. It collects as much grease as the walls and gets skipped constantly. The door glass is often the grimiest-looking part of the oven — don’t let it undo all your work.
- Not protecting your floor. Lay old towels or newspaper under the open oven door before you start wiping. The drip situation during wipe-out is real.
FAQ
How long do you leave baking soda in the oven before wiping it out?
For best results, leave the baking soda paste in your oven for at least 12 hours, or overnight. For light buildup, 2-3 hours can be enough, but the longer soak really is what does the heavy lifting on baked-on grease.
Is it safe to use vinegar and baking soda together to clean an oven?
Yes — applying them in sequence is both safe and effective. You apply the baking soda paste first, let it sit, wipe it out, and then spray vinegar to lift any remaining residue. The fizzing reaction helps dissolve leftover paste. Never mix them together in a sealed container, though, as pressure can build up.
Can you use baking soda to clean a self-cleaning oven?
Yes, the baking soda method is actually gentler on self-cleaning ovens than the self-clean cycle itself, which runs at extremely high temperatures and can damage door seals over time. Just avoid getting paste on the heating element and follow the same steps outlined above.
What if my oven still has stubborn stains after using baking soda?
Apply a fresh layer of paste directly on the stubborn spot and let it soak for another 2-3 hours before scrubbing again with a damp cloth or small scrub brush. For extremely carbonized buildup, a plastic dough scraper can help lift the residue without scratching the surface.
Tonight, mix up the paste and spread it in your oven before you go to bed. Tomorrow morning, while your coffee brews, do the wipe-out. By the time you’re on your second cup, your oven will be cleaner than it’s been in months — and your kitchen will still smell exactly like your kitchen.