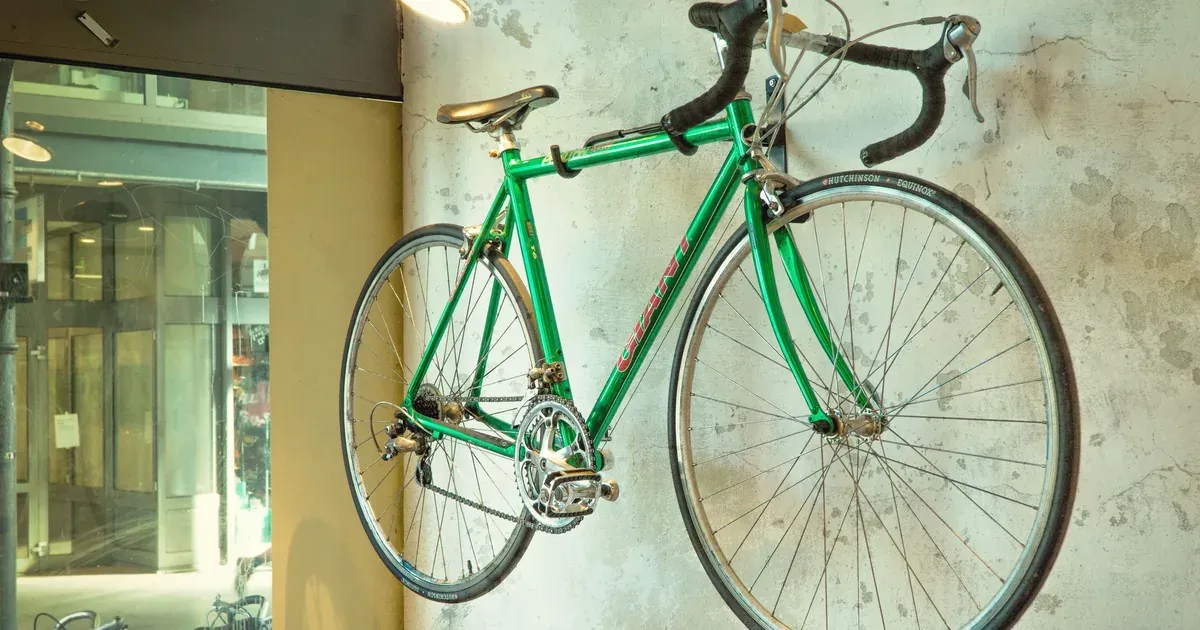
Bikes have this special talent for ending up exactly where you don’t want them — leaning against the car, blocking the walkway to the door, tangled up with the lawn mower. It’s not that you don’t have space in your garage. It’s that bikes don’t have a home, so they just drift to whatever surface is closest.
Here’s the good news: bikes are actually one of the easier things to get off the floor, once you match the right storage method to your actual garage. Renting? There’s an option that needs zero drilling. Got three kids’ bikes and two adult bikes? There’s a system for that too. This list covers 11 real ways to store bikes in a garage, organized from simple wall hooks to methods most people never even consider.
Why Bikes End Up Taking Over the Garage (And Why That’s Fixable)
Bikes are just awkward objects. They’re too big for a shelf, too oddly shaped for a bin, and too heavy for the flimsy hook you grabbed at the hardware store on a whim. Unlike tools or seasonal decorations, a bike doesn’t have an obvious “home” — so it ends up wherever it was last ridden.
Meanwhile, most garages are wasting the one resource that could fix this: vertical wall and ceiling space. The floor gets crowded while 6 feet of open wall above the workbench sits completely empty.
The fix isn’t complicated, but it does depend on your situation. Renting and can’t drill? There’s a method for that. Concrete block walls? Different approach. Four bikes and one kid who refuses to hang up his own? Also covered. Work through this list and you’ll find at least one option that fits the garage you actually have — not the garage in a magazine spread.
1. Vertical Wall-Mount Hooks
This is the classic bike storage move for a reason: a single hook mounted to the wall cradles the front wheel, and the bike hangs vertically with the frame flush against the wall.
It works because it turns a bike’s biggest dimension — its length — into a footprint of just a few inches. A bike that used to sprawl 5-6 feet across your floor now takes up less space than a broom.
This is best suited for garages where you’ve got a sliver of spare wall width — even 10-12 inches per bike is enough. Look for hooks specifically rated for bike weight, ideally rubber-coated or vinyl-dipped so they don’t scratch or dent your frame over time. Cheap uncoated hooks can chip paint right where the wheel rests.
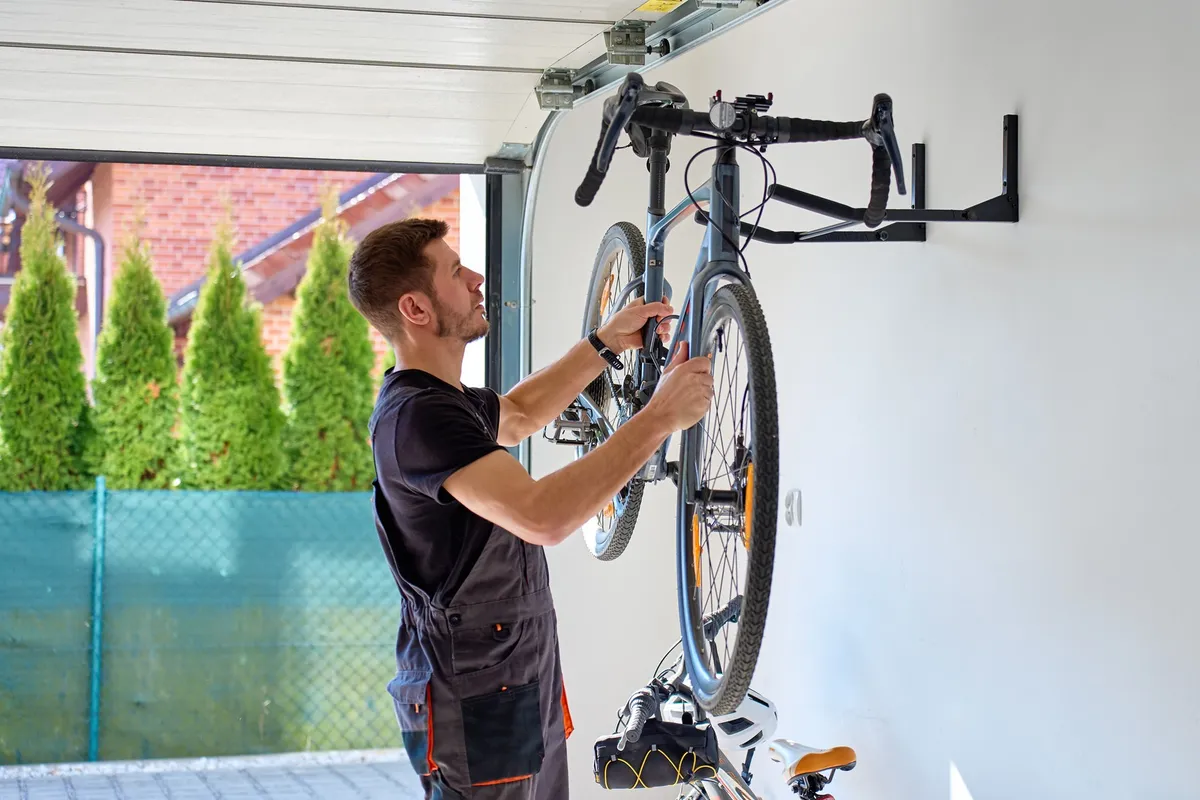
Installation matters here — these need to go into a wall stud, not just drywall anchors, since the weight pulls outward every time you lift the bike on or off.
2. Ceiling-Mounted Bike Pulley Hoists
If your garage has decent ceiling height and every inch of wall is already spoken for, a pulley hoist lifts the bike straight up and out of the way entirely. You pull a rope, the bike rises, and your floor and walls stay completely clear.
This is the move for garages with high ceilings but cramped wall space — a two-car garage where both walls are lined with shelving, for instance.
The catch is installation. You need to anchor into actual ceiling joists, not just the drywall or plaster between them. Before you buy one:
- Locate your ceiling joists with a stud finder before marking any mounting holes.
- Check the weight rating against your heaviest bike — a hoist rated for a lightweight road bike won’t hold a heavier commuter or e-bike.
- Measure your ceiling height to make sure the raised bike clears your garage door track and any overhead lighting.
Skipping the joist check is the single most common mistake people make with this option, and it’s the difference between a bike hanging securely for years and a hoist ripping out of the ceiling.
3. Freestanding Bike Storage Rack
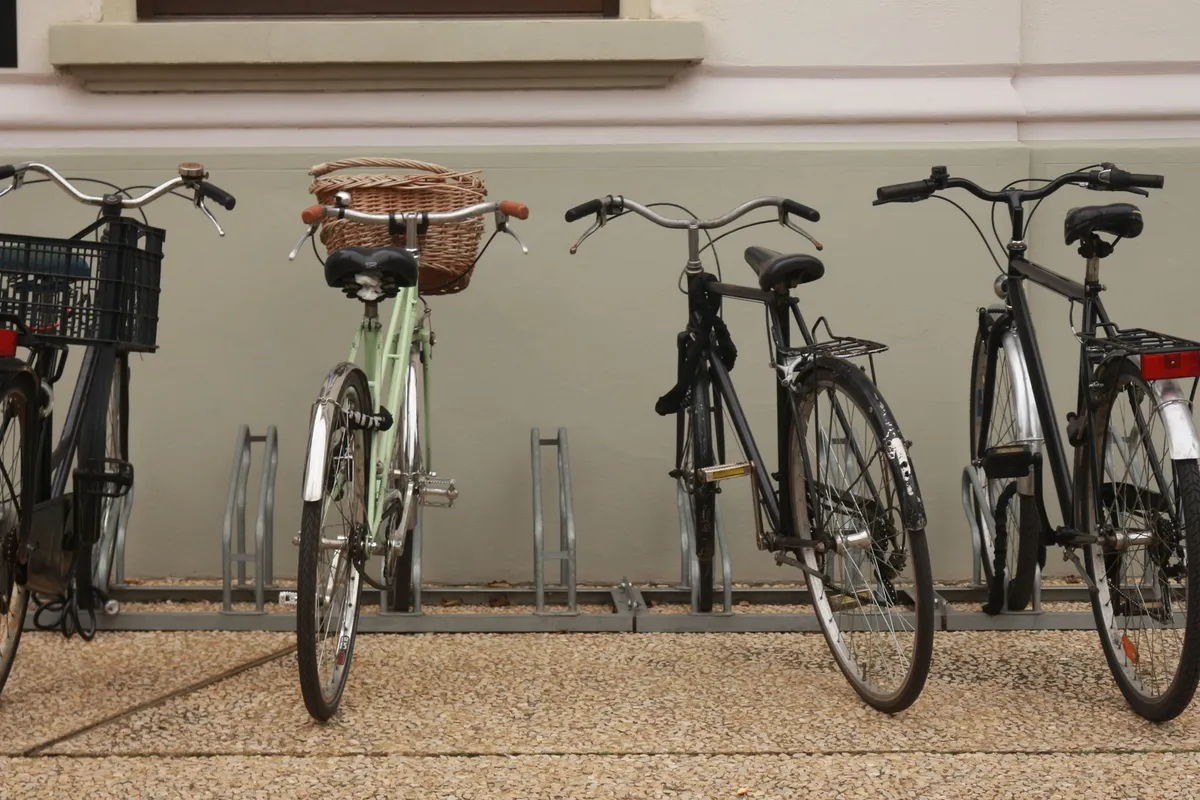
No drilling, no mounting, no landlord conversation required. A freestanding rack sits on the garage floor and holds 2-4 bikes upright in individual slots, using gravity and a stable base instead of anything attached to the wall.
This is the single best option if you rent, if your garage walls are concrete block that’s a pain to drill into, or if you just don’t want to commit to permanent hardware. Set it down, roll the bikes in, done.
The one thing to check before buying: base stability. A rack that tips over when you pull one bike out is worse than useless — it just adds a new way for bikes to end up on the floor. Look for a wide, weighted base, and test it (or check reviews) for wobble with bikes loaded on one side only.
This is also the easiest “start tonight” option on this whole list, since there’s genuinely no setup beyond unboxing it.
4. Horizontal Wall Rack for Multiple Bikes
If you’ve got one long wall and three or more bikes, a horizontal multi-bike rack stacks them at staggered heights — one bike mounted higher, the next lower and offset — so they nest along the wall without a huge footprint.
This is the go-to for bigger families where vertical single hooks would eat up too much linear wall space one bike at a time. One horizontal rack system can often do the job of four separate hooks.
The key detail is spacing. Bikes mounted too close together means handlebars tangle every time someone tries to get one bike down, which turns a 10-second task into a frustrating puzzle. Give each bike enough offset — both in height and horizontal spacing — that handlebars clear each other completely.
5. Slatwall or Track Panel System
Slatwall panels mount to your garage wall in horizontal slats, and then hooks, shelves, and bike hangers clip in wherever you need them — and can be repositioned anytime without new holes.
This is the pick if your garage needs to organize more than just bikes. Maybe you’ve also got yard tools, sports gear, and a workbench’s worth of loose stuff. One slatwall system handles all of it, with bike hooks as just one type of accessory among many.
The tradeoff is upfront effort. Installing slatwall panels is a bigger project than screwing in a single hook — you’re covering a section of wall, not just marking two pilot holes. But once it’s up, rearranging your whole garage layout takes minutes instead of a fresh round of drilling. For a garage that’s constantly evolving, that flexibility pays for itself.
Check out Garage Pegboard Organization Ideas for Tools if you’re weighing slatwall against a simpler pegboard setup.
6. Freestanding Bike Stand for a Single Bike
Not everyone needs a whole rack system. If you’re storing one commuter bike or you want something for an entryway rather than the garage proper, a single bike stand holds one bike by the front wheel with a small footprint base.
This is a good fit for small garages, apartment entryways, or anyone with just one bike who doesn’t want to install anything permanent. It’s also genuinely portable — pick it up and move it if your garage layout changes with the seasons (hello, holiday decoration storage taking over in December).
Since it’s freestanding, stability is again the thing to check. A stand that shifts when you roll the bike in and out isn’t doing its job.
7. Corner Bike Storage Rack
Every garage has a corner that’s basically dead space — too awkward for shelving, too small for a workbench, just… empty. A corner bike rack is angled specifically to use that triangle of unused floor area, fitting 2-3 bikes where nothing else would go.
This is especially useful in small garages where you’ve already claimed both long walls for shelving or a car, and the only unclaimed real estate left is that corner behind the door.
It pairs naturally with a lot of the wall-mounted options above — you might put your most-used bikes on wall hooks and tuck the kids’ bikes or a spare into the corner rack, squeezing extra storage out of a space you’d otherwise walk right past.
8. Overhead Storage Platform Above the Bikes
This one’s less about the bikes themselves and more about everything else competing for space in your garage. An overhead storage platform mounts near the ceiling and holds bins — for holiday decorations, camping gear, whatever’s currently stacked on the floor.
The idea is to stack your storage vertically in layers: bikes on wall hooks at a normal height, storage bins suspended above on a ceiling platform. You’re using the same section of garage twice, just at different elevations.
A practical rule for what goes up top versus what stays low: keep anything you grab weekly — helmets, U-locks, bike pumps — within easy reach. Save the overhead platform for stuff you touch once or twice a year, since climbing up for it should be the exception, not the routine.
If you want more detail on this specific approach, Overhead Garage Storage Ideas for Seasonal Items covers it in depth.
9. Pegboard with Bike-Specific Hooks
If you already have pegboard installed for tools, you’re halfway to a bike storage solution — you just need the right hooks. Standard pegboard hooks are usually sized for hammers and extension cords, not bike frames, so this requires heavy-duty hooks specifically rated for the job.
This is the most budget-friendly option on the list if that pegboard is already on your wall. You’re not buying and installing a new system, just adding the right hardware to what’s there.
The catch: test the hook depth before you commit. Bike tubing is thicker than most tool handles, and a hook designed for a rake won’t seat a bike frame securely. Look for hooks explicitly labeled for bike storage rather than generic pegboard hooks.
10. Kid’s Bike Storage Rack (Lower, Lighter-Duty)
Kids’ bikes are lighter and smaller, so they don’t need the same heavy-duty hardware as an adult mountain bike — but they do need their own spot, mounted low enough that a kid can actually reach it.
This solves two problems at once: floor clutter, and the daily nagging match over who left their bike in the driveway again. When the hook is at kid-height, hanging up their own bike becomes something they can actually do without help.
Pair it with a small bin nearby for helmets and pads, so those don’t end up as a separate pile on the floor. A few tips for setup:
- Mount at a height your kid can reach solo — usually lower than you’d think, especially for younger kids.
- Use lighter-duty hooks since kids’ bikes weigh far less than adult bikes.
- Add a labeled bin or hook nearby specifically for helmets, so gear has a home too.
11. Garage Door Track Bike Hooks
Here’s the option almost nobody thinks of: the wall space directly above where your garage door track runs. That strip is technically usable, but it gets ignored because it looks like it belongs to the door.
Hooks mounted in this zone use space that would otherwise sit completely empty, which is especially valuable in a smaller garage where every other wall is already claimed by shelving, a workbench, or a car.
The one non-negotiable step: confirm the hooks won’t interfere with the door’s motion before you drill anything. Garage door tracks and springs need clearance to operate, and mounting too close can cause the door to catch or the bike to get clipped mid-cycle. When in doubt, measure the door’s full range of motion first, then mark your hook placement a few inches clear of that path.
Where to Start With Your Garage Bike Setup
Before you buy anything, spend 10 minutes with a tape measure and actually look at what you’re working with. Measure your available wall width, note your ceiling height, and count how many bikes need a home — including the kids’ bikes you might be tempted to forget about.
Then pick based on your biggest constraint, not what looks best on Pinterest:
- Renting or can’t drill? Start with the freestanding bike storage rack or the single bike stand — zero mounting required.
- High ceiling, no wall space left? The ceiling pulley hoist clears your floor and walls entirely, as long as you anchor into joists.
- Three or more bikes, one long wall? The horizontal multi-bike rack fits more bikes per foot of wall than individual hooks.
- Small garage, every wall already claimed? Check the corner rack or the garage door track hooks for space you’re currently wasting.
For permanent setups where you own the space and don’t mind drilling, vertical or horizontal wall storage gives you the best space-to-effort ratio. For rentals or short-term situations, freestanding racks are the low-commitment answer. A basic tape measure and a stud finder will tell you which of these actually works in your garage — they’re both small, inexpensive tools worth having in a junk drawer regardless.
FAQ
What is the best way to store bikes in a garage without drilling holes?
A freestanding floor rack or a single bike stand works well without any wall mounting. These sit on the garage floor and hold bikes upright or by the wheel, making them ideal for renters.
How much wall space do I need for a vertical bike hook?
Vertical hooks typically need about 8-12 inches of wall depth per bike since the bike hangs with the wheel facing out. Handlebars can add a few extra inches, so measure your widest bike before mounting.
Can I hang a bike from drywall alone?
Standard drywall anchors aren’t strong enough for a bike’s weight over time. It’s safer to mount hooks into wall studs or ceiling joists, or use a freestanding rack if you can’t locate solid framing.
How do I store multiple bikes in a small garage?
Horizontal wall racks that stack bikes at staggered heights, or corner racks that use unused triangular floor space, both work well for small garages with several bikes. Vertical hooks spaced along one wall are another space-efficient option.
If you only do one thing this weekend, grab the freestanding rack from #3 — no tools, no drilling, no decisions about wall studs. Just wheel the bikes in and get your floor back tonight.