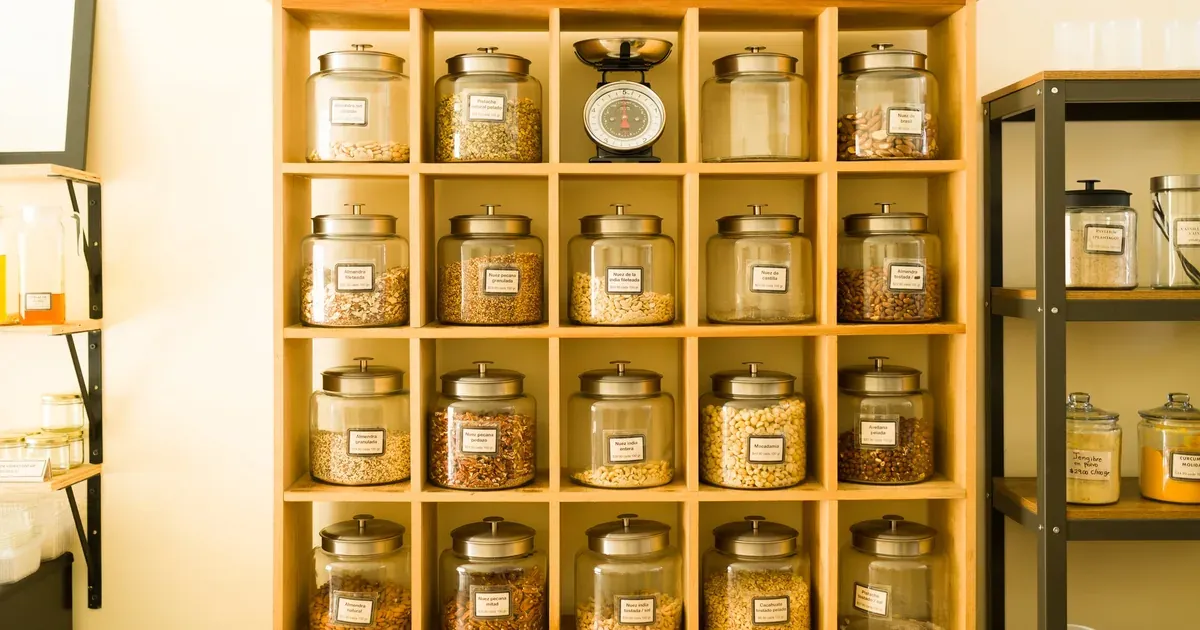
If your flour has turned into a brick, your cereal went soggy before the bag was half empty, or you’ve opened what you thought was brown sugar and found a cement block — this list is for you.
Stale pantry staples are almost never about buying the wrong food. They’re about storing it wrong. Specifically, in containers that look airtight but aren’t doing the actual job. That gap between “has a lid” and “genuinely seals out air and moisture” is where your groceries go to die.
This list covers 10 types of airtight containers worth actually buying, organized by where and how you’ll use them: dry pantry goods, fridge leftovers, bulk staples, countertop items, and a few specialty categories most people skip until they really need them. I’ve also added a common mistakes section at the end, because knowing what not to buy saves as much pantry space as knowing what to get.
1. Large Cereal & Dry Grain Containers (the Pantry Workhorses)
These are the containers most people buy first — and often buy wrong. The most common mistake is grabbing something that looks big enough on the shelf, only to get home and find it holds about half a box of cereal.
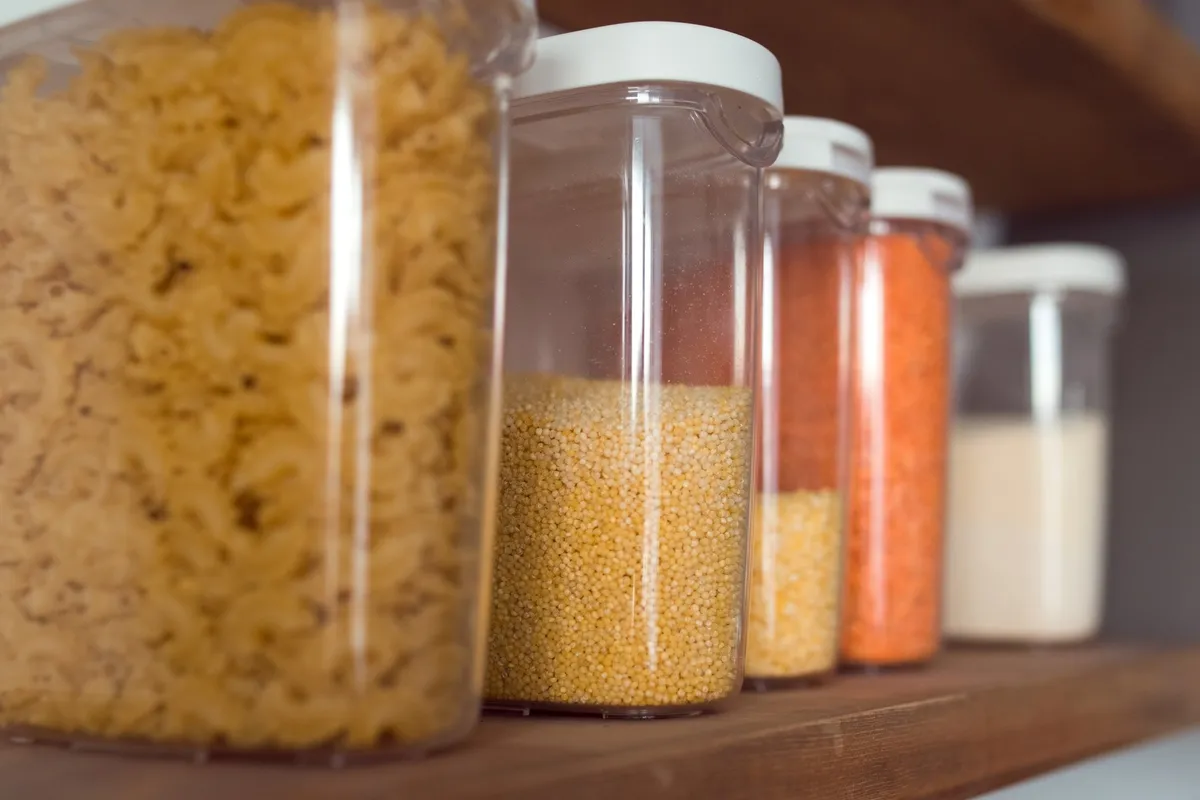
For this category, aim for a capacity of 4 to 6 quarts. That range accommodates a full standard box of cereal, a 5-pound bag of flour, or a generous stash of rolled oats without cramming. The lid matters as much as the size: look for a silicone gasket — a visible rubber ring on the underside of the lid that compresses to form a real seal when closed. No gasket means no genuine airtight protection, regardless of what the label claims.
Wide-mouth openings are worth prioritizing here. A narrow opening on a flour container means digging for a measuring cup every time you bake. Wide-mouth containers are also easier to clean and refill without a funnel.
Flat-top lids are a bonus. They let you stack containers and actually use vertical space on a pantry shelf, turning what would be wasted air into functional storage.
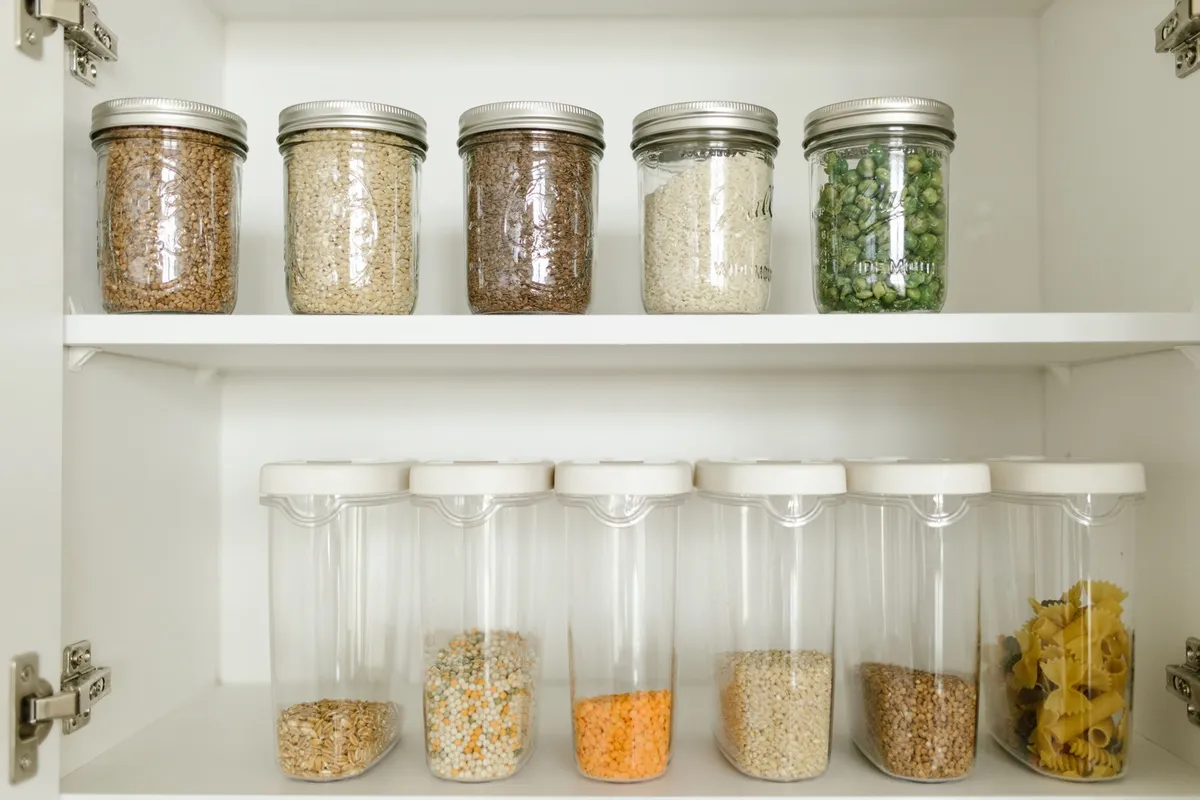
One more thing: before you buy, measure your shelf height. Tall, narrow containers may not fit under a standard cabinet shelf. Measure twice, buy once.
For pantry organization inspiration beyond the containers themselves, check out How to Organize a Pantry from Scratch (Step-by-Step).
2. Square Pantry Canisters for Flour, Sugar & Baking Staples
Square containers are a practical upgrade from round ones, and the reason is geometry. A round container wastes corner space every time. Square or rectangular canisters sit flush against each other with no gaps, giving you significantly more usable shelf space for the same footprint.
For baking staples specifically, the sizing sweet spot is:
- Sugar (white, brown, powdered): 1.5 to 2 quarts
- All-purpose flour: 3 to 4 quarts
- Specialty flours, cornstarch, baking soda in bulk: 1 to 2 quarts
On lid mechanisms: locking latch lids (the ones with a lever or tab that clicks into place) hold up better to daily use than push-button seals, which can loosen over time. If you’re opening a flour container every other morning, a latch lid is worth the minor extra effort.
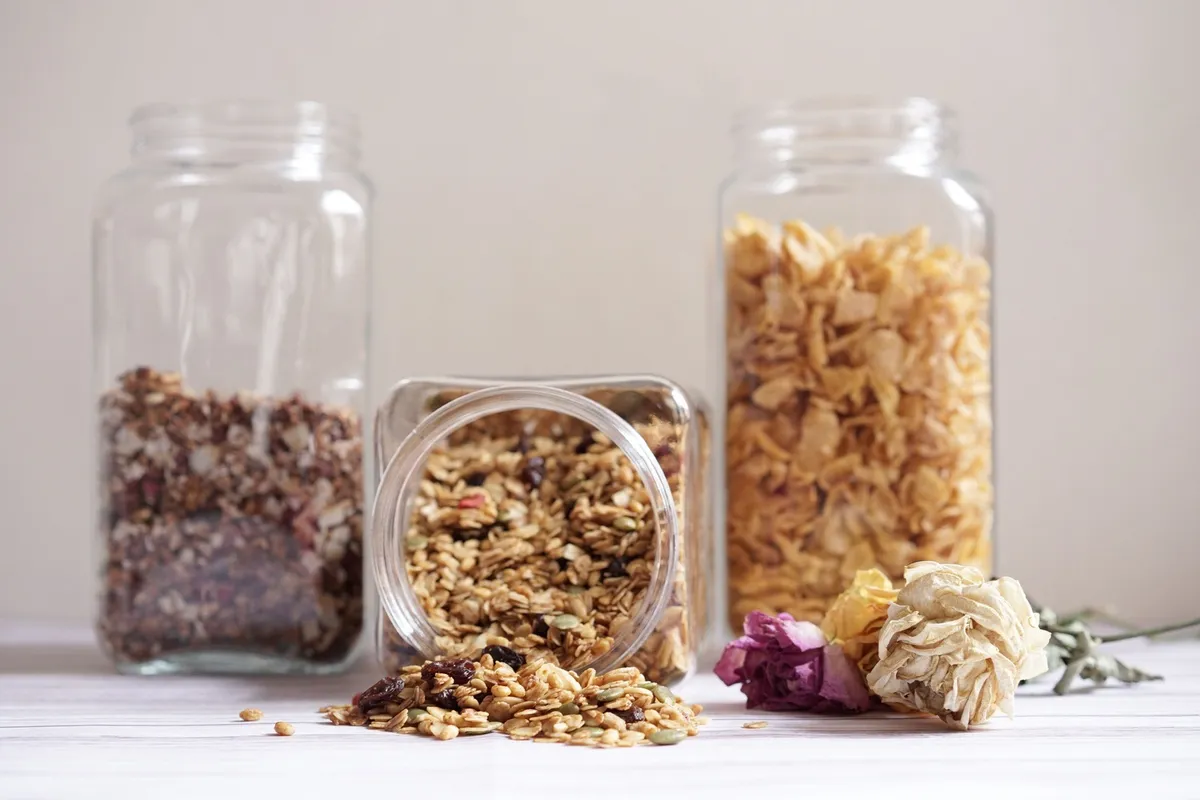
Here’s a tip that sounds small but makes a real difference: label the lid, not the side. When containers are stacked on a deep shelf, you’re looking at the top, not the front. A label you can’t read doesn’t help you.
3. Glass Airtight Jars for Spices, Coffee & Countertop Staples
Glass has one practical advantage that plastic can’t match: it doesn’t absorb odors or flavors. Store coffee in a plastic canister for six months and you’ll smell it in whatever you store next. Glass stays neutral.
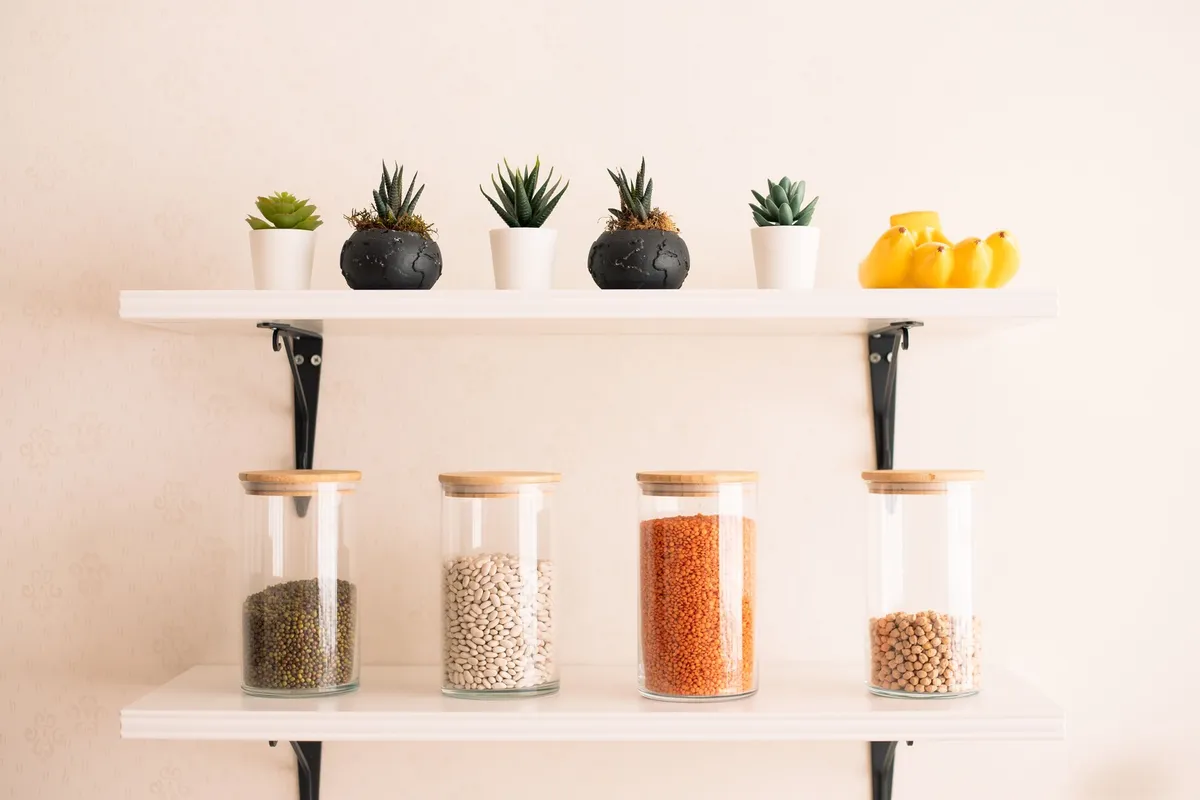
For anything aromatic — whole bean coffee, spices, loose-leaf tea, dried pasta, oats — glass is the right call. The material itself doesn’t trap or transfer scent, which keeps your pantry items tasting like themselves.
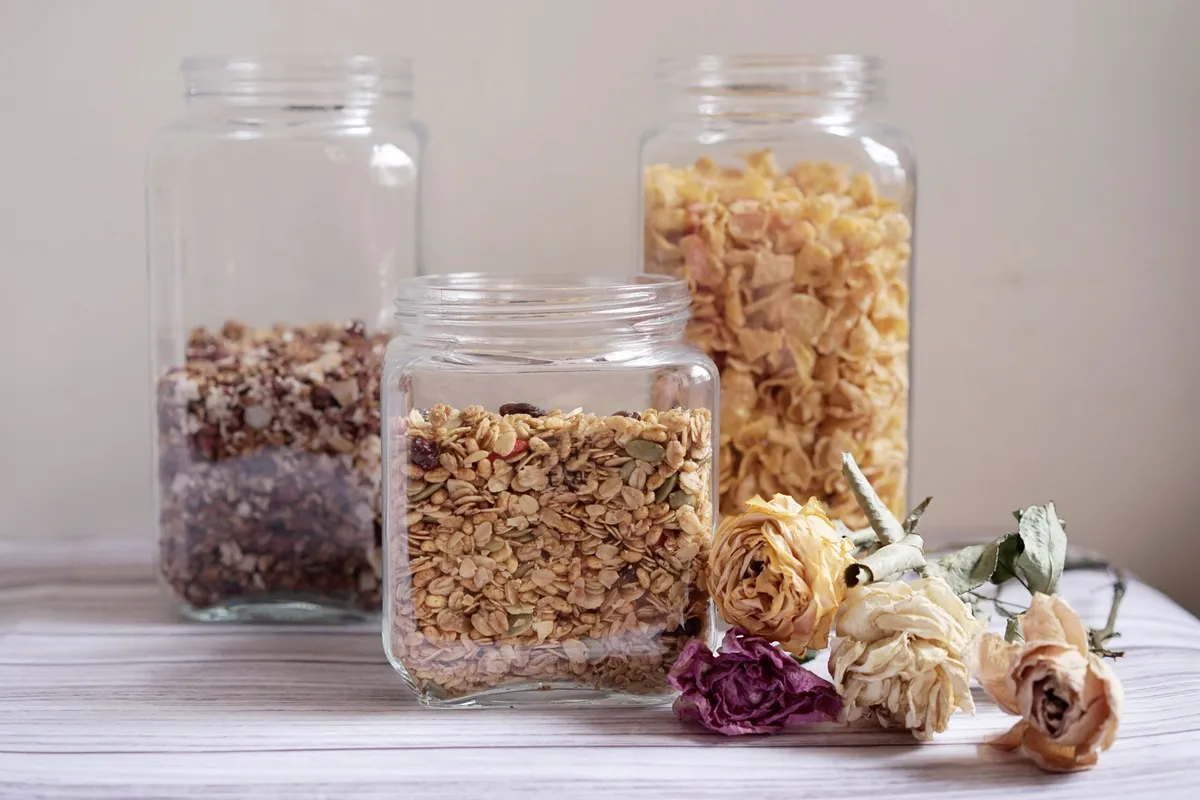
Not all glass jars are created equal when it comes to seal quality, though. A simple screw-top lid with no gasket is better than nothing but won’t give you a true airtight environment. What you want is a wire bail clasp with a rubber gasket — the kind with a metal lever that locks the lid down onto a rubber ring. That’s a genuine seal.
A few practical notes:
- Check that the rubber gasket is replaceable (most quality brands sell them separately)
- Confirm dishwasher safety for the lid hardware, not just the jar body — some rubber gaskets degrade faster in the dishwasher
- For countertop placement, glass rewards you aesthetically too; a row of matching glass jars looks intentional in a way that a mix of mismatched plastic doesn’t
These work equally well in the pantry or on the counter. If it’s going on the counter, aesthetics matter more. If it’s going in a dark cabinet, function wins — buy the size that works, not the prettiest one.
4. Stackable Rectangular Containers for the Fridge
Rectangular containers do for your fridge what square canisters do for your pantry: they use space honestly. Round containers in a fridge leave awkward gaps at the corners and edges. Rectangular ones sit flush, stack cleanly, and let you see what’s in each one without pulling everything out.
What to prioritize when choosing fridge containers:
- Clear sides — you need to see the contents without opening the container
- Modular sizing — containers from the same system should stack flush on each other, even at different sizes
- Leak-proof lids — not just “spill-resistant,” but genuinely sealed for things like marinating chicken or storing soups
The water-flip test is the quickest way to check a lid before you trust it with leftover soup: fill the container with water, close it fully, and flip it upside down over the sink. Hold it for 10 seconds. If it drips, it’s spill-resistant, not leak-proof.
Best uses: prepped vegetables, leftovers, marinating proteins, and meal-prep portions. These are your fridge workhorses. If you’re doing weekly meal prep, a set of these in two or three coordinating sizes will carry you through most of your fridge organization needs.
For more on keeping the fridge functional, see How to Deep Clean Your Refrigerator and Keep It Organized.
5. Snack-Size Containers for Kids’ Lunches & On-the-Go Portions
These are small — 8 to 16 ounces — and that’s the point. They’re not trying to store a week’s worth of anything. They’re handling single servings of nuts, crackers, dried fruit, cut vegetables, hummus, or whatever’s going into a lunch bag that day.
For kid use specifically, lid design matters a lot. A lid that requires adult-strength finger coordination to open is useless in a third-grade classroom. Look for:
- Simple press-to-lock tabs that small hands can manage
- Lids that don’t require alignment to close (round containers are easier here than rectangular)
- Dishwasher-safe material on both container and lid — because these go through the wash daily
BPA-free labeling is standard at this point, but worth confirming. For containers that are going into a kid’s backpack or being washed 5 times a week, you want durable, lightweight plastic that can take daily handling.
The easiest way to make snack containers actually get used is a designated lunch-prep drawer or bin where the containers live. When you can grab and fill in under a minute, the system works. When you’re hunting for the matching lid in three different cabinets, it doesn’t.
Pausing here for a second — if you’ve been skimming, slow down for the next one. The vacuum-seal section is the most underrated on this list, and most people skip it until they’ve ruined a bag of expensive coffee.
6. Vacuum-Seal Containers for Coffee, Nuts & Anything That Goes Rancid Fast
Standard airtight containers seal out most air. Vacuum-seal containers go further by actively removing the air that’s already inside before you close them. For foods that oxidize quickly — ground coffee, whole bean coffee, walnuts, pecans, flaxseed, brown rice — that difference is real and noticeable.
Here’s how they work: you fill the container, close the lid, and use a hand pump (or electric pump) to extract air through a valve in the lid until you feel resistance. The lid depresses slightly, which is your visual confirmation that the vacuum is holding.
Manual pump vs. electric pump:
- Manual pumps add about 10 seconds per container — fine for most households
- Electric pumps are faster but add cost and a device to store
- For occasional use, manual is the practical call
What you’ll actually notice: ground coffee stays fresher noticeably longer than in a standard airtight canister. Walnuts and pecans don’t go bitter between uses. Brown rice, which can go rancid in hot climates, stores longer.
What vacuum-seal won’t do: preserve food forever or replace refrigeration. It extends, not transforms. Expect a meaningful but realistic improvement — not the weeks-longer claims you’ll sometimes see on packaging.
These containers are a higher investment than standard canisters, but if you buy specialty coffee beans or bake with expensive nuts regularly, they pay for themselves in food you don’t throw out.
7. Airtight Produce Containers That Actually Keep Veggies Crisp
This category is worth understanding separately, because these containers work differently from everything else on this list. Standard airtight containers block air. Produce containers are designed to regulate it — specifically managing moisture levels and ethylene gas, which is what causes produce to ripen and eventually rot.
Features to look for:
- Vent sliders or built-in ventilation — allows you to adjust airflow based on the type of produce
- Elevated inner tray — keeps produce sitting above any collected moisture rather than sitting in it
- Clear construction — because you need to see what’s in there before it becomes unidentifiable
Best uses for produce containers:
- Leafy greens (especially washed and dried greens)
- Berries (strawberries, blueberries)
- Cut celery and carrots
- Fresh herbs laid flat on a damp paper towel
What NOT to store in airtight produce containers:
- Bananas (ethylene producers — they’ll ripen everything near them faster)
- Onions and garlic (need dry air circulation, not humidity control)
- Whole potatoes (same — they need ventilation, not sealing)
If you’ve ever bought a container labeled “produce keeper” and been underwhelmed, check whether it had vent control. A flat-top container with no vents isn’t regulating anything — it’s just a box with a lid.
8. Bulk Dry Goods Canisters for the Deep Pantry or Shelf
If you shop at Costco or Sam’s Club, you know the problem: you come home with a 10-pound bag of rice or a 4-pound container of oats and nowhere logical to put it. The original packaging isn’t resealable well, it doesn’t stack, and it takes up more space than it should.
Large-capacity canisters — 10 quarts and up — solve this. Look for:
- True airtight seal (silicone gasket, same principle as smaller containers)
- Wide enough opening to scoop from without a funnel
- A stable flat base if floor-storing
On lid types for large containers: flip-top lids are convenient for daily use but sometimes don’t seal as tightly as screw-top lids. Screw-tops seal well but get tedious if you’re scooping rice every night. Push-button lids land in the middle — check reviews specifically for seal quality before buying.
For floor-level storage, a small rolling cart under a shelf or a shelf riser keeps large containers accessible without stacking awkwardly on top of each other. You want to be able to open the lid without lifting the container.
These work for: rice, lentils, dried beans, oats, pasta, popcorn kernels, pet food in smaller households. Basically anything you buy in the largest possible bag.
9. Glass Meal-Prep Containers With Locking Lids (Oven & Microwave Safe)
Glass meal-prep containers earn their place in the kitchen because they handle what plastic can’t: going from the refrigerator to the oven (or microwave) without warping, staining, or carrying the ghost of last week’s pasta into your next meal.
When a container says “oven-safe,” that typically means safe up to 400–425°F for the glass body — but it almost always means remove the lid first. Most plastic locking lids are not oven-safe even when the glass is. Check the product specs before assuming the whole unit goes in.
How to verify the lid is actually airtight (not just snug): locking tabs on all four sides of the lid create even compression around the gasket. Two-tab lids are common but seal less evenly than four-tab designs. For anything liquid — soup, stew, sauced grains — four-tab locking is worth prioritizing.
Useful capacity sizes for meal prep:
- 2-cup: side dishes, single portions of grain
- 3-cup: full lunch portions, salads
- 4-cup: larger mains, double portions
Glass is heavier and breakable, which matters if you’re carrying these to work. It’s also dishwasher-safe across the board and won’t take on tomato stains or garlic smell after a few hundred washes. For home use and office lunches, the tradeoffs favor glass.
10. Airtight Bread Boxes & Large Loaf Containers for Counter Storage
Here’s the counterintuitive part: the refrigerator is actually one of the worst places to store most bread. Cold temperatures accelerate starch retrogradation — the process that makes bread go stale. A good artisan loaf or homemade bread stored in the fridge will be dry and dense within 24 hours. The same loaf on the counter in a good bread box can stay soft for 3 to 4 days.
What makes a bread box “airtight enough” is nuanced. A fully sealed container traps moisture and can encourage mold, especially in humid climates. What you actually want is slight ventilation — enough to let moisture escape while still blocking air circulation that dries the crust too fast. Some bread boxes have small vents for this reason. Others rely on the natural slight gap in the lid.
Sizing guide before you buy:
- Standard sandwich loaf (store-bought): most boxes fit these comfortably
- Sourdough boule or large artisan loaf: measure the diameter before buying — these are wider and taller than a sliced loaf
- Still-in-the-bag sandwich bread: almost any bread box will work; you’re mostly containing the bag here
For countertop aesthetics, this is one category where the look genuinely matters because it’s sitting out every day. Stainless steel, bamboo, and ceramic bread boxes exist at various price points. Pick something that fits your kitchen style — you’ll actually use it if you don’t resent looking at it.
5 Mistakes People Make When Buying Airtight Food Containers
Knowing which containers to buy matters. Knowing what derails the whole project matters just as much.
-
Buying before measuring. The single most common mistake. Pull out a tape measure and check your shelf height, depth, and width before ordering anything. A container set that doesn’t fit your actual cabinet is a return trip or a frustration that ends up in a cabinet you never open.
-
Choosing round over square or rectangular. Round containers are everywhere and look friendly on a store shelf. But they waste significant space when grouped together — every curve creates a gap. Unless you have a specific reason for round (like fitting in a round lazy Susan), square or rectangular containers use space more honestly.
-
Trusting the word “airtight” on the label. Look at the lid. Physically check for a silicone or rubber gasket — a visible ring of flexible material on the underside that compresses when the lid closes. No gasket means no real seal, regardless of what the packaging says.
-
Buying mismatched sets over time. Mixing container brands feels practical in the moment but creates visual chaos and, more practically, containers that won’t stack flush. If you can commit to one system (or at least one system per zone — one for the fridge, one for the pantry), your storage will actually work as a system.
-
Skipping labels. An unlabeled container of white powder in your pantry is either flour, powdered sugar, cornstarch, or baking powder — and you won’tknow until you open it and give it a sniff test. Label the lid, note the date you filled it, and you’ll save yourself the guessing game (and the occasional recipe disaster). A basic label maker or a set of chalkboard labels runs $8 to $15 and pays for itself the first time you’re not left wondering if that’s really the sugar or the salt.
Where to Start: How to Build Your Container System Without Buying Everything at Once
Ten categories of containers is a lot to take in, and you don’t need all of them by next week. Trying to overhaul your entire kitchen storage in one shopping trip usually ends in a pile of boxes and a returned Amazon order.
Start by identifying your top three problem areas — the spots that actually cause you grief. Maybe it’s flour going stale, maybe it’s a fridge full of mystery leftovers in mismatched containers, maybe it’s snacks getting crushed in a cabinet. Fix those first. The rest can wait.
A practical starter kit looks like this:
- One set of large pantry canisters (category 1 or 2) for your most-used dry goods — flour, sugar, cereal
- One set of stackable rectangular fridge containers (category 4) for leftovers and meal prep
- A small multipack of snack-size containers (category 5) if you’re packing lunches regularly
That’s a functional foundation for under $60 in most cases, and it solves the most common daily frustrations without requiring you to commit to a full pantry renovation.
From there, phase in the rest over your next two or three regular shopping trips. Add glass jars for coffee and spices once you’ve settled on your pantry system. Add produce containers once you notice greens wilting before you use them. Add the vacuum-seal canister if you keep noticing your coffee tastes stale by the second week of the bag.
After 30 days with your starter set in place, take stock. What’s actually getting used daily? What’s sitting empty on a shelf because it didn’t fit your routine? Adjust from there instead of guessing upfront — you’ll end up with a system built around how you actually cook and shop, not how you imagined you would.
Frequently Asked Questions
What makes a food container truly airtight?
A truly airtight container has a silicone or rubber gasket lining the lid that compresses when the lid is closed, creating a seal that blocks air and moisture. Snap lids without a gasket or loose screw-tops are not genuinely airtight — look for a visible rubber ring on the underside of any lid before buying.
Are plastic or glass airtight containers better for food storage?
Both work well when sealed properly, but glass is better for foods with strong flavors or colors (coffee, tomato sauce, spices) because it won’t absorb odors or stain. Plastic is lighter, less breakable, and often cheaper, making it a practical choice for kid-friendly use, lunch packing, and pantry staples.
How long do airtight containers actually keep food fresh?
It depends on the food type, but as a general rule airtight containers extend shelf life significantly compared to open bags or loosely closed packaging. Dry goods like flour and oats can last 6–12 months when sealed properly, while fresh produce and leftovers benefit from days rather than months. Always check food safety guidelines for specific items.